
Welcome to another edition of Sound Advice!
Every Wednesday, I post a short tip that will help you improve your mixes in one minute or less.
Today, I want to clearly explain parallel compression.
Standard compression is a downward process. It takes the loudest parts of your audio and pushes them down, which can sometimes suck the life and impact out of transient-heavy elements like drums.
If you compress too hard to get that thick, cohesive sound, you lose the initial smack that cuts through a phone speaker or a PA system.
With parallel compression, you’re splitting your audio into two signals:
- The Dry Signal: The first path remains completely untouched, preserving your sharp peaks and natural performance dynamics.
- The Wet Signal: The second path is aggressively compressed, levelling out the audio to bring up the quietest details, the room tone, and the sustain.

When you blend these two signals, you get that commercial weight and density that holds up against major label releases, all while keeping your transients intact so the track still breathes and grooves.
How To Set Up Parallel Compression
Let’s try this technique together on a drum bus:
1 – Route your tracks: Group all your individual drum tracks, such as the kick, snare, and room mics, to a main drum bus. Many modern compressors have a dry/wet knob right on the unit, so you no longer need to route your dry signal to an auxiliary track. But if you use another compressor, you’d need to set it up here as well.
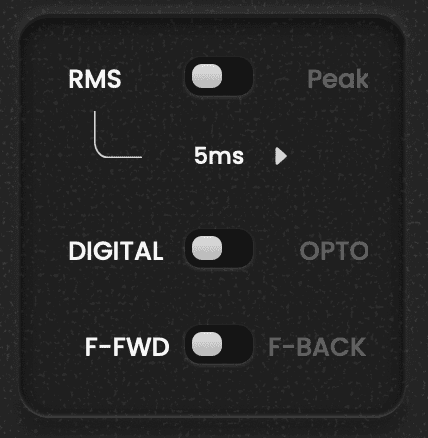
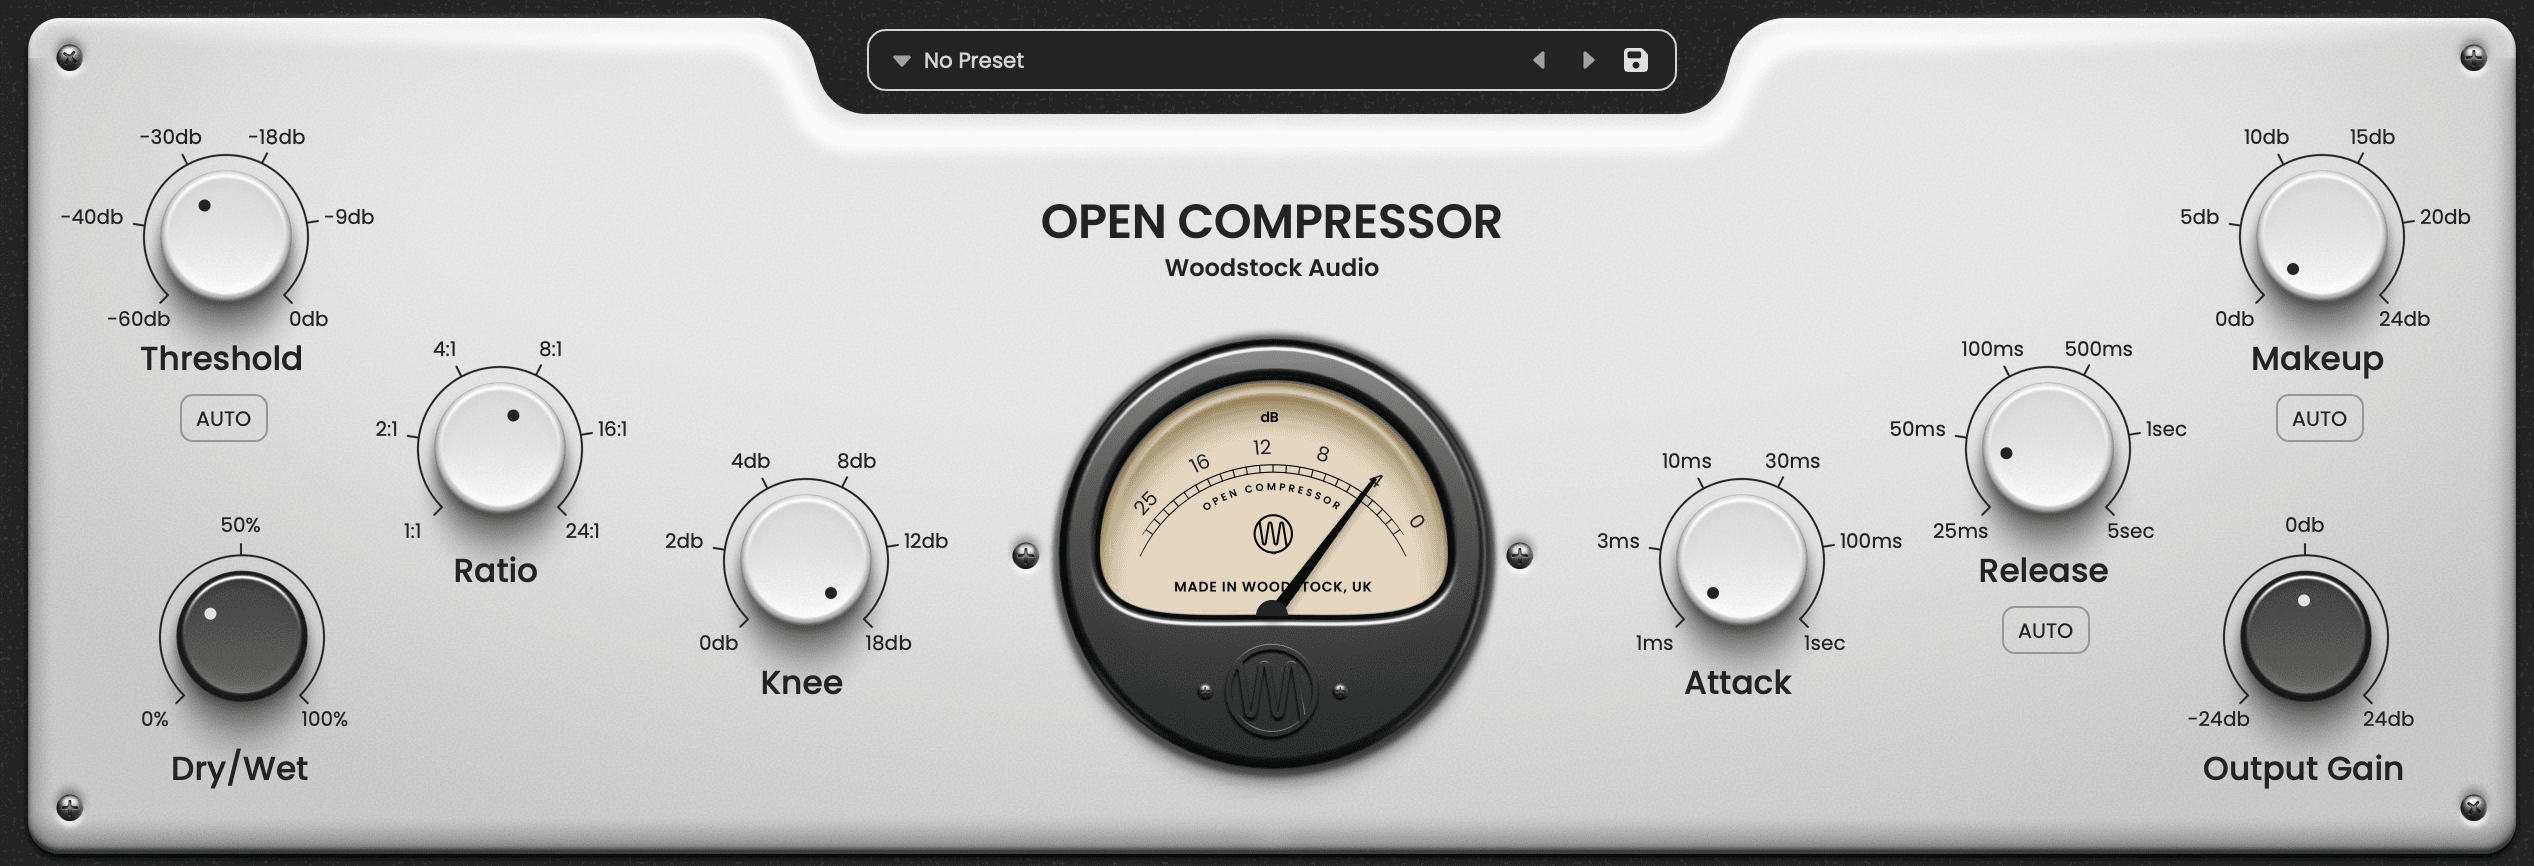
2 – Choose the right compressor type: Set an aggressive, character-heavy compressor type. VCA or FET-style compressors work best here because they grab audio quickly and add pleasing harmonic saturation. Grab your favourite compressor emulation or learn how to dial those settings in on the Open Compressor here.
3 – Smash the parallel signal: Set a fast attack time to instantly clamp down on the drum transients, and a fast-to-medium release time to make the room tone pump with the rhythm. Push the ratio high, perhaps 4:1 or even 8:1, and dig in with the threshold until you see at least 10 dB to 15 dB of gain reduction. The track should sound energetic, crunchy, and distorted when soloed.
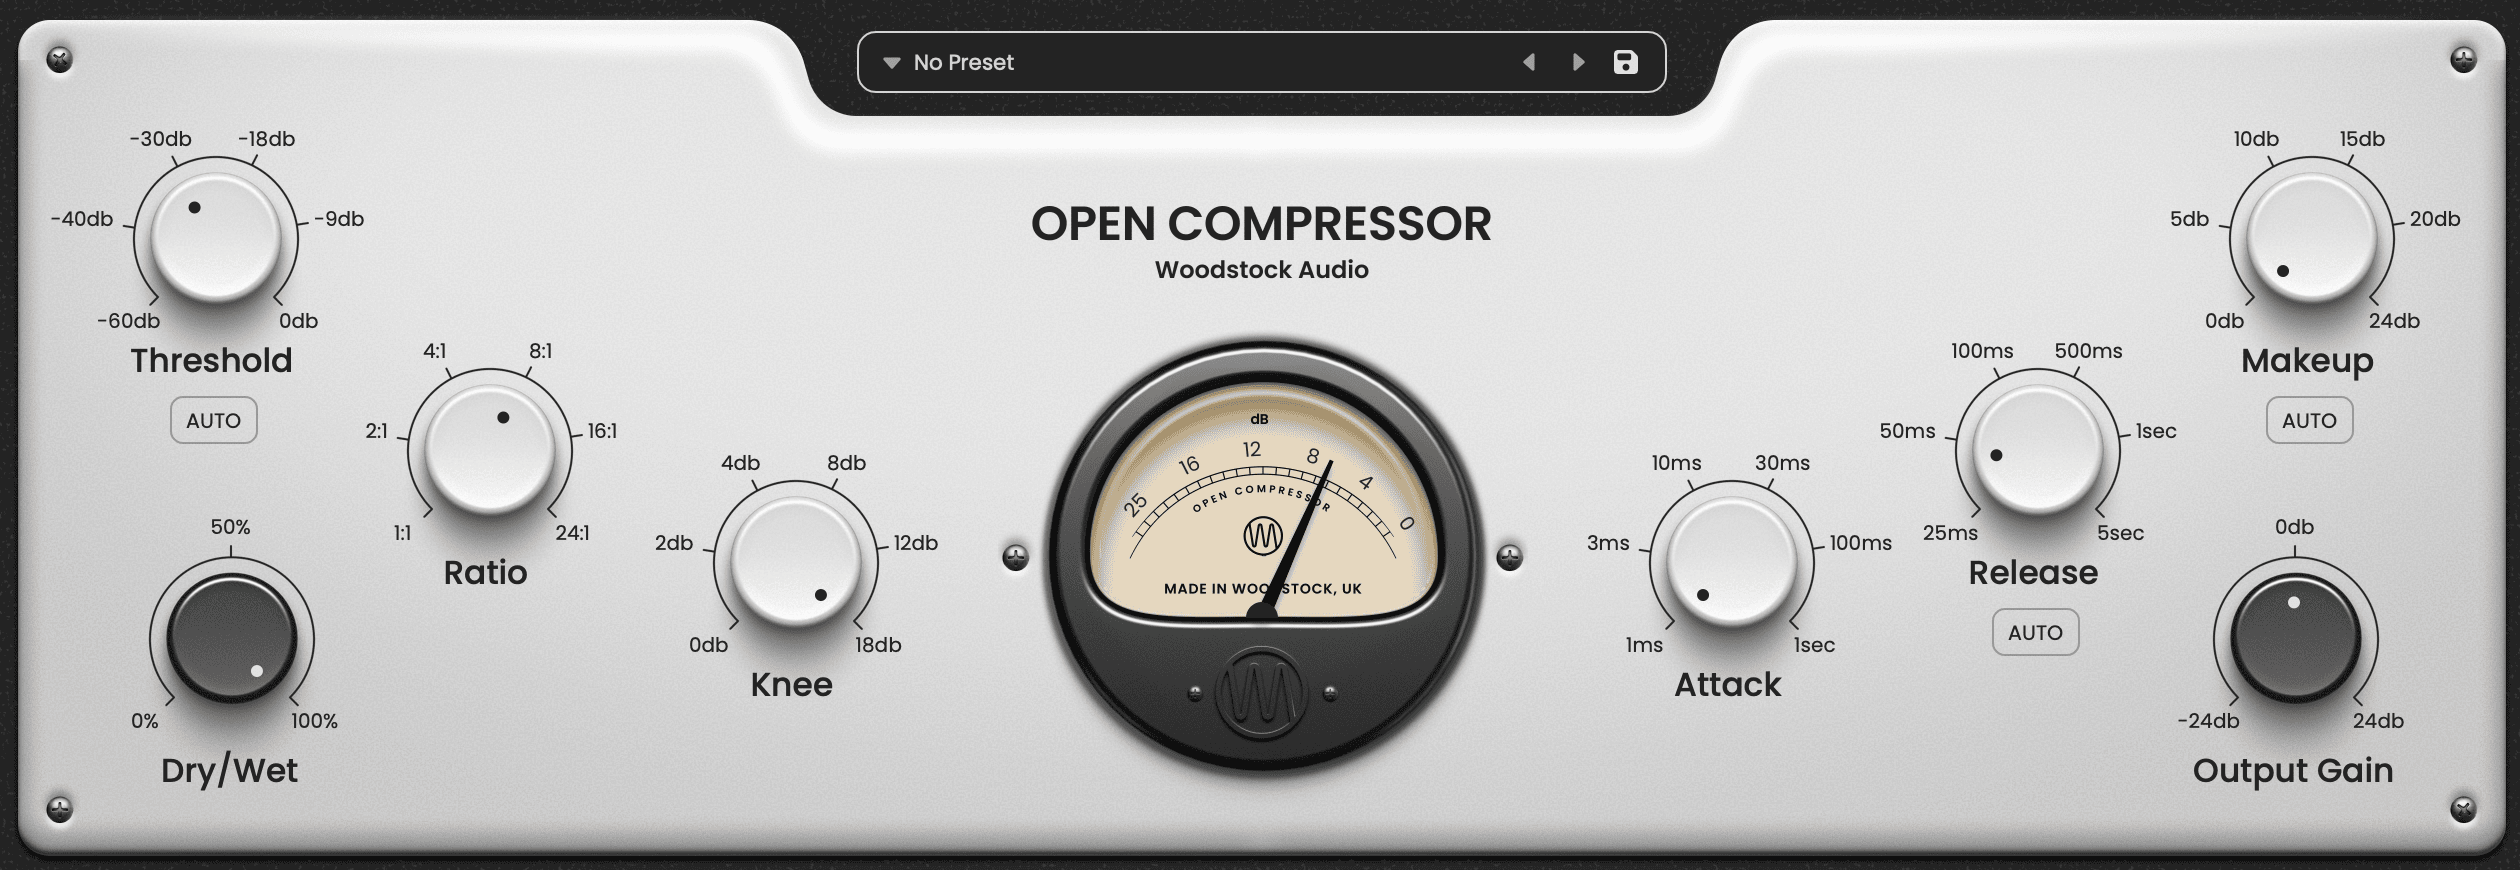
4 – Blend to taste: Bring the dry/wet knob all the way down. Play your full mix, then slowly increase the wetness until the drums suddenly feel thicker, punchier, and more glued together. Typically, you only need the parallel signal to sit subtly under the main drums to work its magic.
The Final Takeaway
Parallel compression is your secret weapon for drums that both punch and groove. By blending a squashed, dense signal with an untouched dry signal, you retain the natural attack while adding weight and cohesion. Try it on your next mix and hear the difference! Please reply to this email when you’ve tried it and let me know how it went!
Cheers,
Rob