Want to learn how to make electronic music?
It’s geared towards musicians who’d like to spice up their existing songs… or even write new electronic music from the ground up.
By reading this guide, you’l learn about all of the key skills, equipment, and methods you’ll need to get started
By the end of this article, you’ll be able to start making your own electronic music immediately!
Want even more instruction on how to make electronic music? Download my free step-by-step guide here.
It includes free samples and presets to get you in the right direction and doesn’t take long to get results.
“There’s no separation between electronic music and acoustic music. It’s all one thing. Each song has its own heartbeat. Each song has its own soul.” —Banks
Step 1: Ask Yourself… “What kind of electronic music do I want to make?”
You don’t have to already be a musical prodigy to learn how to make electronic music. With enough practice, anyone can make electronic music!
But first you have to decide what kind of electronic music you want to make.
Do you want to:
- Start with acoustic instruments then create electronic backing tracks?
- Start with electronic instruments then create acoustic backing tracks?
- Or use only electronic instruments?
Then do you:
- Want to work purely in the studio?
- Or perform your electronic music in a live environment?
These answers will lead you on to the next stage – choosing a DAW, or digital audio workstation.
One of the most important parts of making electronic music is listening to music that’s already out there.
It’s good to listen to a variety of styles. That way you can combine different elements to come up with your own twist.
See what’s already out there, that way you don’t have to reinvent the wheel.
Step 2: Finding the Right Equipment and Software
If you want to learn how to make electronic music, you’ll need a few pieces of gear.
Here’s what you’ll need…
DAW (Digital Audio Workstation)
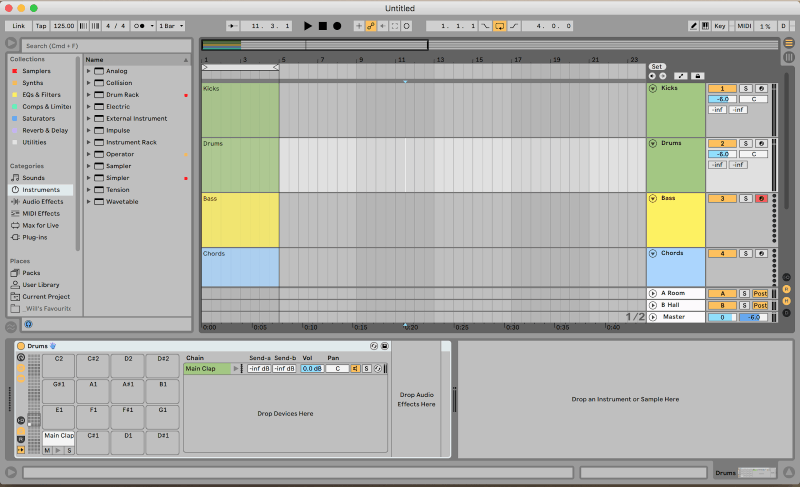
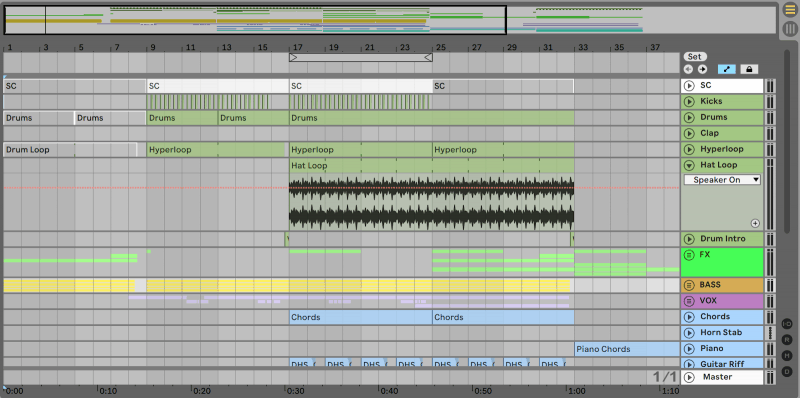
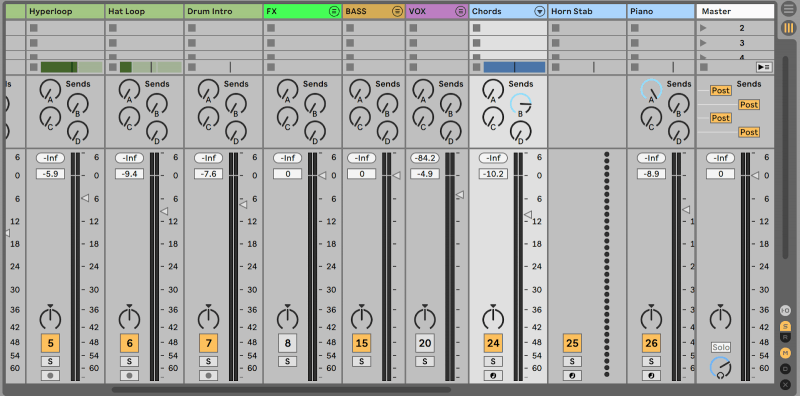
This is the Ableton Live 10 but choose the DAW you like using best and that suits your needs.
A DAW is the software in which you create and record music.
There are a few options.
Here’s a list the best options from an electronic music production perspective (in case you haven’t already got a DAW).
You can get world-class results from ANY of them! If you already own one, just start by using that.
Ableton Live: The best option for live performances and good for the studio.
Logic Pro: Mac only but ubiquitous and very, very good.
Fl Studio: Very popular for electronic dance music producers.
Cubase: An old classic and still going strong.
Reason: Great fun! You can wire lots of different instruments and effects together. Just like a real hardware studio.
Each DAW has four main components. They look a little different in each DAW but pretty much do the same thing.
- Arrangement window for recording and arranging audio and MIDI.

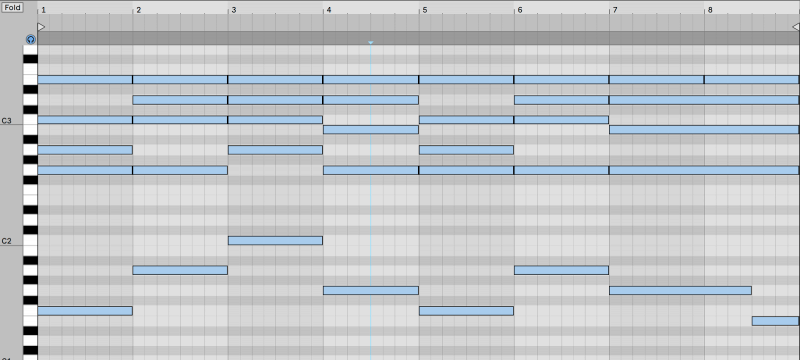
- A piano roll window for programming in MIDI.

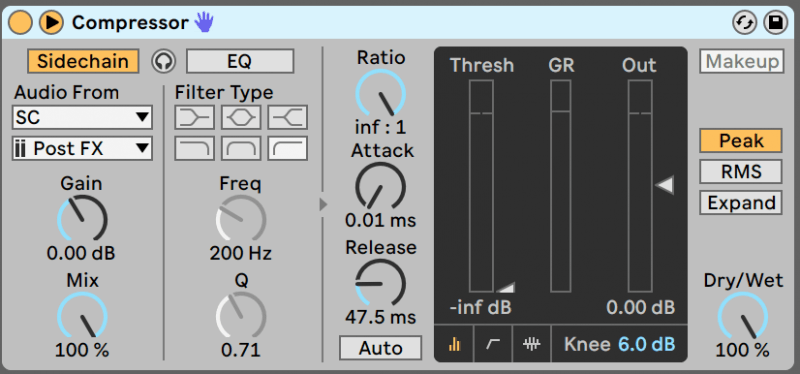
- Audio plugins (sound generating plugins and effects plugins). Don’t be intimidated by all the knobs and whistles! You don’t need them all, and we’ll cover the basics later in this article…

- A mixer window for balancing levels.

Have you recorded your own music before? You’ll be familiar with the arrangement session, effects plugins, and the mixer section.
If you haven’t made electronic music before, you might not be so familiar with the piano roll editor. It basically allows you to program in notes on a piano keyboard to be triggered along a timeline.
Headphones and Monitors
You’ll also need some headphones and a pair of studio monitors.
Since you’re reading this blog, I’ll assume you already know (or have) these pieces of equipment. If you haven’t yet, check out this article on the best home studio setup for guidance.
Plugins
So now that you have a DAW, you’ll need some plugins.
The two broad categories of plugins you’ll need are sound-generating (soft-synths and samplers) and effects (EQ, compressors, reverb, delay, flangers, and so on).
The good news is your DAW already comes bundled with tons of plugins, so you can get started straight away.
But investing in one or two new plugins can make things easier and even more fun.
There are many soft-synths on the market.
In my experience, it’s best to learn one inside out. You’ll get the most from it AND the skills are transferable to other plugins.
I recommend either Sylenth1 or Serum. Why?
They are ubiquitous. So they are updated often, have good support, and have plenty of preset packs made for them.
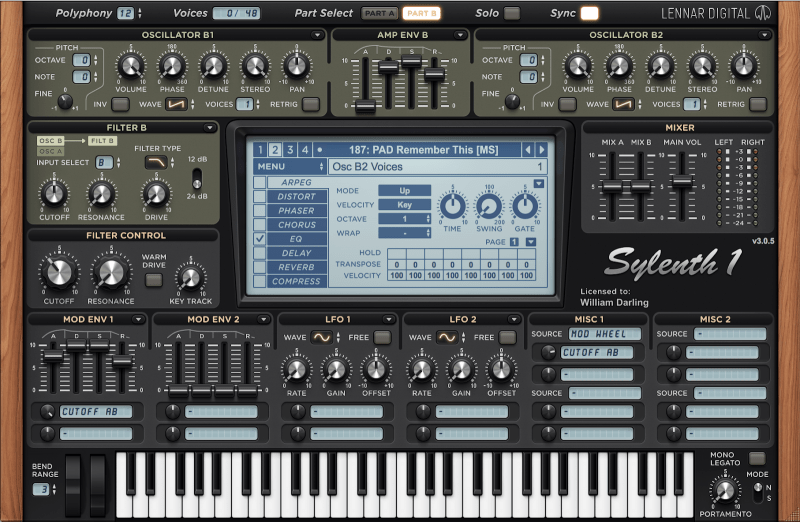
Sylenth1 by Lennar Digital
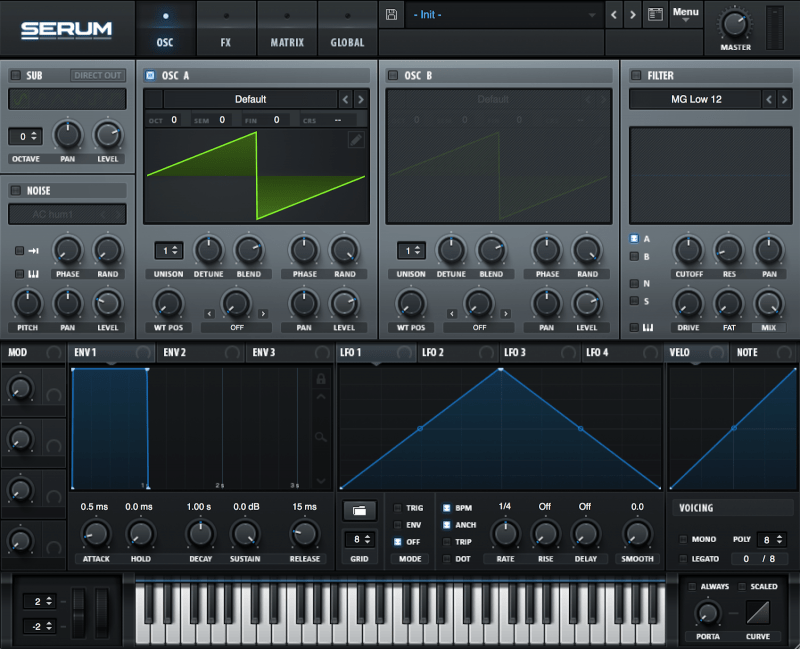
Serum by XFER Records
UPDATE: We released a great video that can help you get some inspiration, using MIDI FX:
Step 3: Sound Design
Great, you really are set up now. Time to start creating some sounds!
As covered in step 2, there are two sources of sound you can use: soft-synths and samplers.
(As well as, of course, your own recorded audio. We’ll touch on that later.)
Now, you can learn every control and really dive deep on the theory behind sound design…
OR you can let other people do the hard work for you! With that in mind, let’s look at Option 1.
Option 1: Preset and Sample Banks
Preset banks and sample banks are a GREAT way to get started fast. I don’t know of any producers – professional or otherwise – who don’t use sample and preset banks.
Much like mixing, the key to successful production is working fast and staying fresh and in the flow.
Think about this: there are companies out there whose SOLE PURPOSE is to create amazing sounds for people like us to use in their productions.
You can then pick apart and reverse engineer the presets to understand how they’ve created them. Thus increasing your knowledge and skill in the process.
Here are some great websites where you can have a hunt for presets and sample packs:
You can also get my free beginner’s sample pack here.
With all that, it’s definitely a good idea to understand at least the basics of how samplers and synths work. So let’s have a quick look.
Option 2: Samplers and Synths
Samplers and synths are pretty similar in design.
They all have filters, envelope controls, and LFOs (Low Frequency Oscillators).
They also all have some effects, just like the effects plugins you’re familiar with. They’re just built into the synth or sampler.
But they differ in one major way. Samplers use (unsurprisingly) audio samples. Synthesizers, on the other hand, use oscillators (which generate sound waves).
Don’t let the egghead names intimidate you!
Here’s a quick crash course with video examples. You’ll have it down in no time. ?
If you want to learn more about some of the terms, I’ve put together a glossary here.
Synthesizer Oscillators:
Samplers:
Filter Controls:
LFO:
Built-in Effects:
NOTE: We just released a great guide to the 9 fundamentals of sound design:
Step 4: Music Theory
Music theory is the understanding and knowledge of how music works.
This includes scales, notes, and chords on a micro level. But it also includes song arrangement and the creation of tension and release on a macro scale.
Now, some people argue that music theory is essential for creating any genre of music. And some people argue that it’s not.
I sit in the first camp. Here’s why…
Let’s consider a musician who’s had no formal music theory training.
As they improve over time, they learn the rules of music and how it works. That’s music theory.
They then apply what they’ve learned. If they didn’t, their music wouldn’t be improve.
Get a grasp on scales and learn how to put chord progressions and melodies together. AND figure out how to arrange a song for maximum emotional impact – those will pay dividends.
With that in mind, here are some resources to help with each of the above:
And maybe you’re a singer or guitarist but don’t like the notion of fiddling around in the piano roll editor of your DAW. This quick tip for melody creation should help.
Click here to see the humming technique.
Step 5: Combining “Real” Instruments or Vocals
I LOVE electronic music.
But there’s a common criticism of modern styles. Those created without analogue equipment can sound cold and inhuman.
This doesn’t have to be the case.
Here’s where it all comes together…
Combine soft-synths, samplers, AND recorded audio into your compositions. It can bring a depth and character that solely synthesized music can lack.
You can either record into an audio channel in your DAW, or load in shorter samples to a sampler and play with triggering them with MIDI.
It can be a lot of fun!
Another option is to add an atmospheric track sitting far back in the mix. You could also try having guitars and keyboards play in harmony or riff with each other.
Both are great ways to add depth, color, and interest to your music.
There are also certain treatments you can apply to your synthesized elements to “real them up”. One of the best is saturation and harmonic excitement, which we’ll look at in the next step.
Step 6: Mixing Your Electronic Music
As with any recorded music, mixing is best tackled after the production stage.
The closer you can get to the sound you want in the composition and sound design stage, the easier the mixing stage will be.
The techniques for mixing electronic music are identical to that of acoustic music. But bear in mind a couple of caveats:
- If you’re using samples, they’re often already heavily processed. This is especially true of drum samples. So you don’t need to compress an electronic kick drum in the same way you might a real one.
- Soft-synth and sampler patches often have effects already applied within the plugin. This means it sounds great when being previewed but not necessarily so great in a mix. I usually turn off the internal effects and use my global auxiliary effects. Especially when it comes to reverb.
- As mentioned in step 5, try using saturators and exciters add harmonics to the sound. It fattens them up and makes them richer, exactly as you would with guitar or vocal recordings.
Conclusion: How to Make Electronic Music
Hopefully you realize that the end goal is creating the best song you can.
Don’t tie yourself to a strict doctrine of what is and is not allowed. Then the tools available can work in perfect harmony to create something unique and beautiful.
What’s your take on it? Do you have any tips for creating electronic music that would help the community?
Let us know in the comments below!
Next Steps
Ready to create your first full piece of electronic music? Download my free step-by-step guide here.
It includes free samples and presets to point you in the right direction. And it doesn’t take long to get results.

