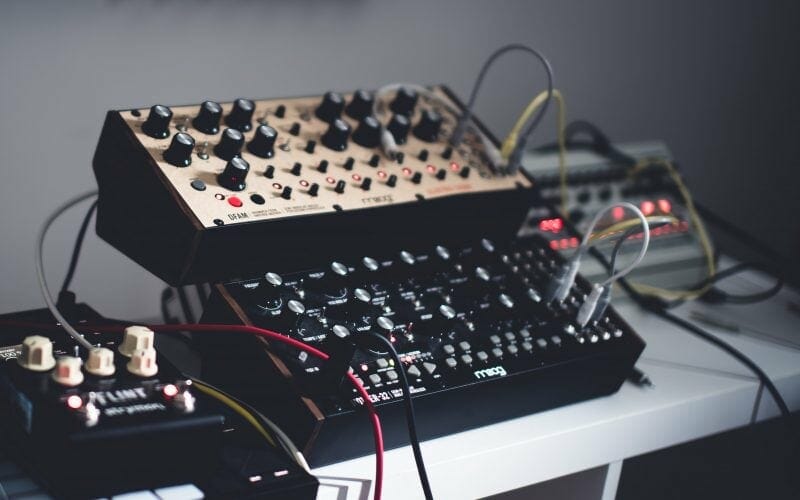
Modular synthesizers are the peak of any synth collector’s toolset.
Modular synths are ridiculously powerful if you know how to use them. But these synths can be really confusing.
It took me years to even grasp the basics.
To save you time and energy, I’ve put this guide together covering the basics of modular synthesis. You’ll learn all the fundamentals of how modular synths work and how to make simple sounds with them.
So keep reading if you want to start using these incredible synths in your songs.
I’m guessing you’re here because you want to make your mixes sound professional. We put together a brief training that covers a totally new approach to music production. Until now, everyone has been teaching production totally backward. Just click below to watch.Get industry-quality every time (steal this framework)
But if you just want to learn about modular synths specifically, keep reading.
Before We Start…
This is the fourth article in our “Synthesizer 101” series. The first guide of the series covered the basic building blocks of the synth.
If anything in this article confuses you, I probably talk about it there. Check it out below!
What Is Modular Synthesis?
Like most synths, the answer is in the name. Modular synths are all about “modules.”
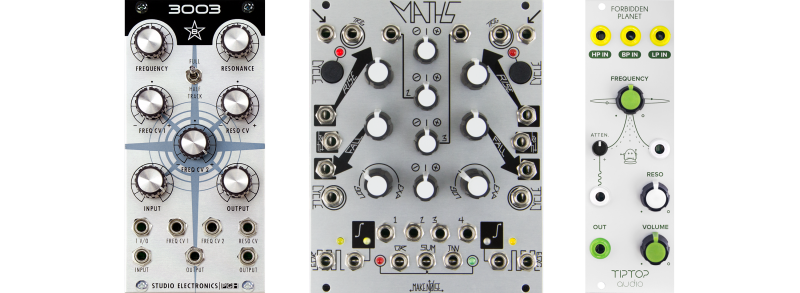
These “modules” are bite-sized pieces of a synth. A modular synth is made out of a few different modules and each one serves a specific purpose.
There are modules for every part of a synthesizer. For example, some modules are oscillators, some are filters, and so on.
It’s a lot like an assembly line.

Every person working on the line has a single job.
Say a woman is in charge of installing the engine. Once she has done so, the car moves down the line to the next person, who attaches the wheels to the vehicle.
Modular synths are an assembly line of sound.
A bunch of different modules are connected to one another with wires. They create one synthesizer.
And you’re in charge of overseeing it all.
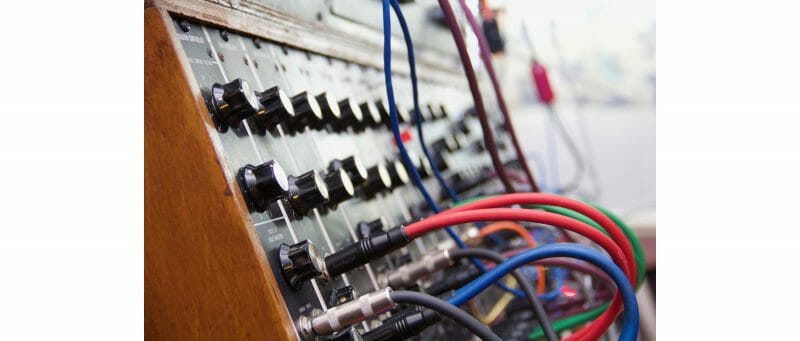
Have you seen a tower of complicated-looking cubes all connected with cables at a concert? You’ve seen a modular synth at work.
With most synths, the signal flow is pretty much set in stone. You don’t get to decide what order everything happens.
But that’s not the case with modular synths!
You have total control with modular synthesis. You decide exactly what modules to connect and how.
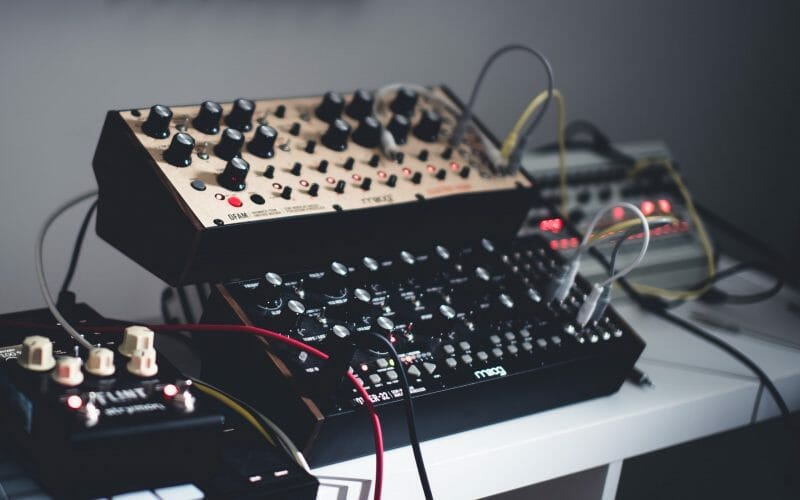
Control over signal flow is what sets modular synths apart from their cousins.
You’re building the sound from the ground up. This means the process is a lot more complicated, but you have way more control over the finished product.
Free Options
Most of the really famous modular synths are hardware. Building a decent rack of modules will run you well into the thousands of dollars.
But luckily there are some really solid software options. And some of them are free!
If you want to experiment with modular synthesis, check out VCV Rack or Blocks Base by Native Instruments. Both are free and should give you plenty to work with when you’re first starting out.
I recommend you try a free modular synth before spending money on premium versions.
Like I said, modular synths are really complicated. You’re better off practicing with the free versions before diving into the deep end with expensive hardware.
Modular In Action
Now let’s see how modular synthesis works!
We’re going to make a basic sound using Blocks Base.
You can do super complex stuff with modular synths. But we’re just covering the basics today, so I’ll show you how to make something really simple.
Here are the modules we’ll be using to make our sound. If you’ve been following along with our Synth 101 series, a lot of these should sound pretty familiar.
1. A MIDI Note-In Module:

This tells the rest of the synth when a MIDI note has been played.
2. An Oscillator:

You’ll often see oscillators referred to as voltage controlled oscillators, or VCOs. Despite the difference in name, they do the same thing: create the sound.
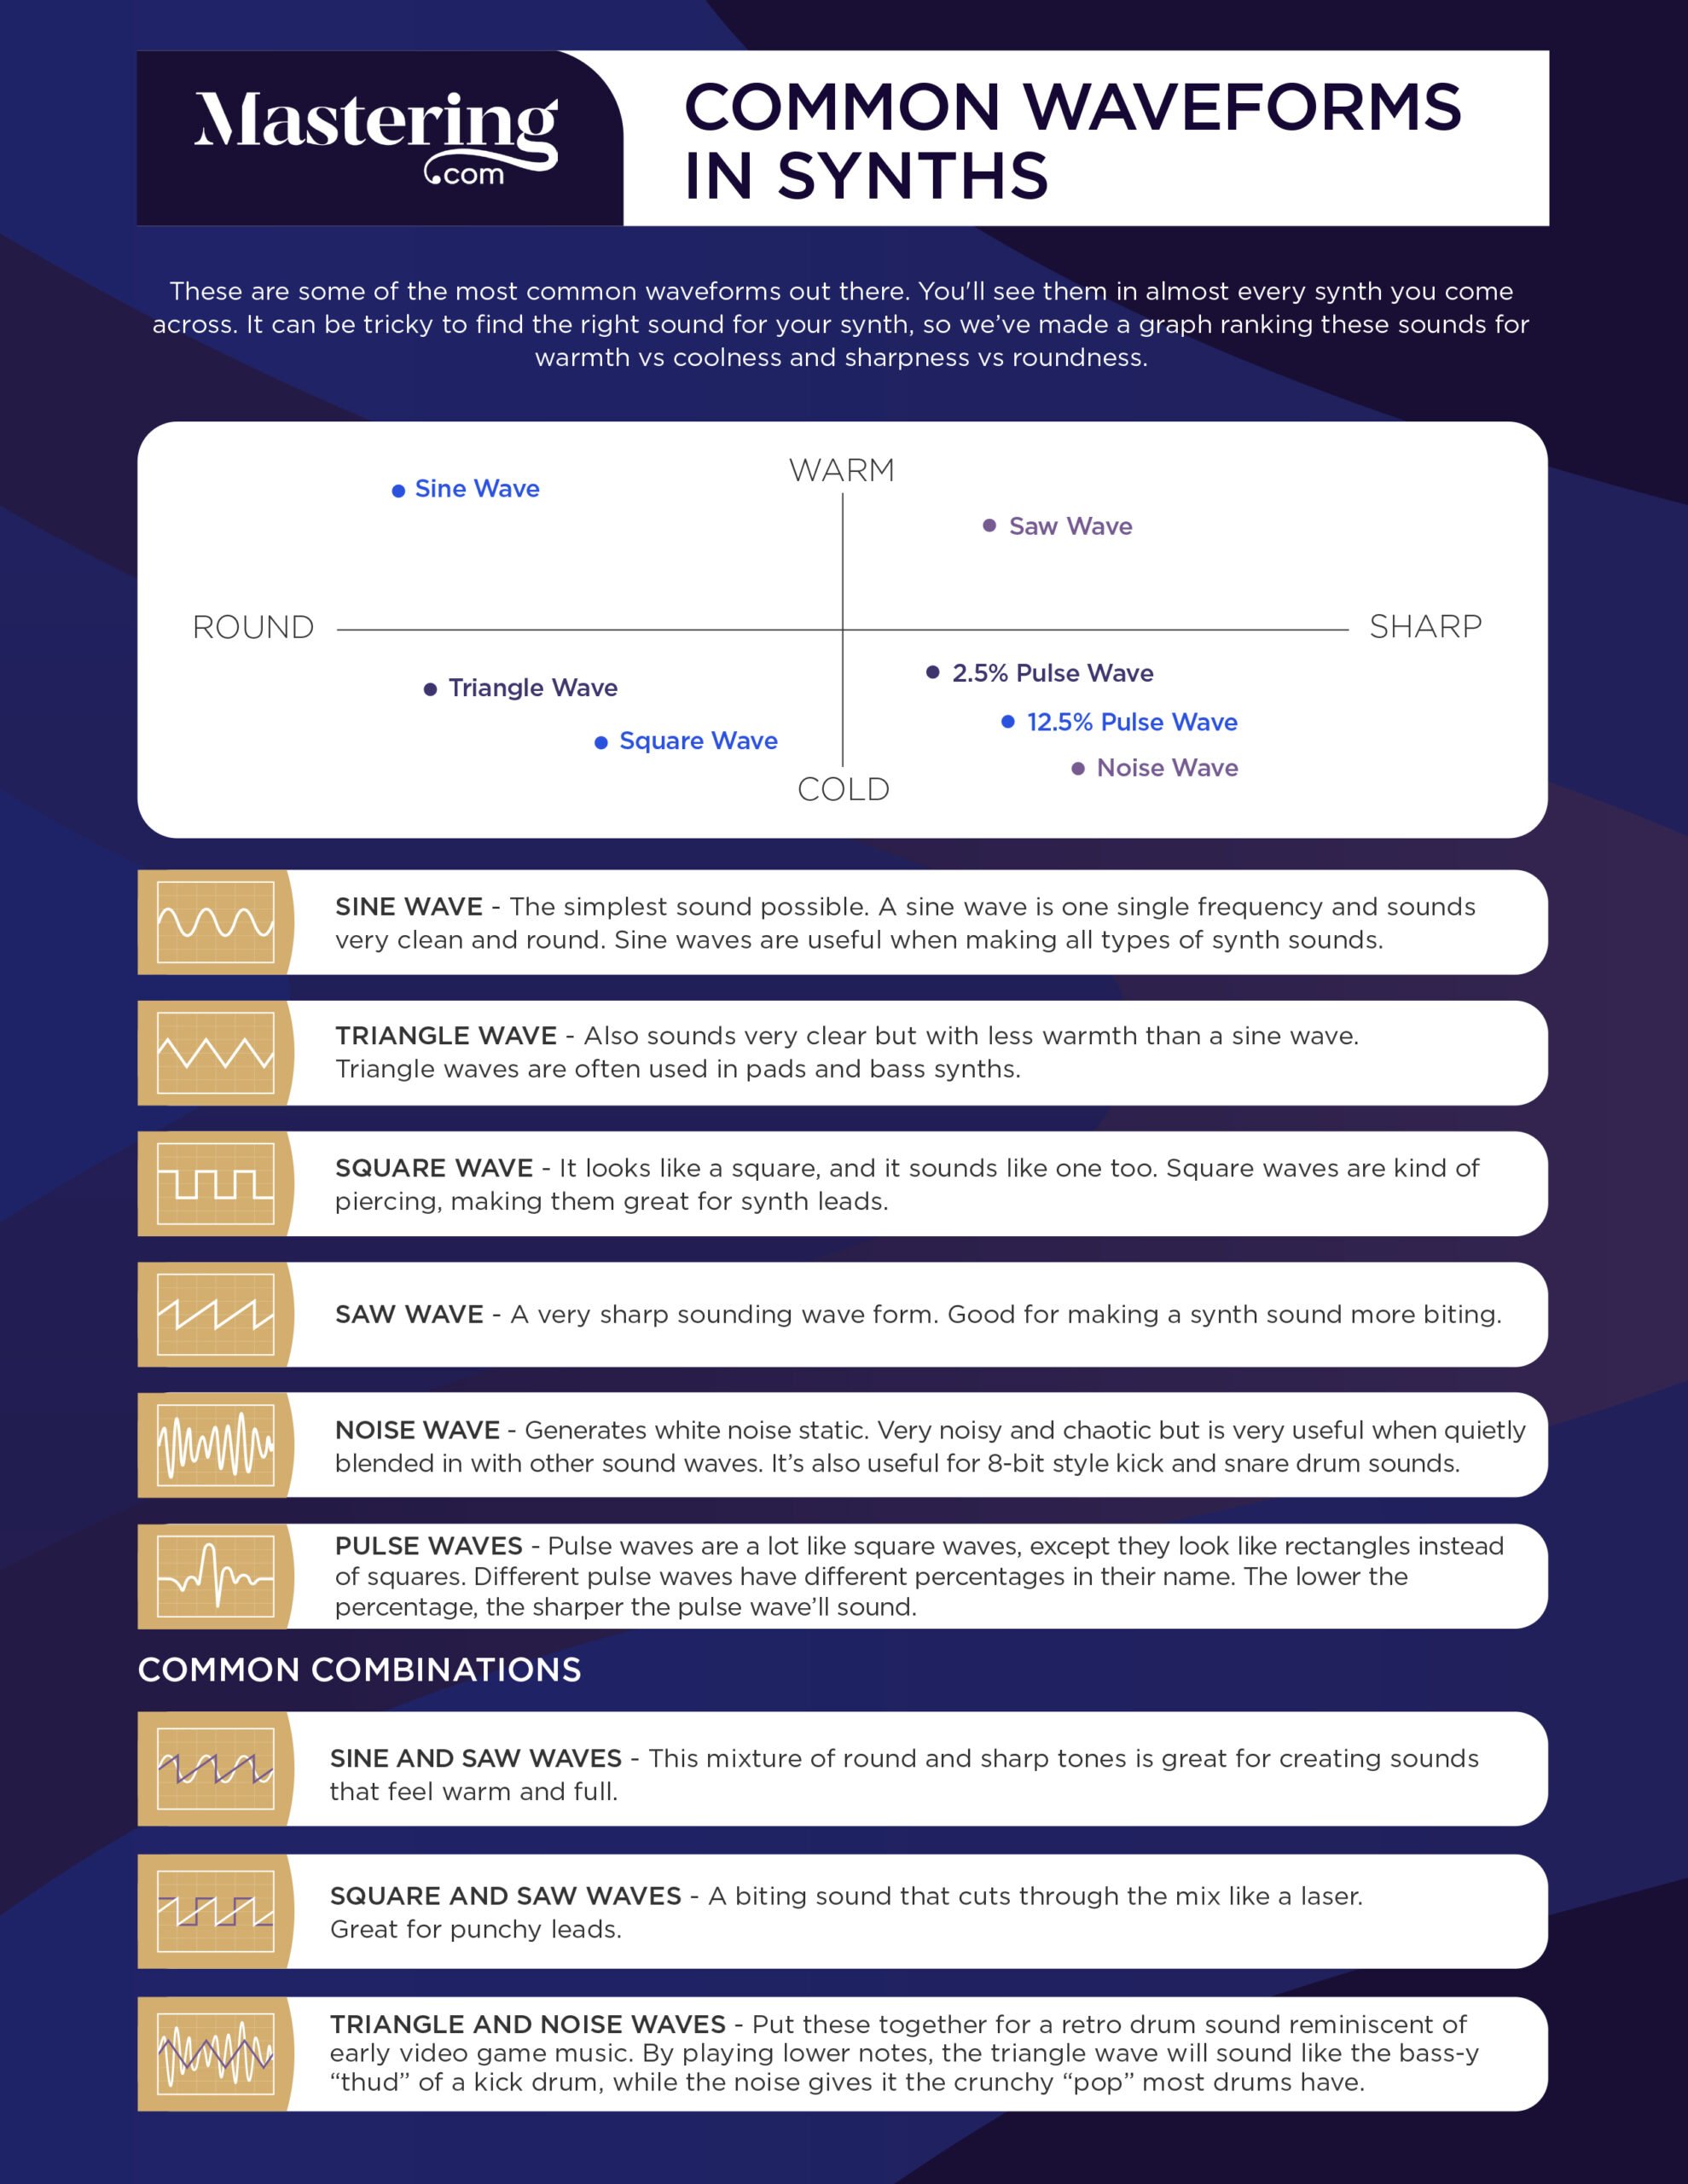
Here are some iconic waveforms you’ll find in just about any synth:
3. An ADSR or Amplitude Envelope

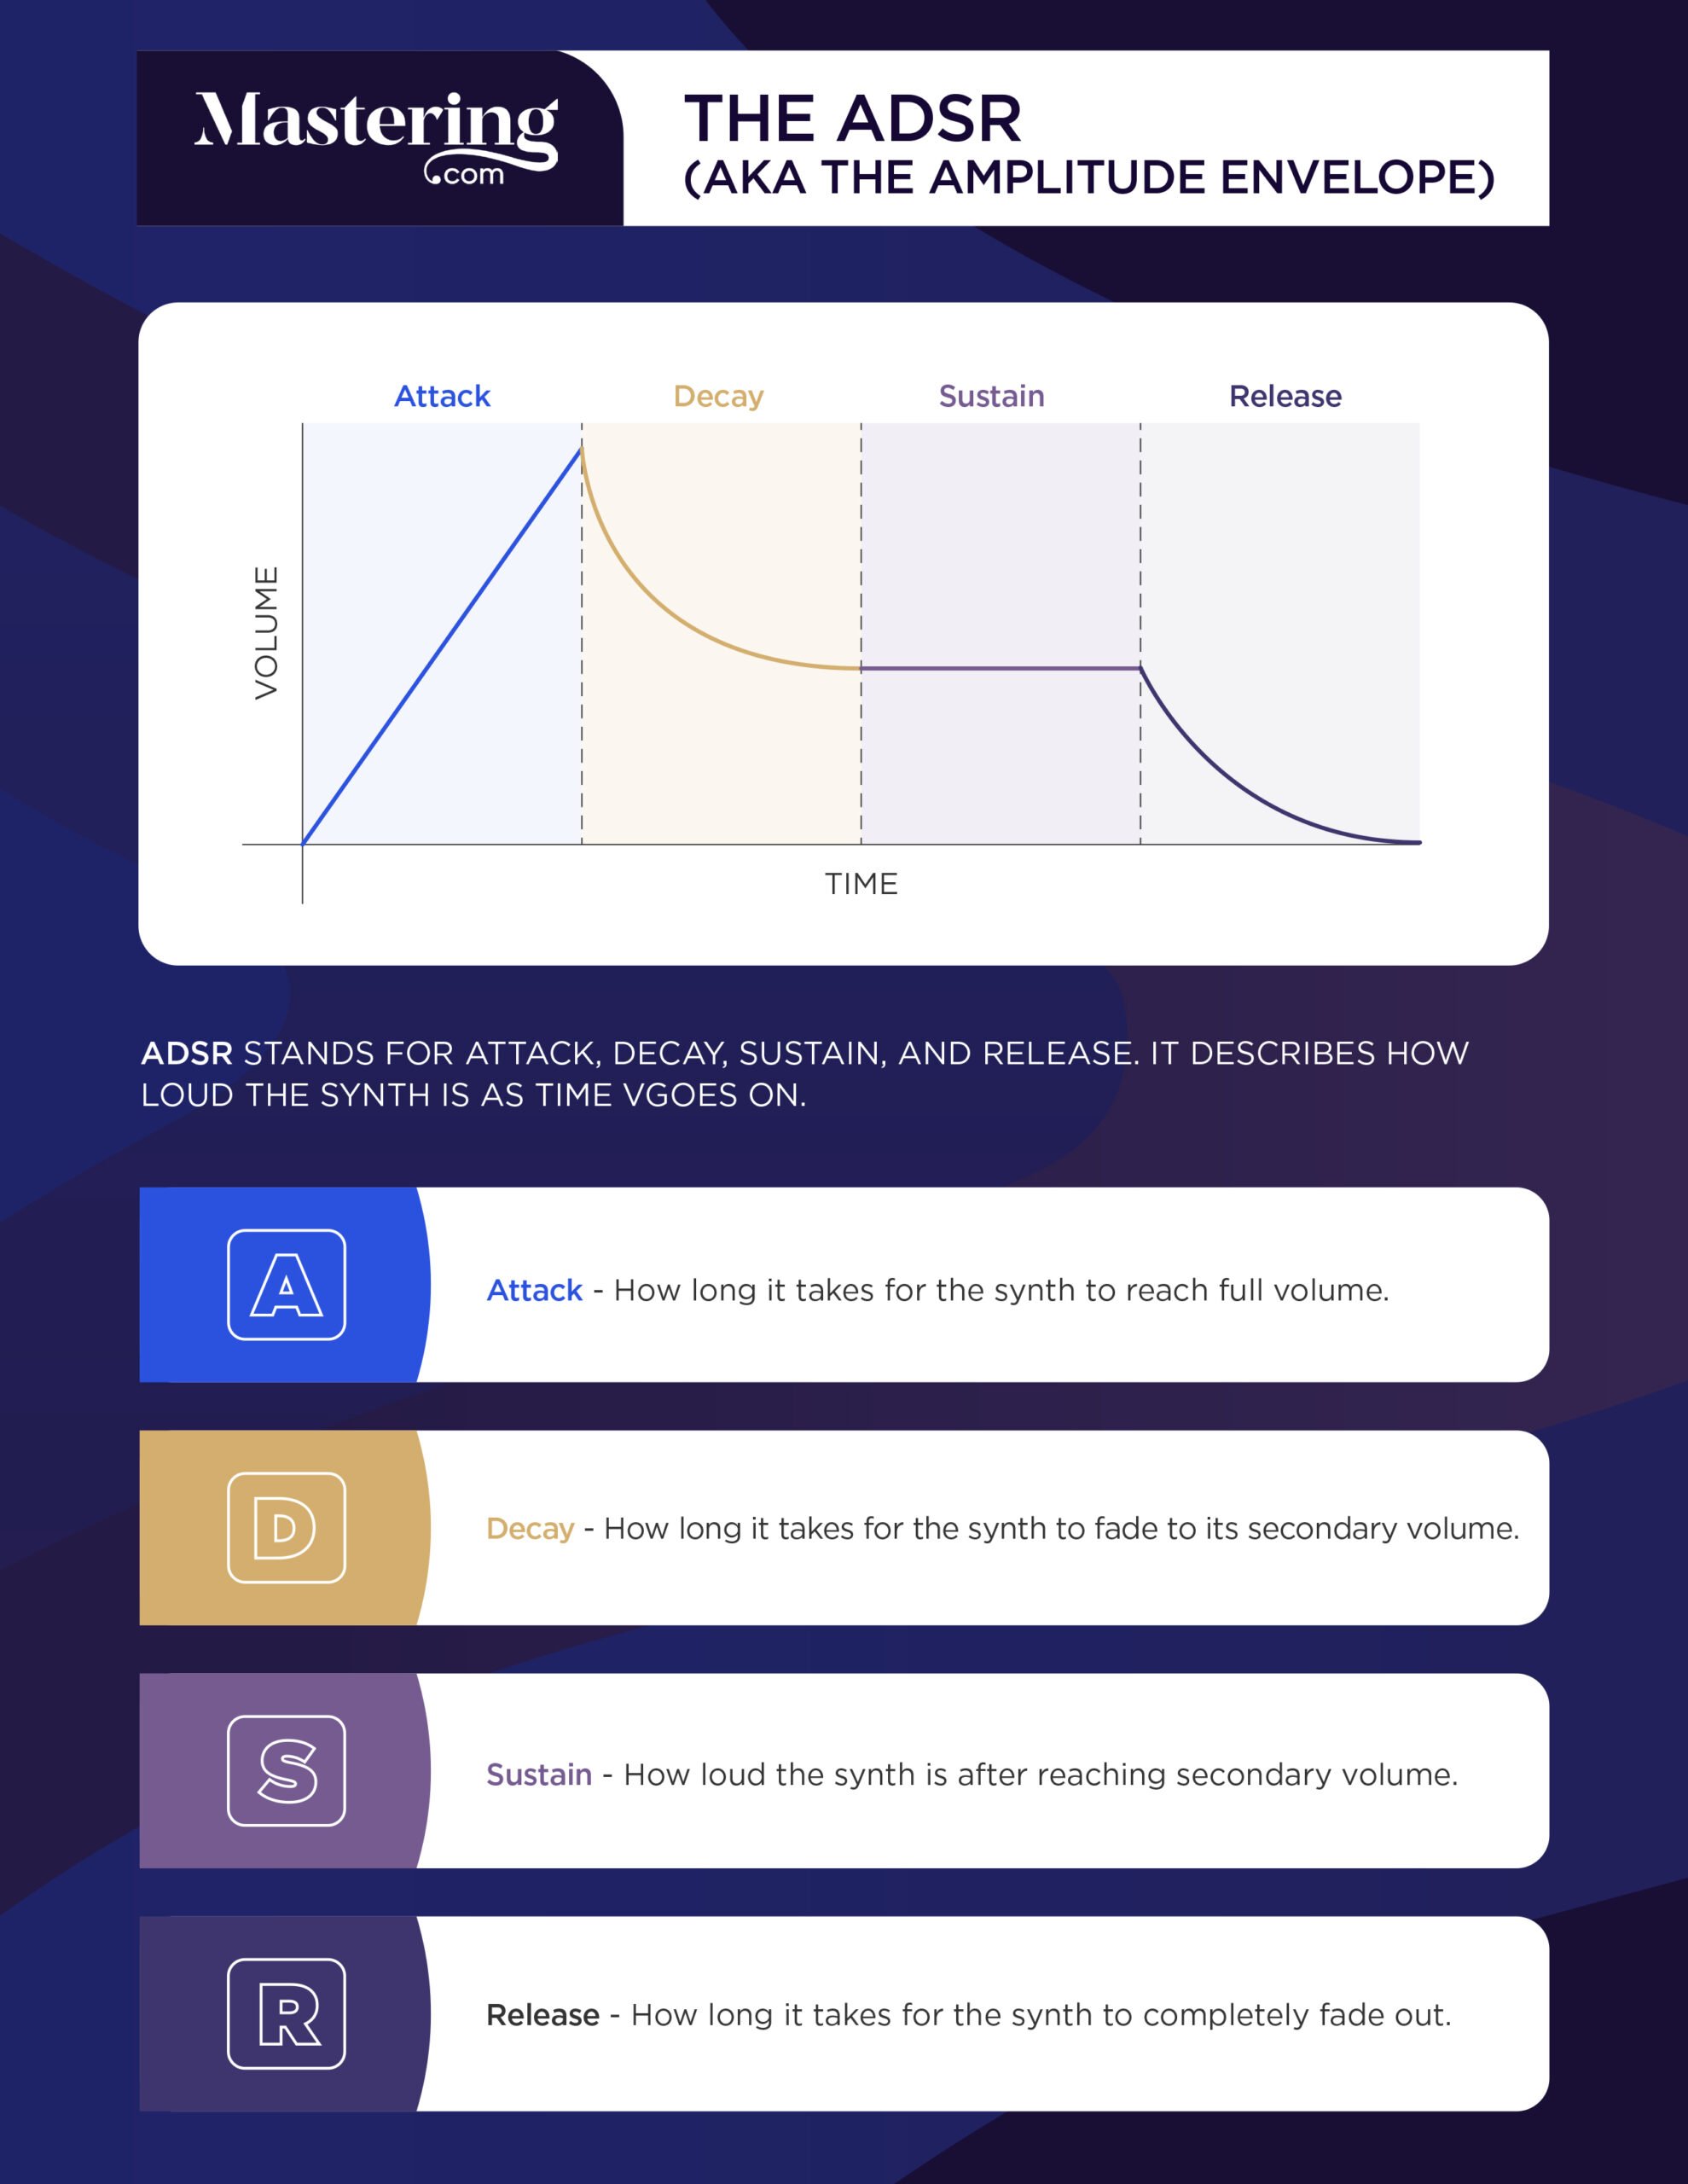
Amplitude Envelopes allow you to change the timing of your synth. Want the sound to fade in gradually? This’ll let you do so!
Here’s what all the settings on an ADSR envelope do:
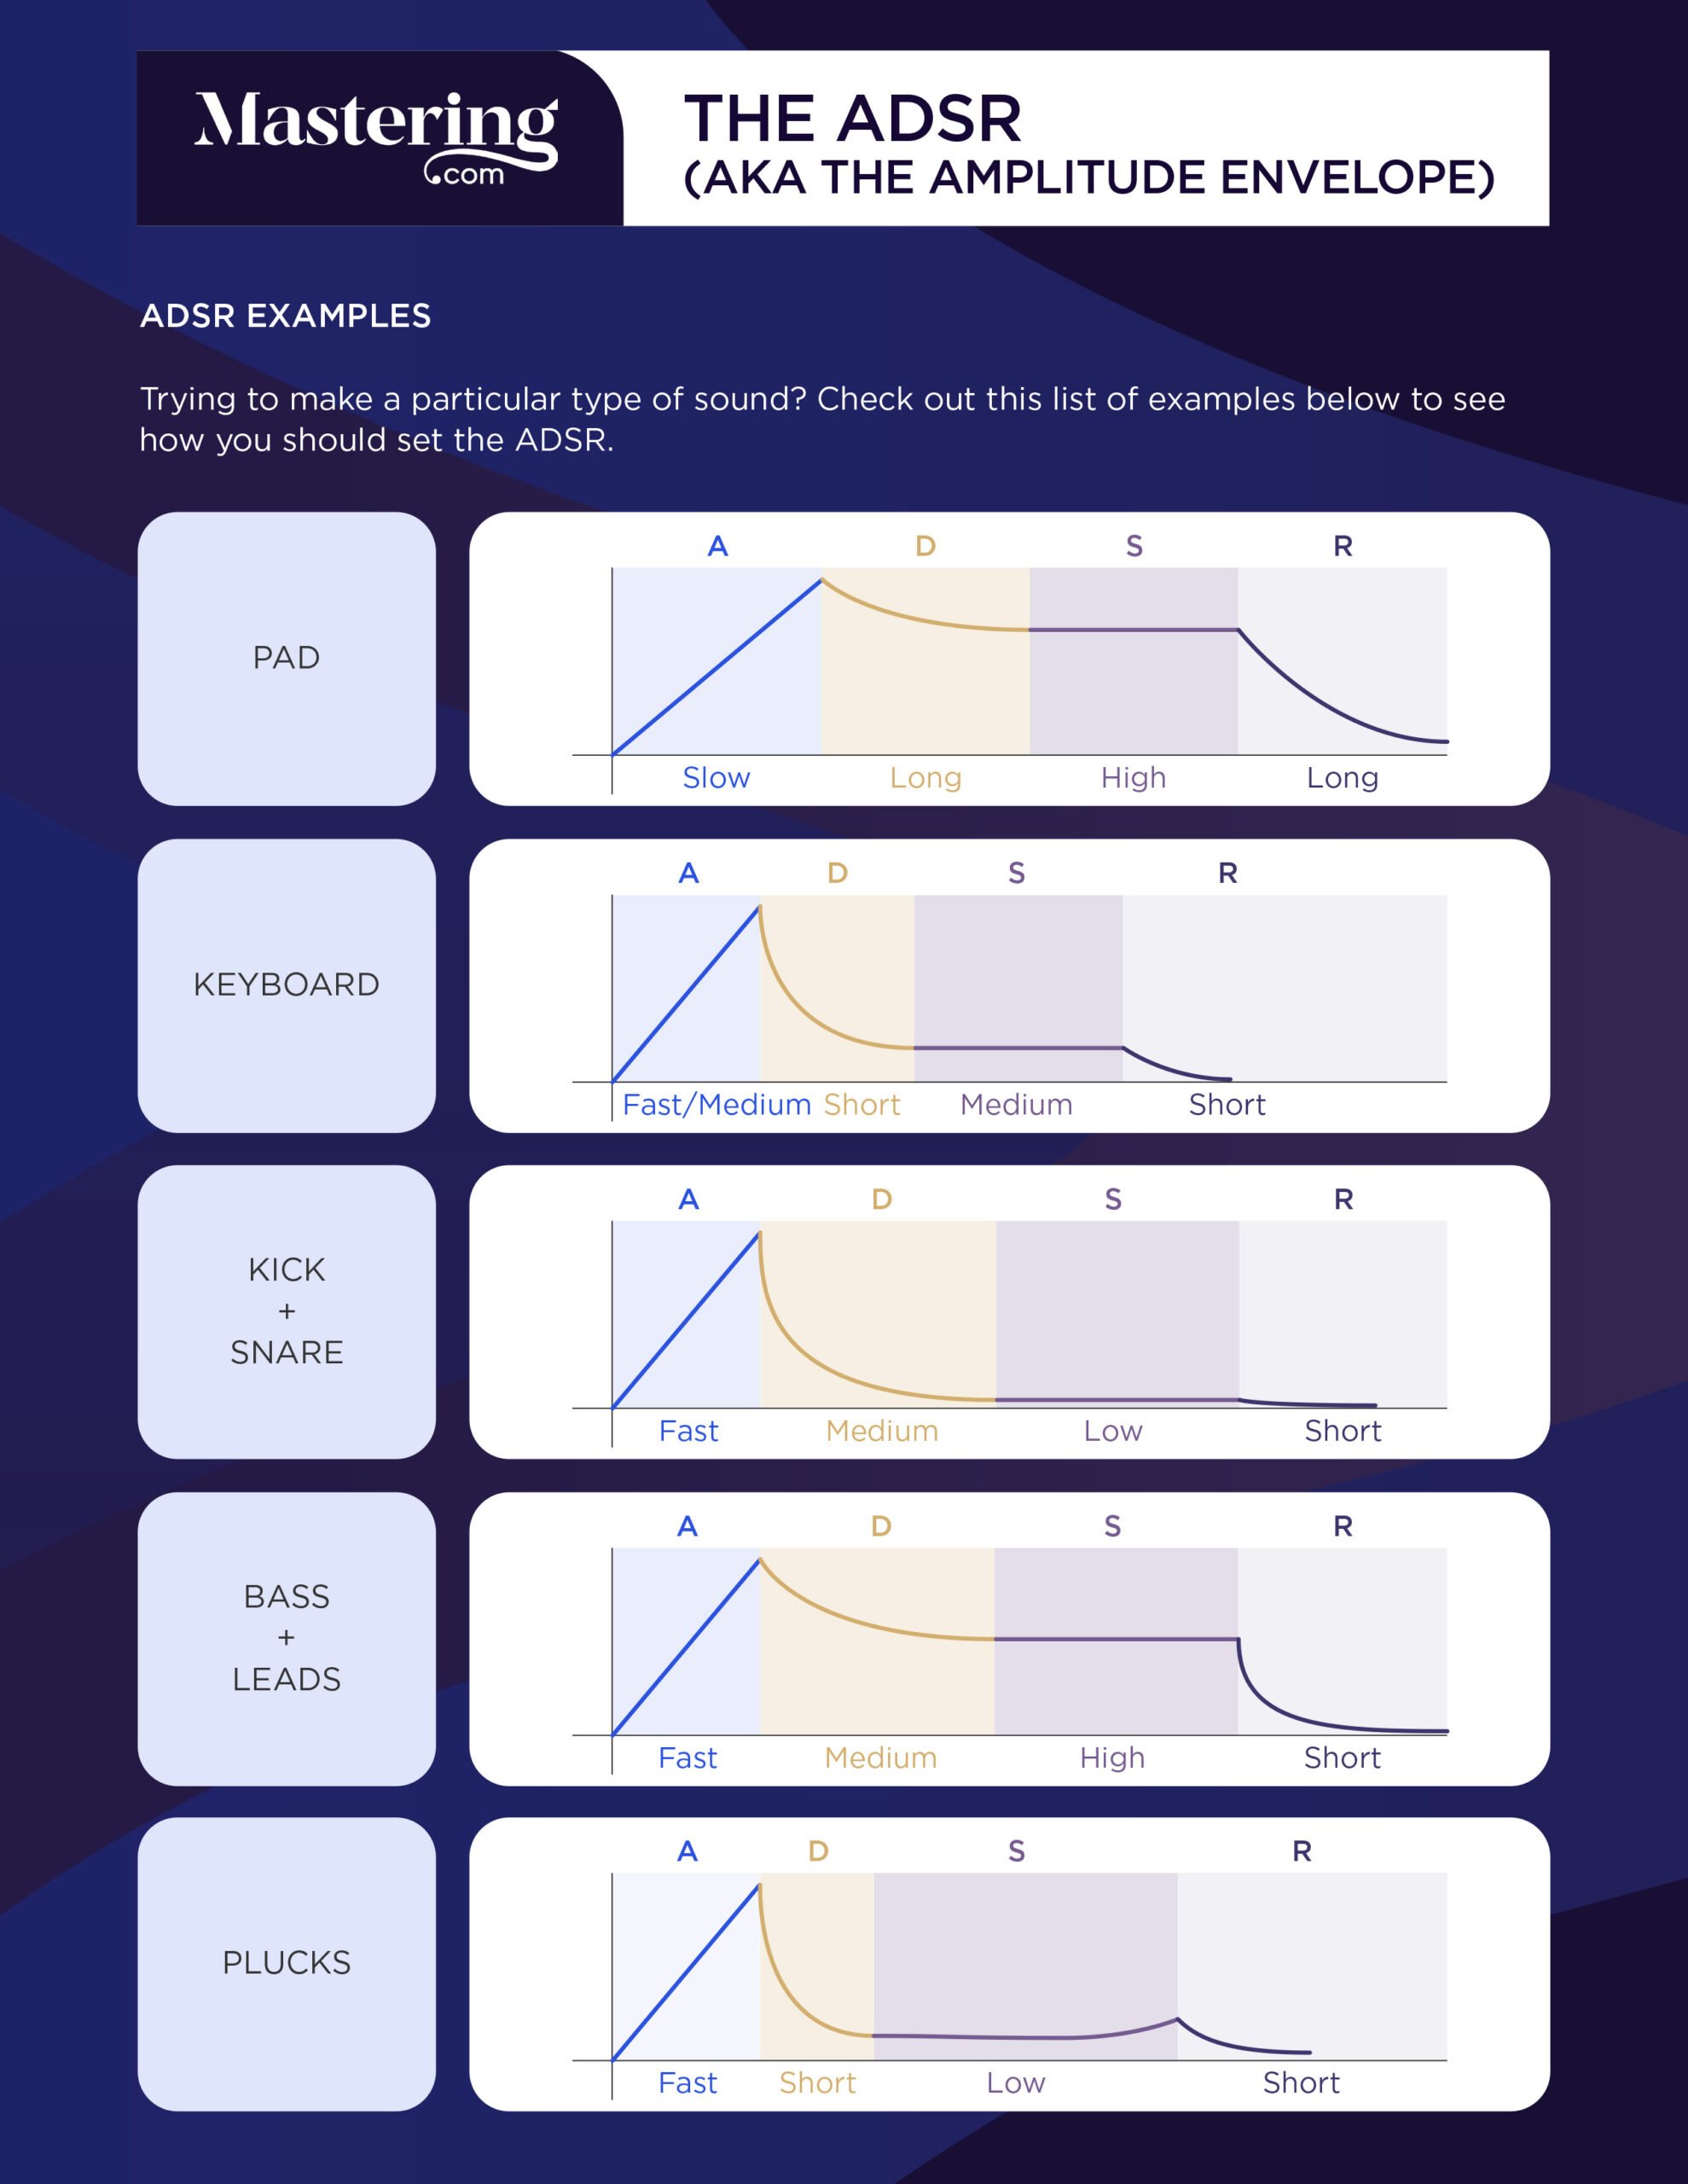
And how you should set them to get different types of sounds:
4. A Mixer:

This gives us a handy way to control the volume of our sound.
5. A Stereo Output:

Simply click and drag the output of one module into the input of another. That’s how we can tie all the pieces of our synth together.
So first, let’s connect the MIDI in to our oscillator.
Like I said, the MIDI in makes sure the synth knows when we’ve played a MIDI note. Once it’s connected to the oscillator, the oscillator will play any MIDI note we press.
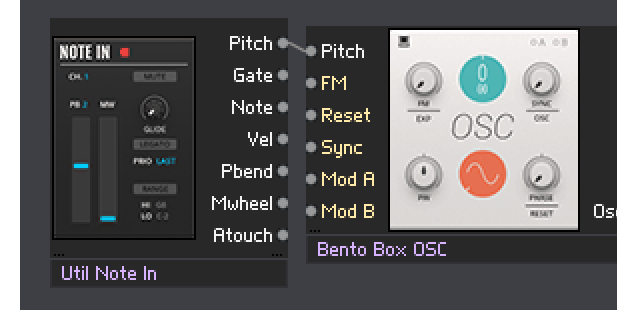
But we can’t actually hear it yet. To do that we need to tell the sound to go to an output.
To do that, we’ll connect our oscillator to an amplifier. This’ll let us turn the volume of our sound up and down.

Then we’ll route the mixer to our stereo output. The stereo output is the thing that actually plays the noise so we can hear it.
Now we’ve got sound!
So let’s review what we’ve done so far:
We’ve made sure our oscillator plays the MIDI notes.
We’ve made sure we can change the volume.
And we’ve told the synth where to send the sound so we can actually hear it.

The trouble is, the synth won’t stop playing the note we just hit. We need to add in some modules that’ll make sure the synth stops playing when we aren’t pressing any MIDI notes.
For that, we’ll need an amplitude envelope, aka the ADSR.
This next part can be a bit confusing, so let me break it down.
We aren’t going to connect the ADSR to the pitch of the oscillator like we’ve done with everything else. It doesn’t have anything to do with the pitch.
Instead, we’re going to use the gate output from the MIDI in. The gate turns on when a note is pressed and turns off when it isn’t being pressed.
By connecting the ADSR to the gate, we’re saying, “Turn the ADSR on when a note is pressed, and turn it off when it isn’t.”

Then we’ll connect the output of the ADSR to the “Mod A” input of the amplifier. By doing this, we’re telling the ADSR to modulate the amplifier.

We need to turn up the depth of the modulation on the amplifier’s volume knob.
Every time a note is pressed, the ADSR tells the amplifier to turn up the volume. Then, once we stop playing a note, the ADSR tells the amplifier to turn the volume down.

Now when we play a note, it’ll stop playing when we want to stop playing!
I know, I know, it’s a lot of work for a small reward. But the more you use modular synths, the less time and effort it takes to string these modules together.
Like I said, these synths can get complicated, but they’re really powerful. The time you put into learning them will make you a true synth expert.
For a more in-depth look into the kinds of sounds you can make with modular synths, check out this video. It shows the creation of a sound from start to finish by stringing a bunch of different modules together.
Getting Creative with Modular Synths
The possibilities are almost endless with modular synthesis. You can combine all kinds of synths together with modules.
For example, you could route the output of one oscillator into the input of another, creating an FM synth.

You can add a reverb module onto the end of your chain to give the synth some depth.

You could also use a sequencer to make a cool rhythm with your synth, though that’s a step beyond the basics.
Do you want to learn some of the more advanced things you can do with modular synths? The blocks tutorials by Kadenze are a great next step.
Once you get the hang of them, modular synths are probably the most powerful tools for sound design out there.
Conclusion
Modular synths are wildly versatile, and you can do just about anything with them.
You’ll find these basics we covered today in any modular synth you come across. So keep these lessons in mind when you’re working with a modular setup.
If you want to dig deeper into music production and learn what it actually takes to make mixes that sound pro… And you’re an intermediate or advanced producer… Be sure to check out the free masterclass: Enjoy!Next Steps
A Quick Note
This is the fifth article in our “Synthesizer 101” series. The first guide of the series covered the basic building blocks of the synth.
If anything in this article confuses you, I probably talk about it there. Feel to click here to check it out.
Also, check out our other tutorials on other kinds of synths. I’m sure you’ll find them useful.


