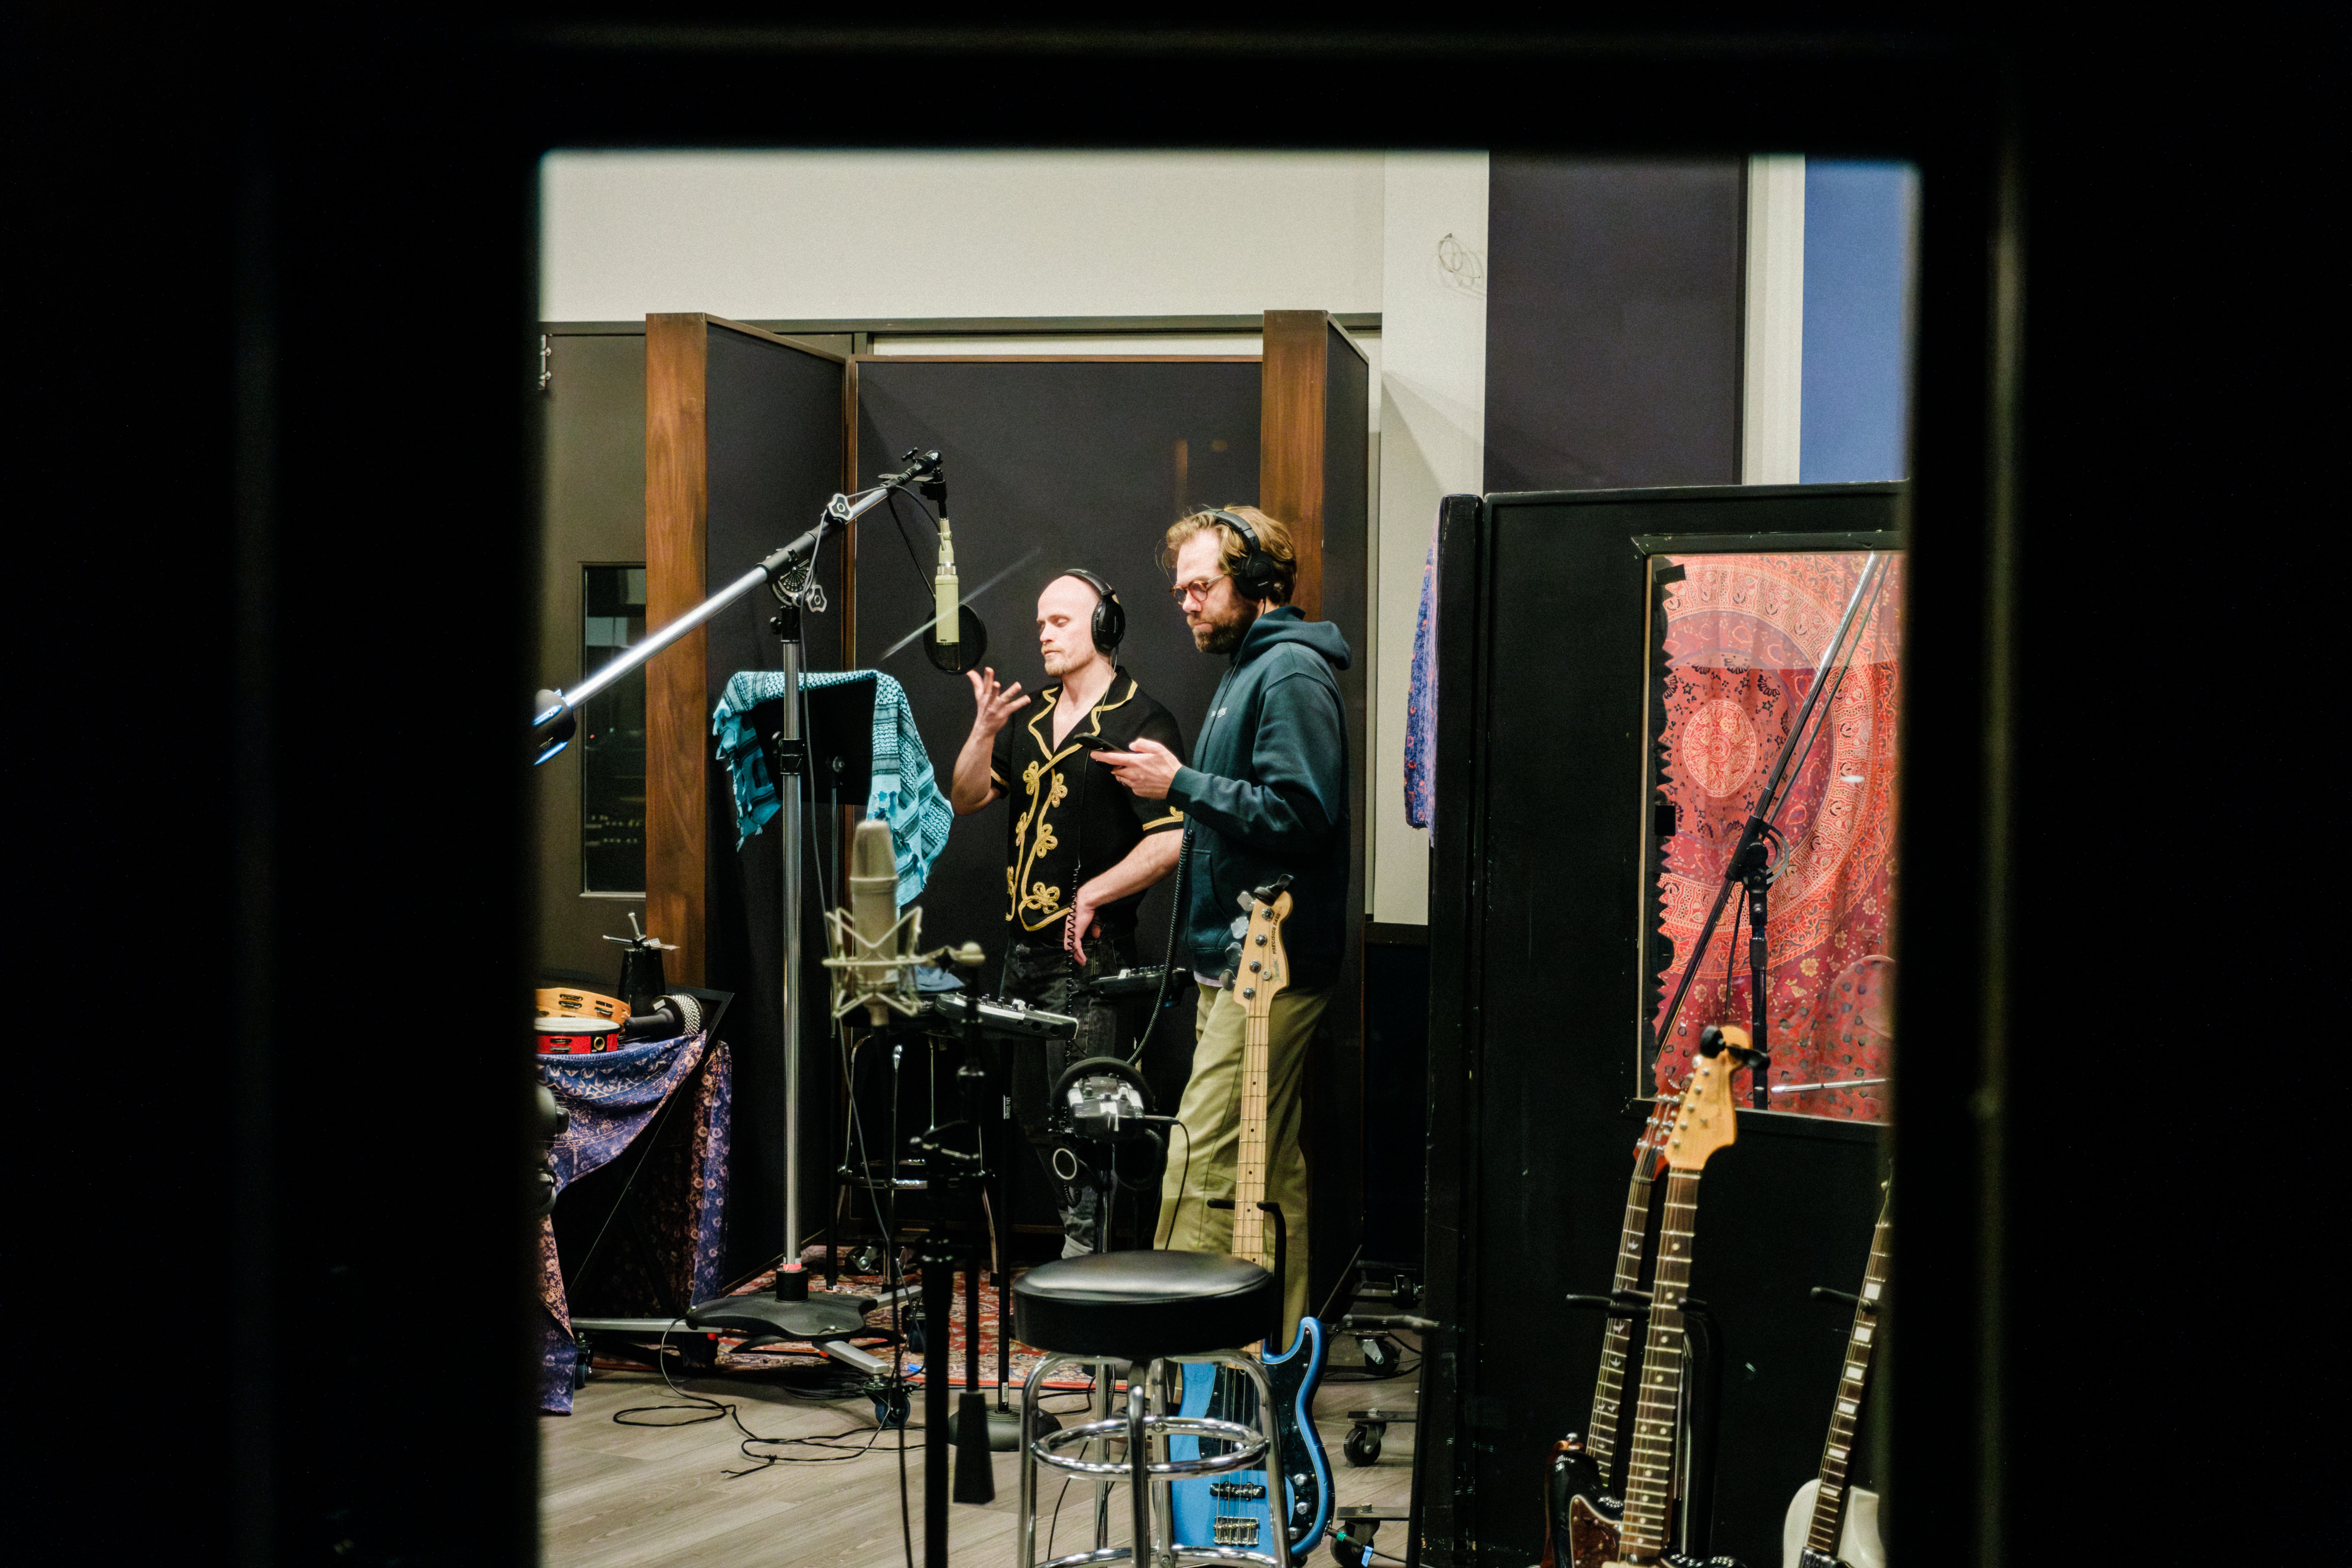
 The vocals are the most important part of any song that includes them.
You can feel the emotion in vocals. When vocals are produced badly, it’s instantly obvious. It distracts you and removes you from the moment.
When you get the vocals wrong, it ruins the entire track. But when you get the vocals right – everything falls in to place. The mix suddenly comes alive. The energy of the song shines through. The emotion and message are communicated effectively.
If you want to improve your music, focusing on vocal production is essential.
I’m guessing you’re here because you want to make your mixes sound professional. We put together a brief training that covers a totally new approach to music production. Until now, everyone has been teaching production totally backward. Just click below to watch.Get industry-quality every time (steal this framework)
But if you just want to learn about vocal production specifically, keep reading.

But getting a good vocal sound isn’t always easy.
![]() Producing vocals well is a culmination of lots of skills.
Producing vocals well is a culmination of lots of skills.
You can’t put it down to one factor. With the right microphone, a stellar performance, a good recording, appropriate EQ, subtle compression, automation and some effects you can create the perfect vocal recording. Remove any one of those factors and you’re back to square one.
![]()
It can get confusing sometimes. It’s easy to over-process your vocals and make them sound unnatural. Sometimes the room that you’re recording in provides a noticeable ‘small room’ reverb and echo. Other times it’s hard to get vocals to sit properly in the mix.
![]()
In this guide I’m going to give you the tools you need to record and mix awesome vocals. And when you do, it will have an instant impact on your music.
The Ultimate List of the Web’s
Best Vocal Production Resources
From Microphone Placement to Compression and EQ, this guide has you covered
Chapters
EquipmentRooms and AcousticsRecording TechniqueThe PerformanceAutomation and EditingCompressionEQEffectsCreative Techniques
Chapter 1
How to Choose the Right Microphone and Accessories
Choosing the right microphone is a key step in recording vocals. Different microphones suit different voices. Experiment with a few different microphones if you have the opportunity.
It’s also important to use the right accessories, such as a pop filter and stand.

Chapter 2
Picking the Right Room and Using DIY Acoustic Treatment
The room that you record in will have a big impact on the sound. In general, small and dead rooms are preferred (vocal booths). But if you have a larger room that sounds good, use it!
If you are recording in an un-treated room at home you can use mattresses, duvets and reflection filters to dampen the reverb as much as possible.

Chapter 3
Get the Perfect Sound at the Source (Recording Technique & Mic Placement)
The sound that you achieve when recording decides the tone and character of your vocal recording. Use microphone positioning to find the tone of vocal that you want. Try moving the mic further back for a clearer, more open sound. Move the mic closer for a warmer, intimate sound.
Although you can improve the tone of a voice with EQ, you can’t completely change it. You can exaggerate what’s there (and remove some of the nasty stuff). You cannot completely change the character of a vocal. Spend time getting it right at the source and finding the perfect sound with microphone positioning. Then mixing will be easy!
Also, beware of the proximity effect on cardioid microphones. When you get close to the mic, the bass is artificially boosted. To get a more natural sound from a cardioid microphone, position the mic at least 4 inches away from the mouth.

Chapter 4
How to Make Any Vocalist Give the Performance of Their Lifetime
This is something that’s often overlooked – yet it’s the most important aspect of recording vocals. Without a good performance… you have nothing. Don’t forget that your main focus is to make good music! If the vocalist (this might be you) doesn’t feel comfortable, it’s not gonna happen.
Make sure the headphone mix is right. Putting a bit of real-time reverb on the vocals can help too. If the vocalist doesn’t feel comfortable wearing headphones, remove one side or record ‘open air’ with the song playing quietly out of your monitors (make sure you use a cardioid mic pointing away from your speakers with this technique).
It’s worth taking at least 4 or 5 takes of any song, even if the vocals are nailed in the first take. It’s common practice to combine lots of different takes in to a final single take – this is called ‘comping’. Make sure you manage your takes well – writing notes helps a lot with this.

Chapter 5
Make Your Vocals Perfect with Automation & Editing
Volume automation is absolutely essential if you want to achieve a professional, polished sound. Besides managing the dynamics of the recording, you can emphasise different phrases and words to add to or change the energy of the vocal.
If your vocal recording is made up of lots of different takes, proper editing is going to be essential as well. Make sure you have included cross-fades between clips to avoid clicks. You can even move the vocal backwards and forwards to adjust the timing and put the vocal right in the ‘pocket’.

Chapter 6
Make Your Vocals Sit Perfectly in the Mix with Compression
Vocal compression can be added after automation to help tame the dynamics even more. This will help your vocal sit perfectly in the mix. You can also use compression as an effect by using a higher ratio and lower threshold to get that ‘in your face’ sound.
When it comes to compressing vocals, subtlety is key. Start with a low ratio, around 3:1, and aim for 2-10dB’s of reduction. For an obvious effect, bring the ratio up to 5:1 and aim for 10-20dB’s of reduction.
Start off with a fast attack time around 4-10ms and a slow release time around 60-200ms, and work from there.
One old school technique is to use compression while you’re recording vocals to help control the dynamics and prevent clipping. This works because compression is best applied in lots of small strokes (like a painter) instead of one huge block. You can achieve the same thing in your DAW by using 2 or 3 compressors in series.

Chapter 7
Use EQ to Remove the ‘Bad’ Stuff and Exaggerate the ‘Good’ Stuff
As I said earlier, EQ is a vital tool for removing horrible room resonances and nasty elements of the sound (like sibilance) and then subtely boosting the pleasant elements. As with compression, subtlety is key.
Use cuts more than boosts, and start with 3dB chunks. Cut everything below 60Hz or above with a low pass filter.

Chapter 8
Using Effects… Effectively (Reverb, Delay and De-essing)
Your vocals should be sounding pretty awesome by now. You can add some subtle effects for that final sheen and to add interest.
Use less reverb on the vocals than the rest of the mix if you want them to pop out. You could even use a dedicated reverb effect just on the vocals with a shorter decay time – plate reverbs are great for this.
Delays sound great when they suit the song, but only then. Use automation to bring in the effect at the end of phrases to add interest.
De-esser’s can be used to reduce sibilance in a vocal recording. Try to avoid sibilance in the first place when recording (position the mic off-axis if you hear it). Sometimes, though, it slips through and you need to use a de-esser and a bit of EQ.

Chapter 9
Creative Techniques (Make Your Vocals Unique)
The rules are made to be bent – or broken. Never be afraid to experiment with weird effects and techniques on vocals. You never know what you might find.
Here are some great ideas to get your creative juices flowing…

Recommended for you:
- Vocal Compression: How to Compress Vocals Like an Expert
- Recording Vocals and Mixing Vocals: The Definitive Guide
- How To Use An Equalizer (The Two Ways To Approach EQ)
- Best DAW 2016: How to Choose a DAW That Inspires You
If you want to dig deeper into music production and learn what it actually takes to make mixes that sound pro… And you’re an intermediate or advanced producer… Be sure to check out the free masterclass: Enjoy!Next Steps
Image sources:
-
- https://commons.wikimedia.org/wiki/File:Metalworks_Studio_1_Tracking_Room_Floor_and_Isolation_Booth..jpg
- https://commons.wikimedia.org/wiki/File:Carey-on-mic.jpg
- http://simpleicon.com/clock-time-1.html
- http://www.clipartbest.com/clipart-aiqLbq5iM


