If you’re just starting out, recording electric guitar can seem impossible. There’s so much equipment to buy and insider techniques to learn.
But don’t worry! Recording guitar doesn’t have to be expensive or time consuming. With some basic equipment and knowledge, you can do it all by yourself.
This easy to follow guide will show you everything you need to get started. By following along with the lessons in this article, you’ll be recording your own riffs in no time!
I’m guessing you’re here because you want to make your mixes sound professional. We put together a brief training that covers a totally new approach to music production. Until now, everyone has been teaching production totally backward. Just click below to watch.Get industry-quality every time (steal this framework)
But if you just want to learn about recording guitar specifically, keep reading.
So You Want to Record Guitar?
Guitar is used in tons of the most popular genres in the world. Whether you’re writing Hip Hop, Rock, Pop, or RnB, knowing how to record guitar is an important skill.
But you’ll need some basic equipment before you can start tracking.
Here’s What You’ll Need
- Your computer
- A DAW to record in
- An audio interface
- Cables and stands
- A pair of headphones
- Your guitar
- A guitar amplifier (optional)
- Microphones (optional)
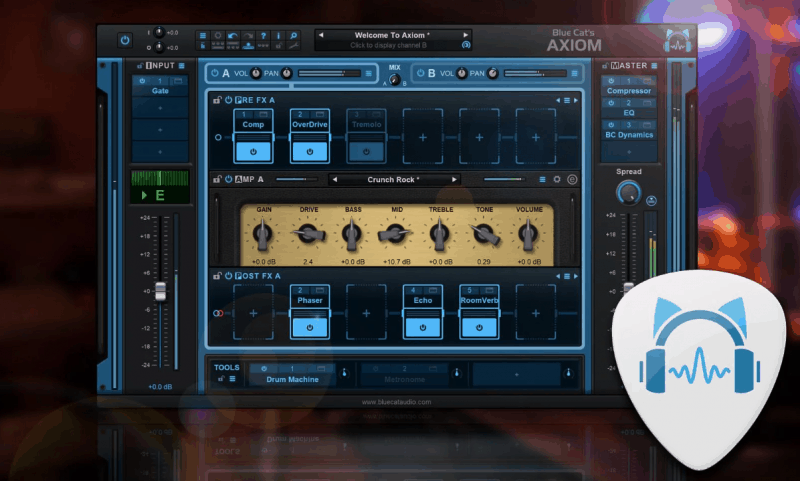
- An amp simulator (optional)
There’s no need to drop a ton of money on this equipment, especially if you’re new to recording.
Expensive gear won’t help you if you don’t know how to use it. You’re better off buying cheap equipment and learning how to make it sound great.
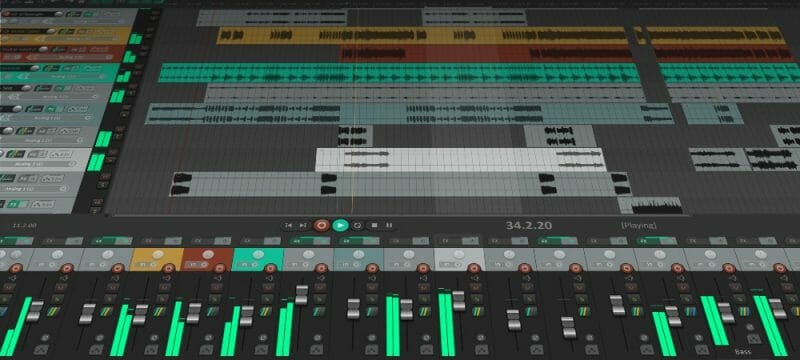
Setting Up Your DAW
To record guitar, you’ll need a digital audio workstation (DAW).
A DAW is software that lets you record, edit, and mix audio.
There are tons of different DAWs that have different strengths. Here’s a full rundown on the most popular DAWs out there.
You don’t need anything super fancy to record guitar. Pro Tools and Logic Pro are a couple of industry standards for recording.
If you’re going to do a lot of recording, you may want one of those premium DAWs.
But you don’t need something quite so pricey if you’re just getting started.
Reaper
If you’re looking for a cheap option, look no further. Reaper is a solid DAW for PC, Mac, and Linux.
At only $60, Reaper is very powerful. It has tons of features you’d usually see in a much more expensive program.
GarageBand
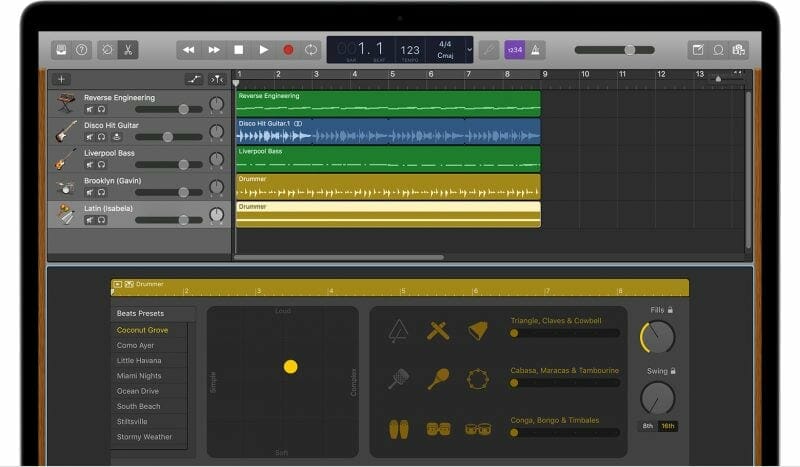
For the Apple users out there, you may want to stick with GarageBand. It’s free, easy to use, and pretty similar to Logic Pro.
If you plan on upgrading to Logic some day, GarageBand is a great place to start.
How to Set Up Your Audio Interface
Before you can record, you also need an audio interface.
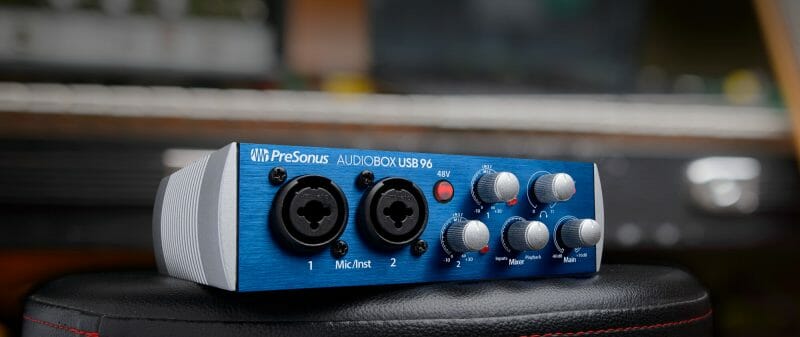
Audio interfaces let you plug studio microphones into your computer.
They can be tough to use at first. But audio interfaces are actually pretty simple.
Where most beginners get tripped up is in the I/O.
By default, the computer doesn’t know where your microphone is plugged in. You have to tell it where to look, so that’s where I/O comes in.
I/O stands for input and output. It’s a setting inside your DAW that tells the computer where the microphone is (the input) and what you’re using to listen (the output).
For your interface to work, you need to make sure it’s selected as both your input and your output.
I’m using the Apollo Thunderbolt. So it should be set as my input and my output.

Different DAWs have different ways of accessing the I/O settings. If you aren’t sure how it works in your program, google the name of your DAW followed by “I/O setup.”
Bonus Tip: Interface Drivers
If your interface isn’t showing up in your I/O settings, you may need to download a driver.
Drivers are pieces of software that help your computer connect to the interface. Different interfaces have different drivers, so you’ll need to find the right one.
You can probably download your audio interface’s driver from the website of the company that made it.
For example, the driver for my UAD Apollo Twin is right here on their website.
Once you’ve downloaded the driver, restart your computer. Once it turns back on, reopen your DAW.
Hopefully it should recognize your interface now!
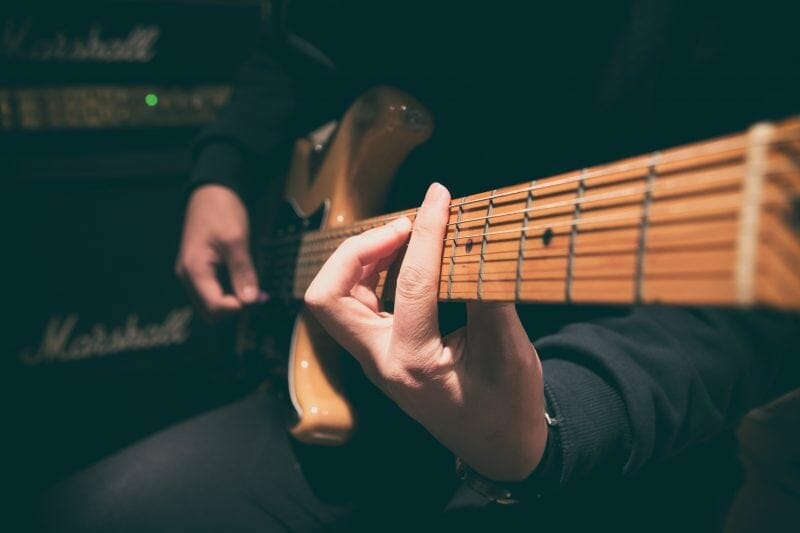
Choose a Recording Method
Finally, on to the fun part! Getting your guitar tone.
There are a couple different ways you can record electric guitar.
You can use microphones to record an amplifier. Or you can plug directly into the interface.
They’re both good options, and neither one is inherently “better.” I’d say go with the option that matches your current gear.
Record your amp if you have one. If you don’t, check out some amp simulators and pick one that suits you.
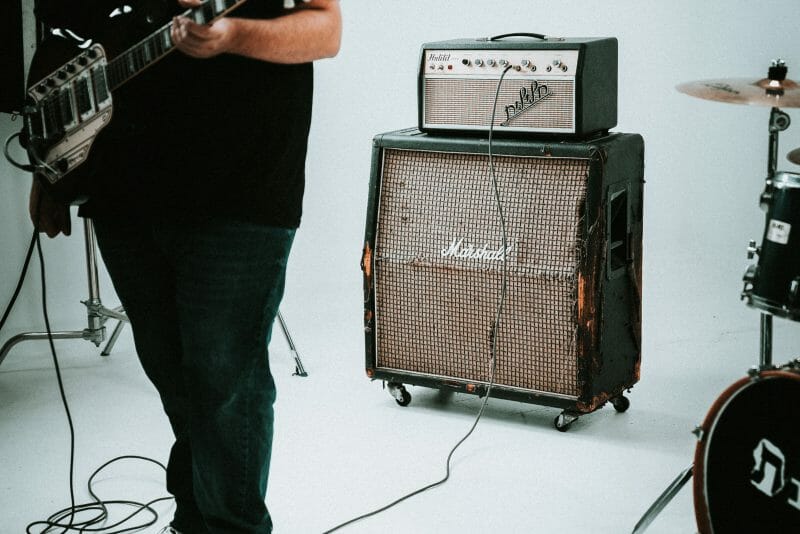
Method #1: Recording an Amp
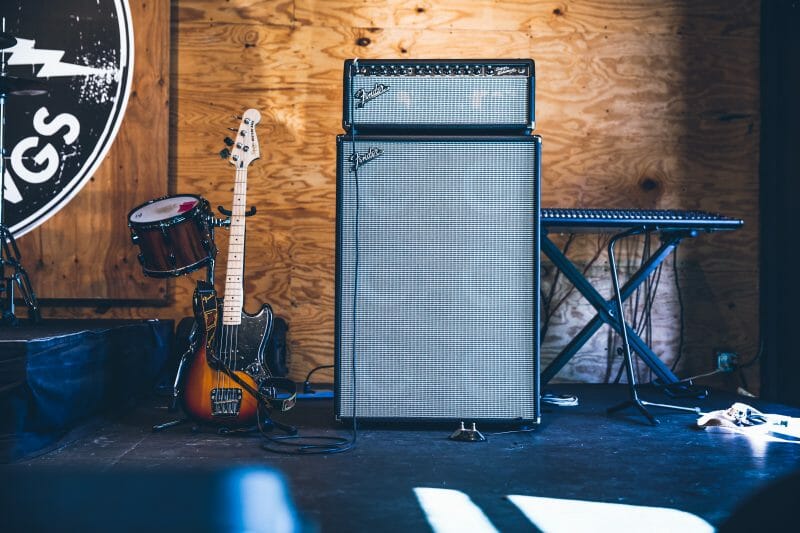
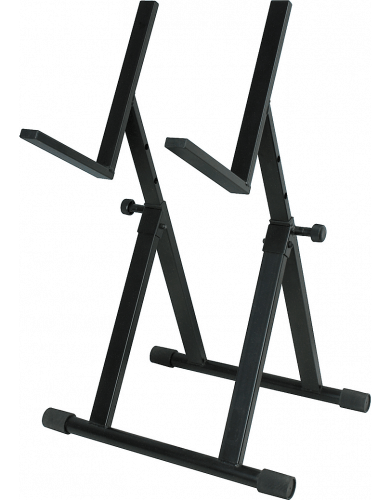
Recording your amp is simple. First you’ll need to put your mic on a stand.
I recommend getting one of these short stands. They’re really ideal for tracking most amps.
As far as mics go, I recommend the Shure SM57. It’s one of the most popular mics in the world.
Some critically acclaimed albums have been recorded using just a single SM57.
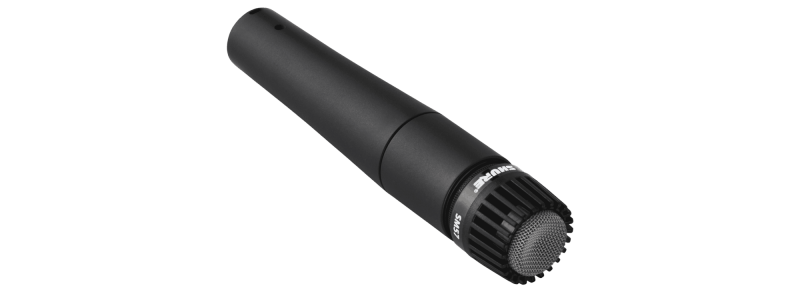
It’s cheap, it can take a beating, and it sounds great on guitars.
Once you’ve got your mic on the stand, we need to plug it in.
Grab an XLR cable and plug it into the back of your mic. Plug the other end of the XLR into your audio interface.
It’s as simple as that!
Now you can mic the amp. If you shine a flashlight on the front of your amp, you should see a circle somewhere in the center.
This is the cone. The closer your mic is to the cone, the more high frequencies it’ll pick up.
This means your recordings will sound brighter and clearer.
As you move the mic to the left or right of the cone, you’ll hear fewer high frequencies. The tone will sound darker and moodier.
Depending on the mood of your music, you may want to place the mic close to the cone or a little off to the side. Each time you record, experiment with the placement to see what sounds best to you.
You can also change the sound by moving the mic backward or forward. As it gets further from the amp, you’ll start to hear more room sound.
If you’re just using one mic, you’ll probably want to have it right in front of the amp. A couple centimeters of distance is a safe bet.
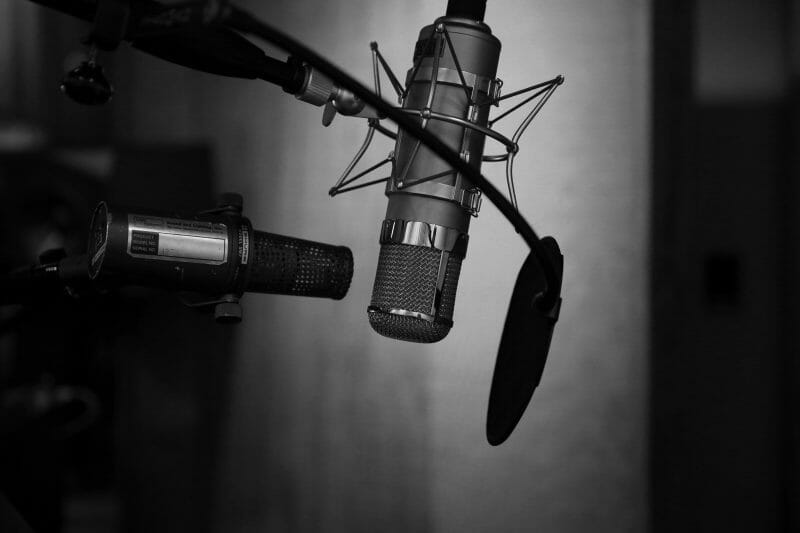
Bonus Tip: Condenser Microphones
If you’re using a condenser microphone, you’ll need to turn on phantom power. Condenser microphones need power to work.
All you need to do is find a button on your interface that says either “Phantom Power” or “+48v.”
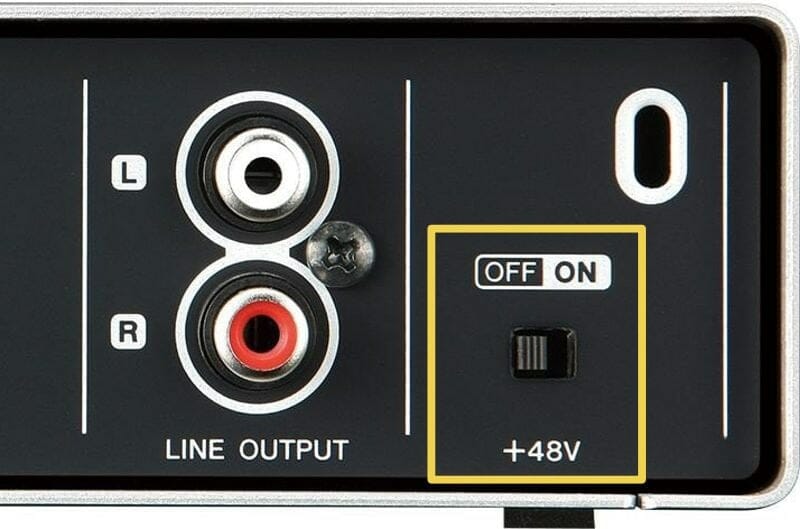
Now that phantom power is on, you should be good to go!
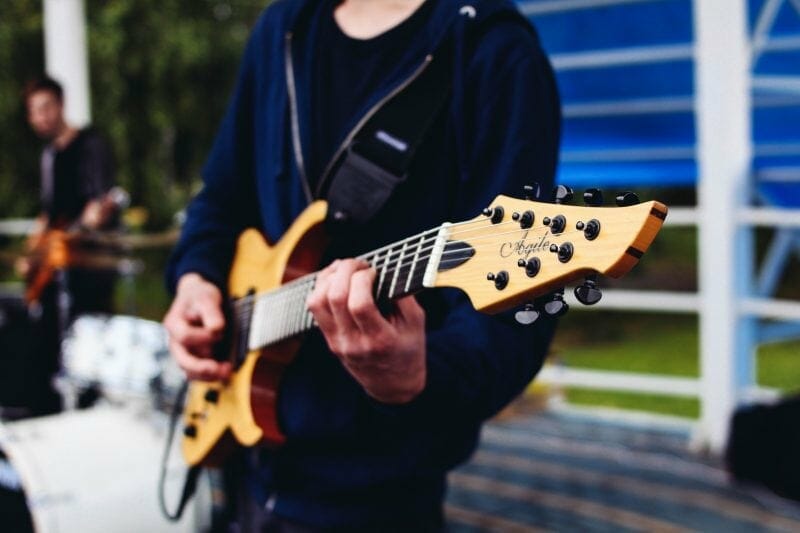
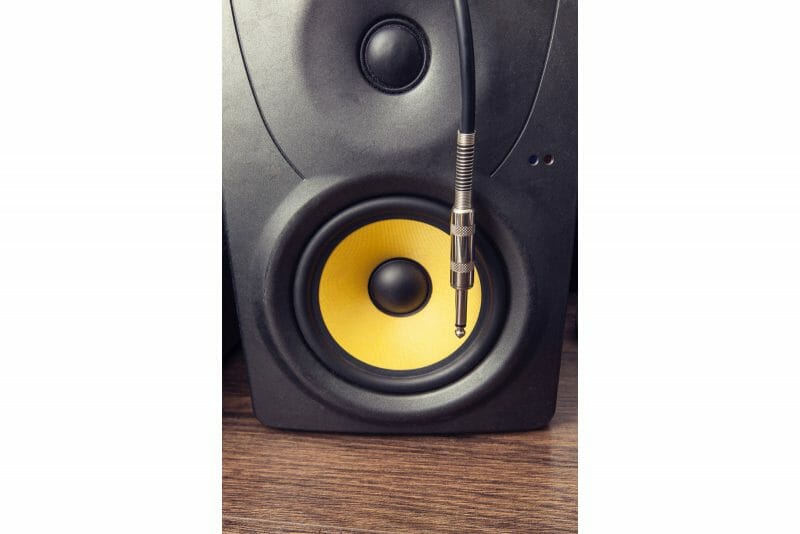
Method #2: Recording Direct In (DI)
Don’t worry if you don’t have an amp! There’s another way to record electric guitar.
You can plug your guitar directly into your interface using a ¼” cable.
At first, it’ll sound pretty bad. But don’t worry! It’s easy to fix.
The isolated sound of an electric guitar isn’t very inspiring. Amplifiers add a lot of life.
That’s where amp sims come in.
Amp sims are digital recreations of amplifiers. By running the direct signal from your guitar through one, you can make it sound like you’re playing through a real amp.
I’m honestly a huge fan of amp sims. Generally speaking, you can get a wider variety of sounds for less money when using amp sims.
With practice and dedication, amp sims can sound just as good as the real thing.
Method #3: Recording Acoustic Guitar

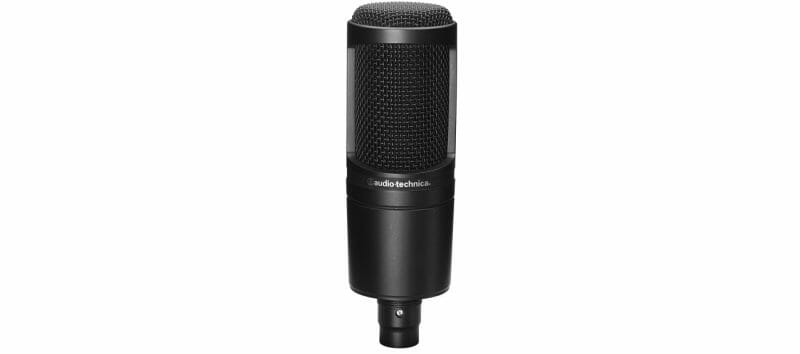
I recommend that you use a condenser microphone when recording acoustic guitar.
Acoustics tend to be a lot brighter than electrics. Condenser mics are really good at recording those shimmery high frequencies.
Audio-Technica’s AT2020 is a great, wallet friendly condenser mic.
Some people put the mic in front of the sound hole.
Others insist the mic should be pointing at either the 12th or 15th fret.
Both are good options!
By putting the mic in front of the sound hole, you’ll get more of the low and middle frequencies from the body.
On the other hand, you’ll get more of those bright, higher frequencies from the 12th and 15th frets.
It just depends on the mood of the song and your own personal taste.
Once you know where you want the mic to point, you need to decide how close it should be to the guitar. Pushing the mic 5–12 inches away is a solid rule of thumb.
Experiment with your mic placement. Use your headphones to listen to how the sound changes when you move the mic around.
Once you’ve found something you like, roll with it!
Get Ready to Record
Almost there! Just a couple last steps and you’ll be ready to record your first take.
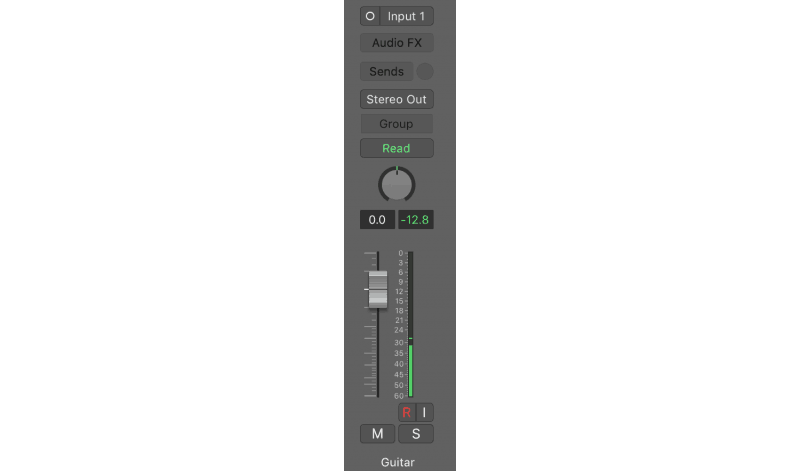
Create an Audio Channel in Your DAW

Check the input for the channel. Even if your global I/O settings are right, the channel itself may not be set correctly.
Let’s say my guitar is plugged into the first input on my interface, but the channel is set to “Input 2.”
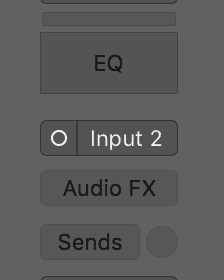
Since the channel is looking at input 2, it won’t pick up anything from my guitar.
But once I change the channel to input 1, it’ll pick up the sound of the guitar.
Not sure how to change the channel input on your DAW? Simply google the name of your DAW followed by the words “channel input settings.”
Set Your Volume
Last, we need to decide how loud the recording should be.
We can make things louder or quieter in mixing. But there’s actually an ideal volume range for recording.
Any time you record something, watch the channel meter in your DAW.
You want the volume to sit somewhere between -20 and -12 dB. This’ll make sure your recordings are the highest quality they can be.

If you record too loud, your tracks are more likely to “clip.” They’ll distort, irreparably harming the quality of your audio.
Record too quiet and you’ll probably hear a bunch of static in your recordings.
You Did It!
Everything’s set up and ready to go. Now you can start recording!
It may seem like a lot of steps, but with practice, this will all become second nature. You’ll be able to set up for recording in a matter of minutes.
Bonus Tips
Got all the fundamentals down? Check out these extra tips for getting great guitar recordings.
This article goes over all kinds of techniques the pros use to get incredible guitar tone.
Here are a few extra tips to get you going.
UPDATE: Check out this video on getting a BIG sound for your guitars:
Getting Rid of Hum or Buzz
Whenever you record, you may notice some electrical humming in the background.
Hum and buzz can be tricky to remove from a recording. Your best bet is to head it off at the pass—get rid of it before recording.
There are a few ways to fix a buzzy guitar or amp. The solution depends on the reason your guitar is buzzing.
But here are some of the most common solutions you’ll find:
- Make sure your amp is grounded
- Use humbucker pickups
- Add a noise gate to your effects chain
- Use a ground loop exterminator
Using a Second Mic
If you’re recording an amp, using two mics is a great way to improve your recordings.
I typically use an SM57 and a ribbon microphone when recording amps. But condensers and other dynamic mics can also sound great.
Different mics emphasize different parts of a sound. An SM57 will get more of the crunch, while a ribbon will get more of the warmth.
Putting two mics on your amp allows you to mix those two tones together.
Using a Room Mic
You could also use a room mic. Room mics are placed further away from the amp and capture the sound of the amp inside the room.
This is a great way to add space and depth to your tone.
When doing this, you may want to follow the 3:1 rule. The room mic should be three times further away from the amp than the first mic.

Other multiples of three work, too, so you could also have the room mic nine times further away.
So let’s say I have an SM57 2 cm away from the amp. I want to put the room mic 6 cm, 12 cm, 18 cm, or 24 cm, etc., away from the amp.
This can help minimize phase cancellation.
Conclusion: How to Record Guitar on PC and Mac
Now you’re up and running!
Like I said, it can seem like a lot at first. But it’ll get easier and easier with practice.
By following all the tips and techniques in this article, you’ll be recording your own stellar guitar parts in short order!
If you want to dig deeper into music production and learn what it actually takes to make mixes that sound pro… And you’re an intermediate or advanced producer… Be sure to check out the free masterclass: Enjoy!Next Steps