Do you know about the silent killer of mixes?
Phase cancellation is hard to notice at first, but it’ll slowly eat away at the quality of your mix. Eventually you’ll realize that hours of hard work have been undone.
But don’t worry! I’m going to show you what phase cancellation is and how you can avoid it.
What Is Phase Cancellation?
To understand phase cancellation, first we have to talk about waveforms.
Here’s the waveform for a sound.
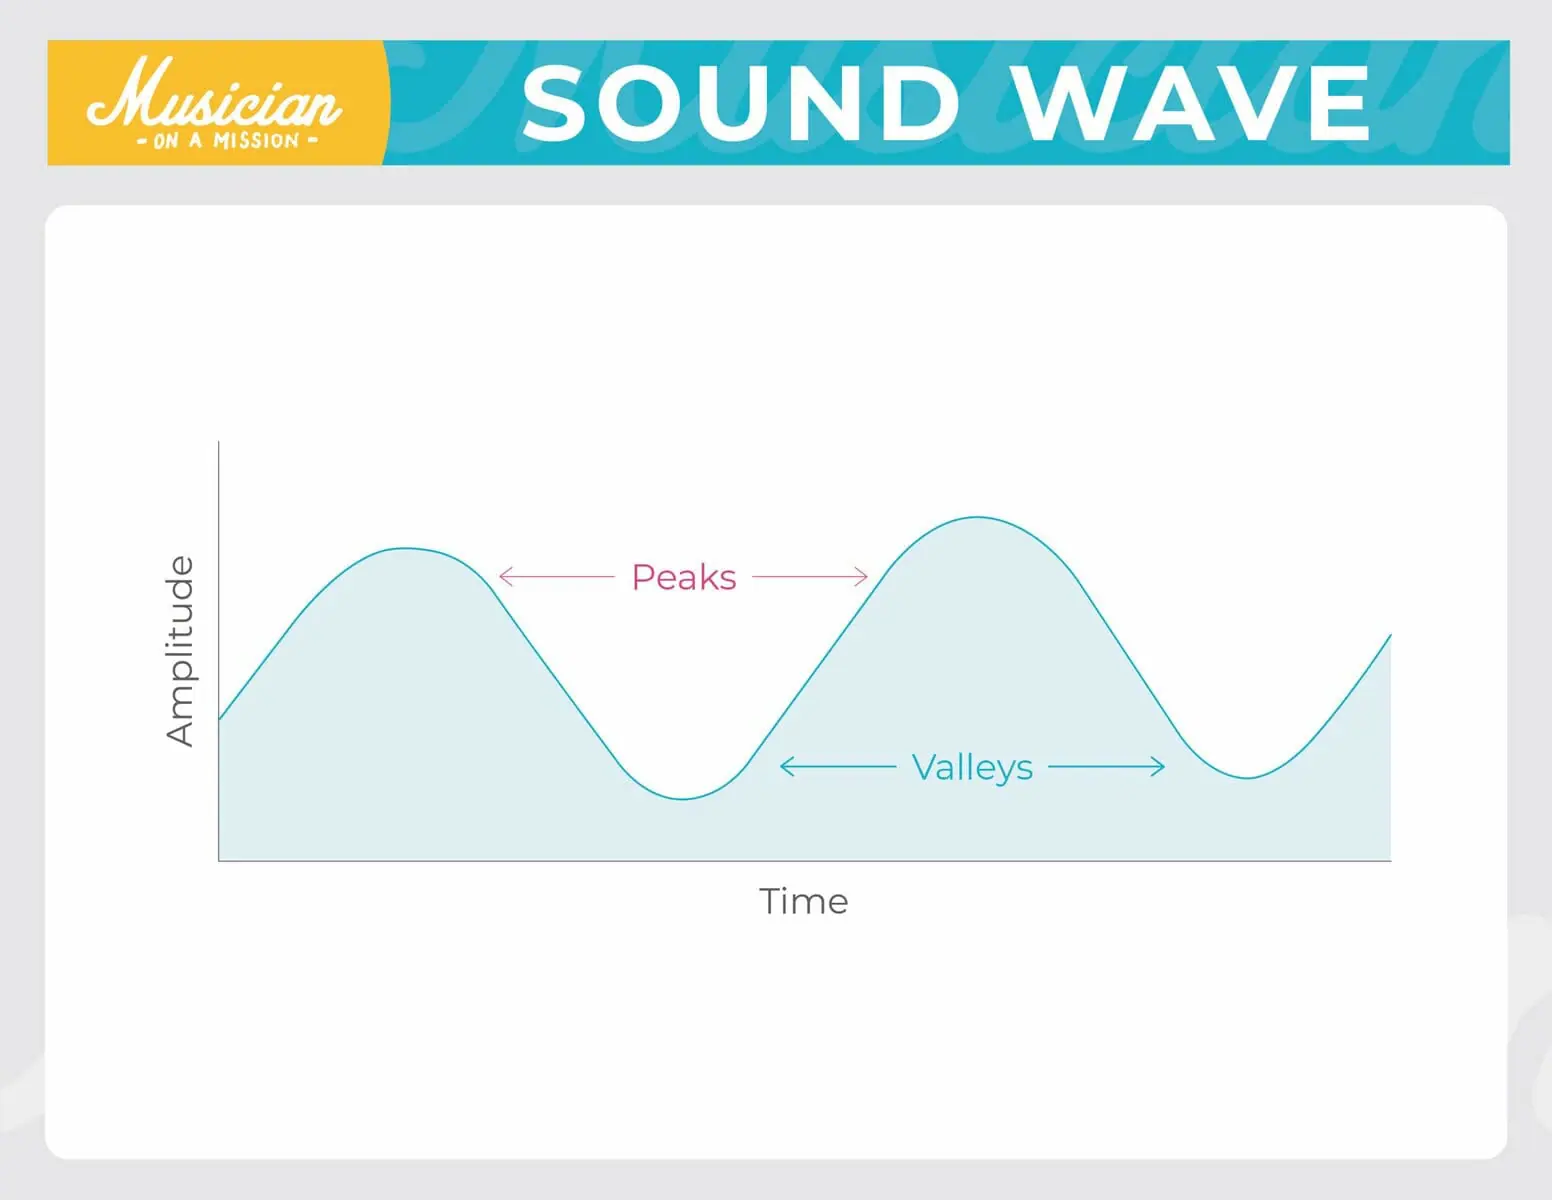
There are peaks and valleys across the wave.
The volume of the sound is decided by how tall these peaks are. The pitch is decided by how close they are to one another.
Let’s say we doubled it so there are two of the same sound. Basically, we’re just adding 1+1.
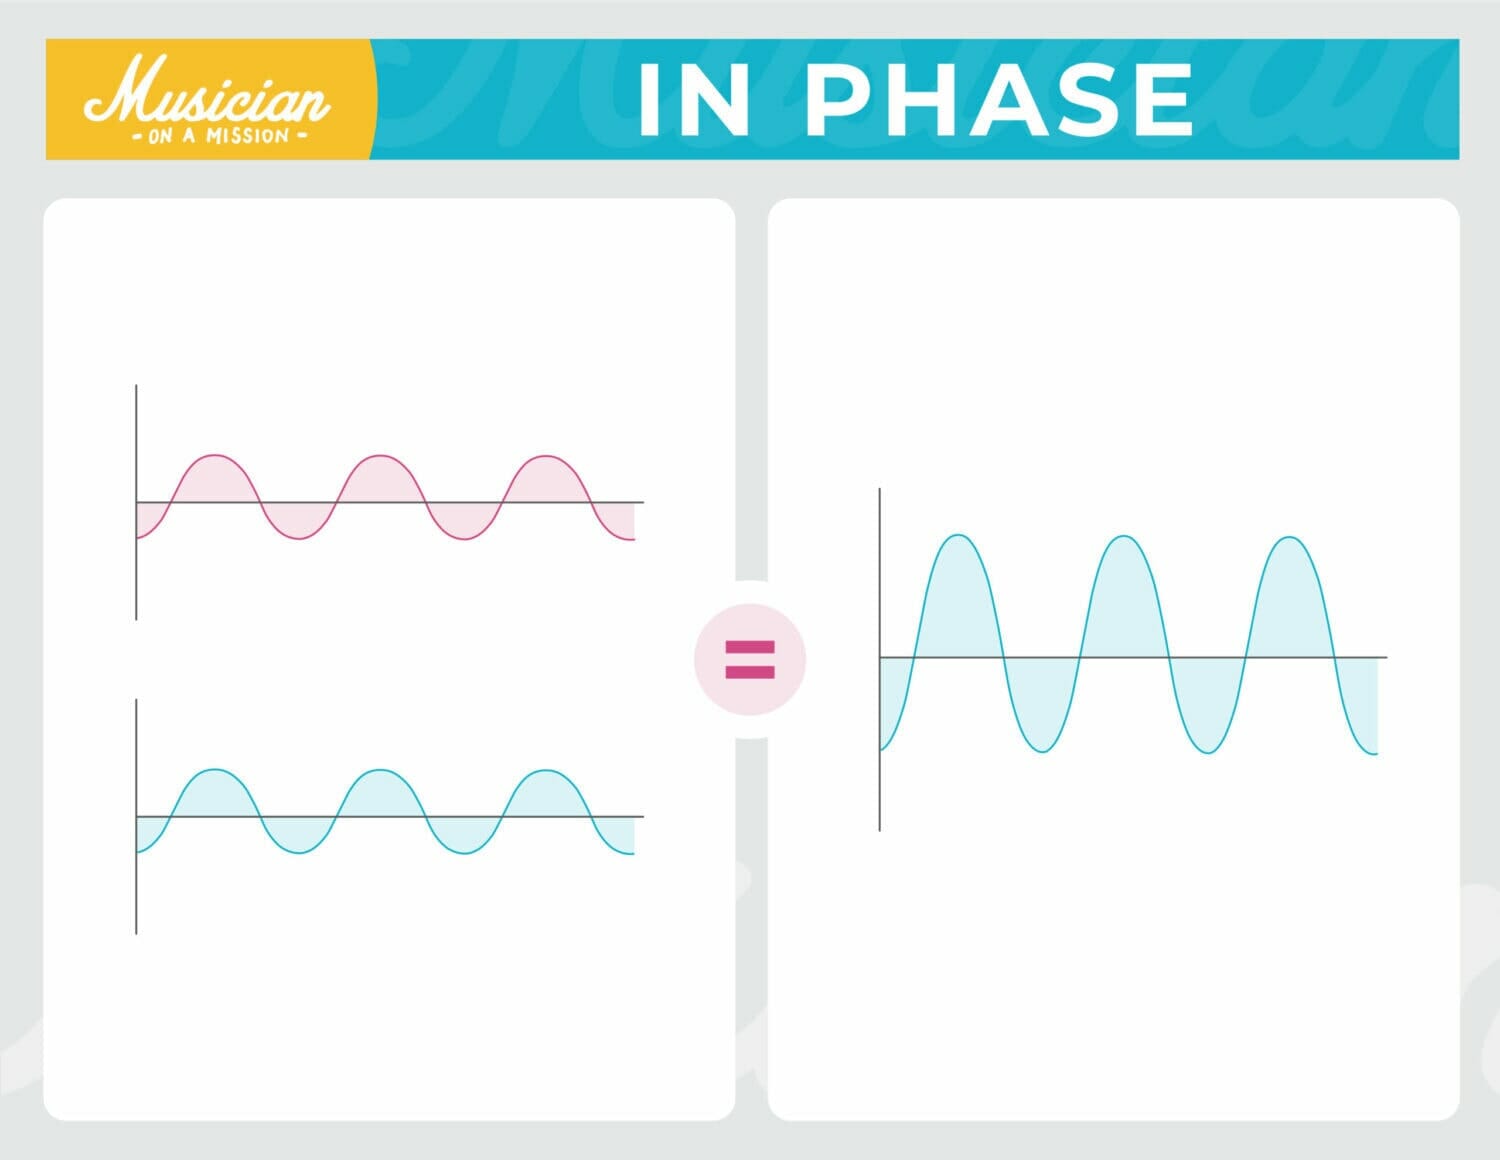
And since they’re perfectly in time with one another, the only thing that will change is their volume. They are in phase with one another and will sound like one, much louder, sound.
But what if we moved the copy back a little, so the peaks and valleys of both waveforms are opposites?
The timing of the waves are opposite, making them out of phase.
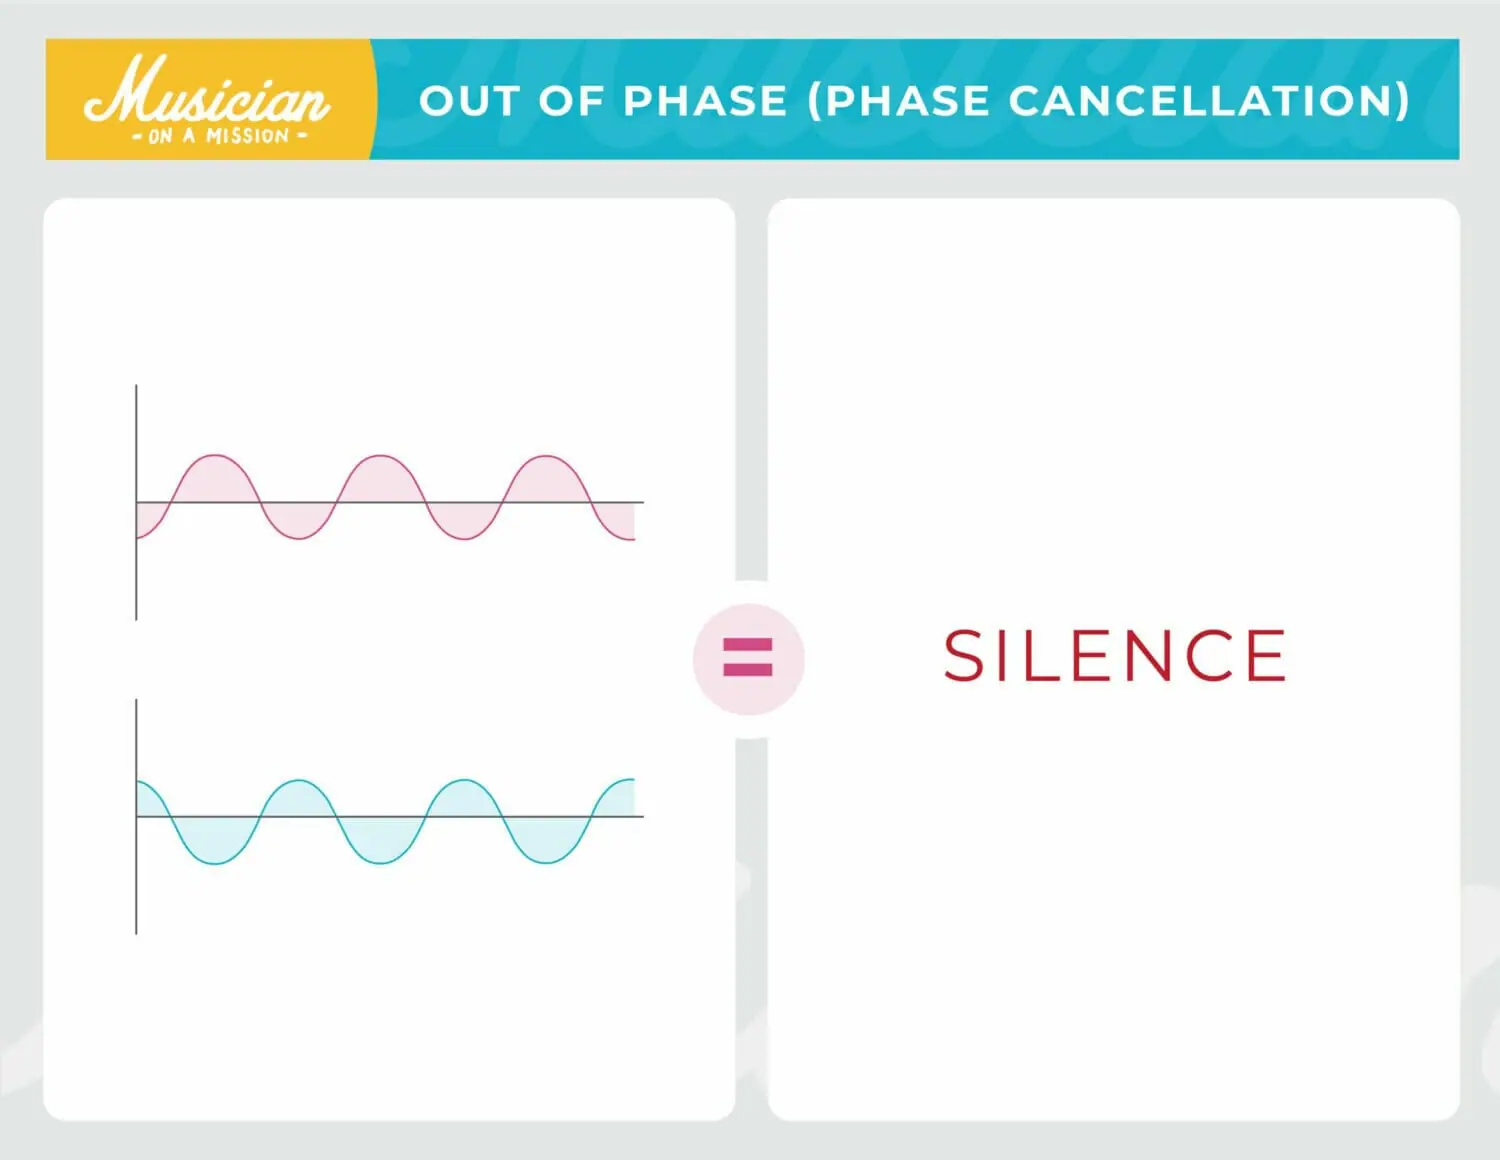
The sounds will cancel each other out. It’s pretty much the same as saying 1 + −1 = 0.
You could also say the waves are out of phase with each other.
If two sounds are exactly the same, they’ll stack on top of each other. It’ll sound like a single, louder sound.
But if two sounds are exactly opposite, they’ll cancel each other out.
When this happens, the two frequencies are working against each other. This eliminates certain frequencies, creating ugly sounds.
What Causes Phase Cancellation?
So how does phase cancellation happen?
It usually happens when two microphones are recording the same instrument.
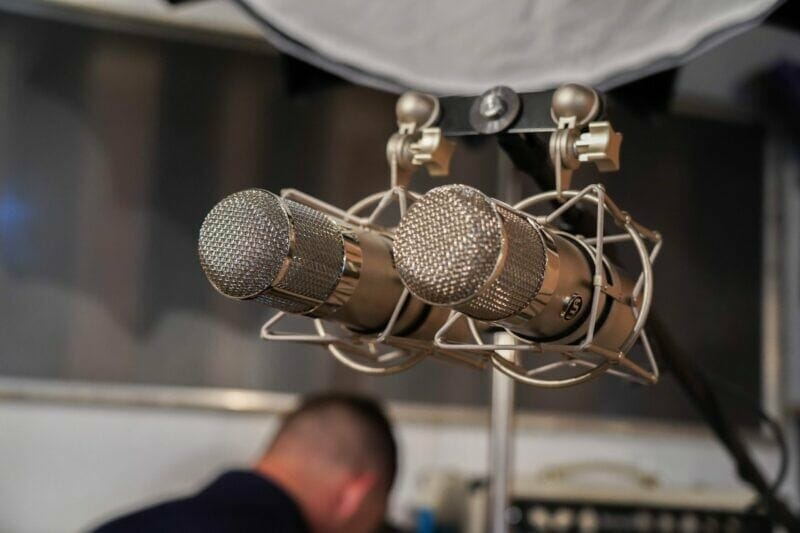
They could pick up the signal at slightly different times. Then one of the waveforms will be delayed, causing phase cancellation.
Let’s look at some examples…
You’re stereo miking an acoustic guitar.
The microphones should be as close together as possible. And an equal distance away from the guitar.
Otherwise, you could run into phase issues.
You’re recording drums with several mics.
Two of the mics could be pointing at each other, which can cause phase cancellation.
Phase cancellation can happen after recording too.
Say you have two mics that have recorded a single sound source. And you shift one of the items in your digital audio workstation (DAW).
This can lead to the waveforms being out of phase.
And just to make things more difficult…
Phase cancellation can also happen with just one mic, although it’s not as common.

Some of the sound reflections from the instrument will ricochet off the floor and walls before hitting the mic capsule.
But reflections are hitting the mic at a different angle with a different timbre. So they’re unlikely to cause phase problems.
More likely, the reflected sound makes things sound weird, not causing phase cancellation. This is why you need to properly treat your home studio.
Why Phase Cancellation Can Ruin Your Mix
Phase issues can kill your mix.
Phase problems can cut the low end, deflate the impact of sounds, and make tracks sound flat and lifeless. And that means your mix won’t sound professional.
Wondering why a certain instrument (or your entire song) sounds flat or thin? It’s probably because of phase issues.
And nobody wants a thin mix.
That being said, phase cancellation can actually work to your favor.
Maybe you put two mics on a guitar amp, and they’re out of phase. You can adjust the blend between the two tracks during mixing in a way that adds a unique texture.
Phase cancellation can also add depth to your track. It’s not what you’d expect.
But let’s say you’ve miked a drum kit and notice there are phase issues. This can actually help it sit in the mix better, rather than being so upfront.
It’s all about what you hear. Do you like how it sounds? If so, there’s no need to adjust anything.
But to be clear, it’s not a good idea to try to cause phase cancellation.
What Does Phase Cancellation Sound Like?
So what does phase cancellation actually sound like? How will you know if something is out of phase?
Did you notice an instrument or your entire mix sounds flat, dull, thin, or even warbly?
There’s probably phase cancellation happening somewhere. You just have to find it.
And the best way to find phase problems is with your ears.
Go through all the instruments that you recorded with two or more microphones.
Solo one of the channels and listen. It will probably sound pretty good and natural.
Then add in the channel with the second mic. The instrument should get fuller and bigger.
If it doesn’t—if it sounds thinner—there’s probably phase cancellation happening.
To confirm this, you can use your eyes.
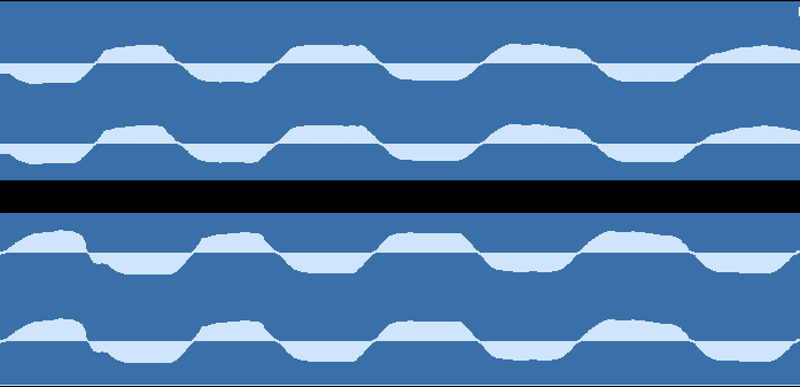
Zoom way in on the two channels that are out of phase. Look at the waveforms—they should be in sync with each other.
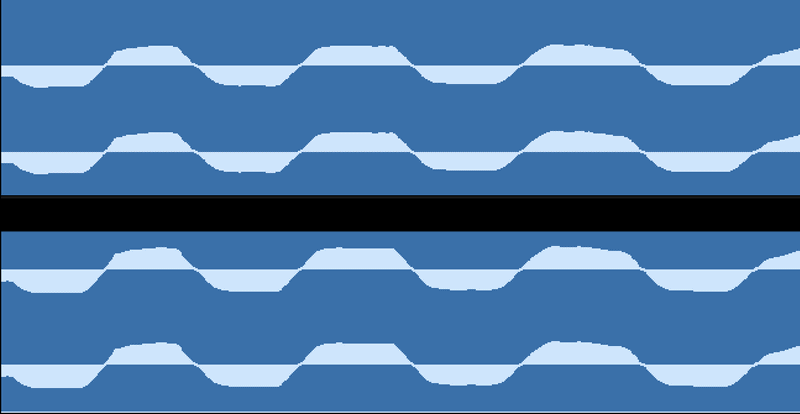
When one wave goes up, the other wave should also be going up. If you see them going up and down at opposite intervals, you’ve got phase cancellation.
You can also use a spectrum meter or spectrum analyzer.
If you see large valleys in your spectrum analyzer, it’s probably phase issues. This is what it looks like when phase cancellation eliminates certain frequencies.

How to Avoid Phase Cancellation
Now you know what phase cancellation is. You know what causes it. And you know what it sounds like.
So how do you avoid it?
The best way to avoid phase issues is at the source. This is why good engineering is so important.
A great mix starts with getting the best sound possible during the recording stage.
There are two general rules for stereo miking an instrument…
Close Miking
The first rule is to put the two mics as close to each other as possible and an equal distance away from the sound source.
So if you’re recording an acoustic guitar, an XY technique is useful.
Put the mics essentially on top of each other. But point them in different directions, at a 45-degree angle.
Avoid Soloing
Another way to avoid phase cancellation is to avoid using the solo button when mixing. Specifically when you’re adding EQ.
In general, you shouldn’t be using the solo button while EQing anyway. Unless you’re trying to find a weird sound you’re hearing.
When you cut or boost certain frequencies on a channel that is one-half of a stereo-mic setup, be careful. That can cause the two channels to go out of phase.
Basically, don’t make mixing decisions in solo.
Every movement you make during mixing affects everything else. So you need to hear it all at once.
Fixing It in the Mix
Let’s say you’ve already recorded the instrument or you’re mixing someone else’s recordings.
You notice phase cancellation. What can you do?
Fortunately, there are a few options to fix phase cancellation.
Phase Invert Button
If you run into phase issues, there’s a simple solution: a phase invert button (aka an invert polarity button).

This feature will flip the shape of the inverted waveform.
Theoretically, this will make the two waveforms go up and down at the same time. Or at least not at 180-degree opposites.
A phase invert will do away with the flatness, dullness, thinness, or warblyness in the audio. And it will bring back those frequencies that were previously being eliminated.
Most DAWs have this button built-in. It’s typically on the channel itself.
If not, you can download a phase invert plugin (may also be called an invert polarity plugin).
Add Slight Delay
Another option is to add a slight delay to one of the channels.
Phase issues happen because one of the waveforms is out of sync by just a few milliseconds. So the delay only needs to be a few milliseconds.
Even adding a delay of 1 ms can do the trick.
However, sometimes you need only a fraction of a millisecond of delay. And sometimes you can’t get a small enough fraction to fix the problem without it sounding distracting.
That’s the one downside of this method.
Adjust the Phase Levels of the Left and Right Channels
There are plugins that show you the phase levels of your left and right channels. This allows you to adjust the phase levels, correcting the phase cancellation.
A free plugin that does this is the Voxengo PHA-979. It has a phase correlation meter, which tells you how much your channels are out of phase by.
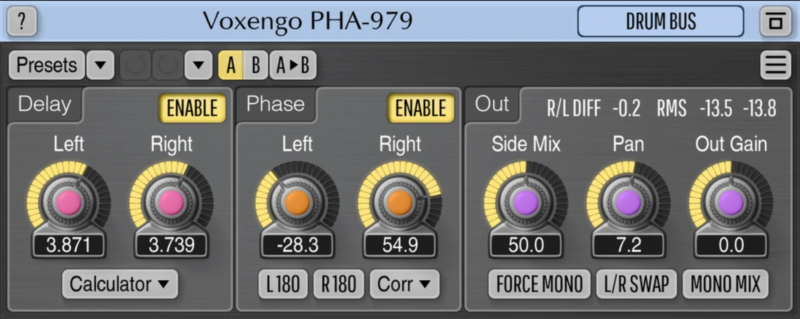
Basically, the meter’s bars are green if the tracks are in phase (good) and red if they’re out of phase (bad).
Then you just adjust the dials until all the bars are green.
Conclusion
Voila! With just a few techniques, the silent killer of mixes has been defeated.
Next time you’re recording or mixing, keep these tips in mind. They may just mean the difference between a mix disaster and an absolute hit.


