The drums are the foundation of a song. They’re one of the easiest ways to tell a pro mix from an amateur one.
Today we’re going to cover everything you need to know for mixing drums. We’ll be using a system I call the BASK Technique.
By the time we’re done, you should have all the tools you need to get your drums to sound full, exciting, and professional.
I’m guessing you’re here because you want to make your mixes sound professional. We put together a brief training that covers a totally new approach to music production. Until now, everyone has been teaching production totally backward. Just click below to watch.Get industry-quality every time (steal this framework)
But if you just want to learn all about Mixing Drums specifically, keep reading.
Mixing Drums: The BASK Technique
Before We Start: Send Everything to Busses
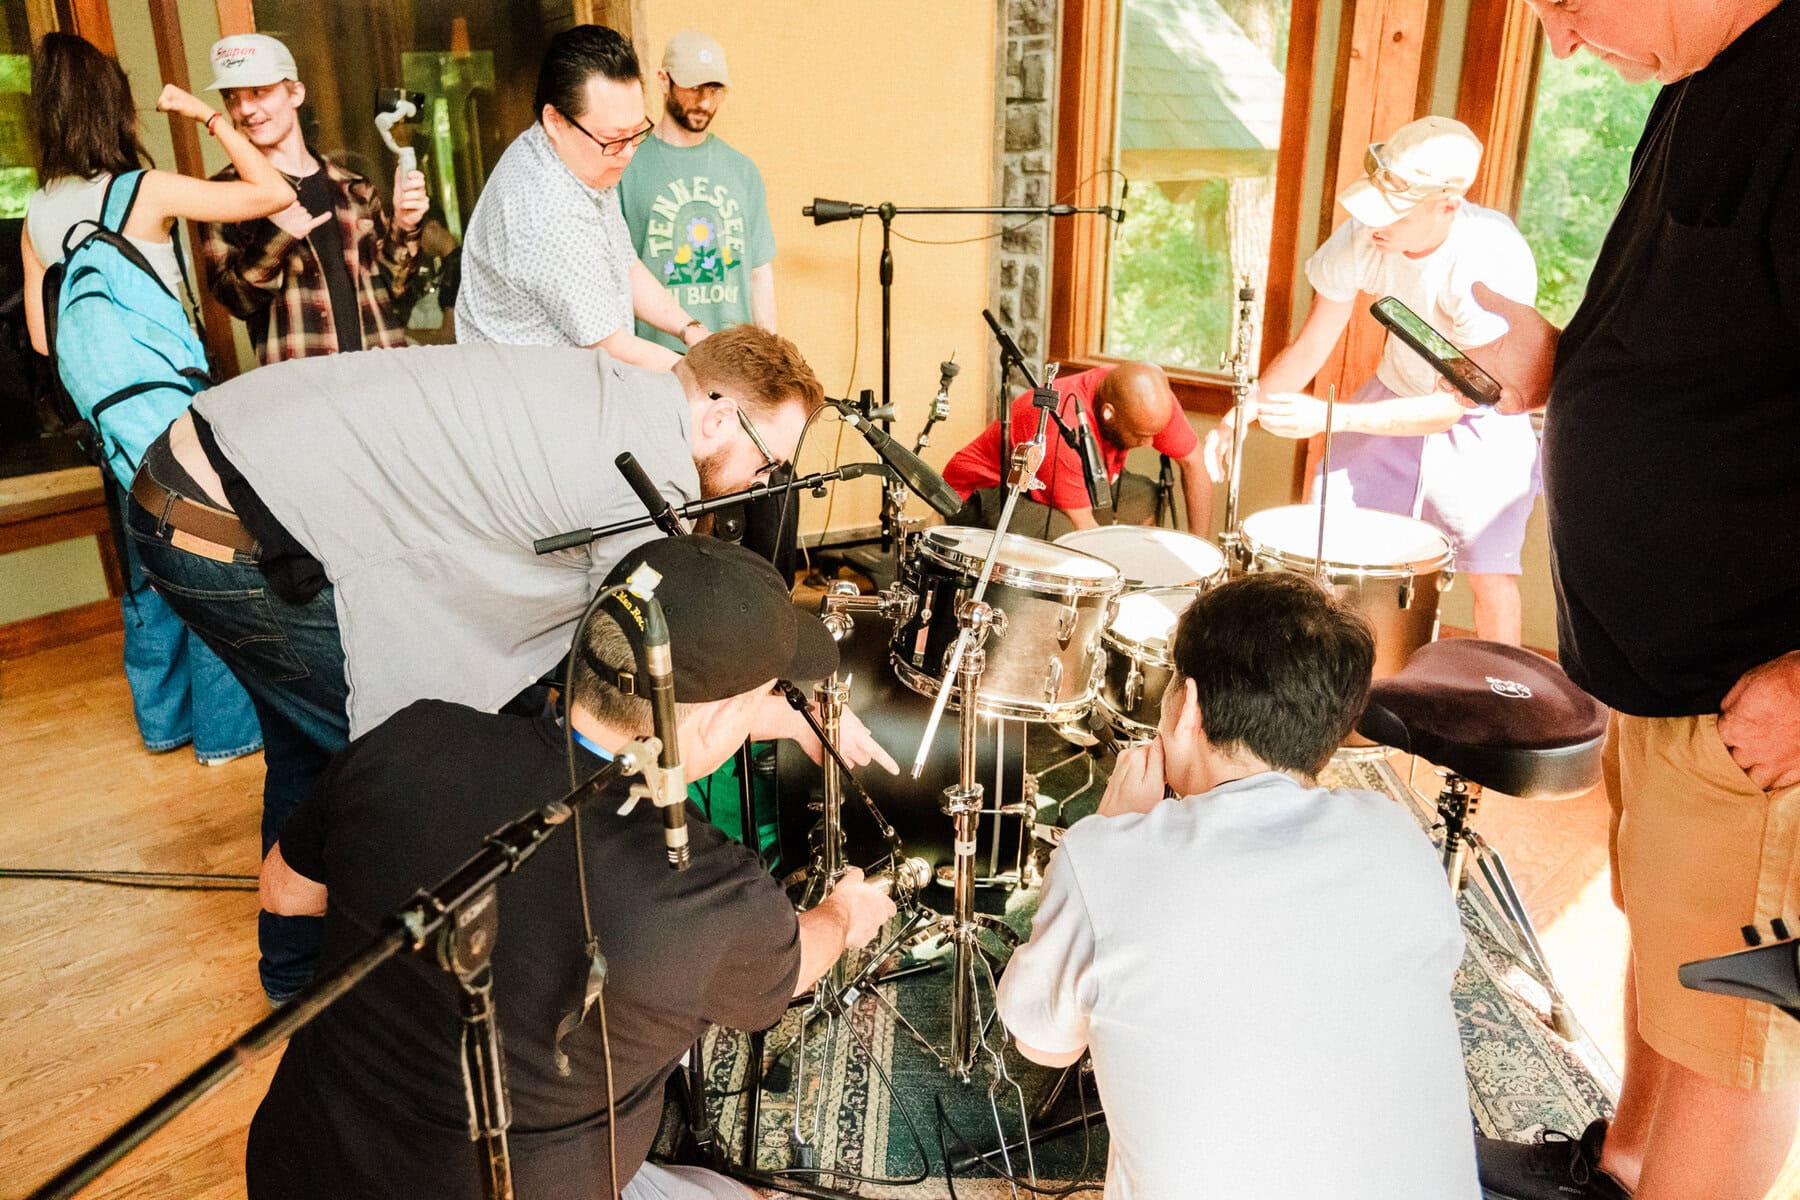
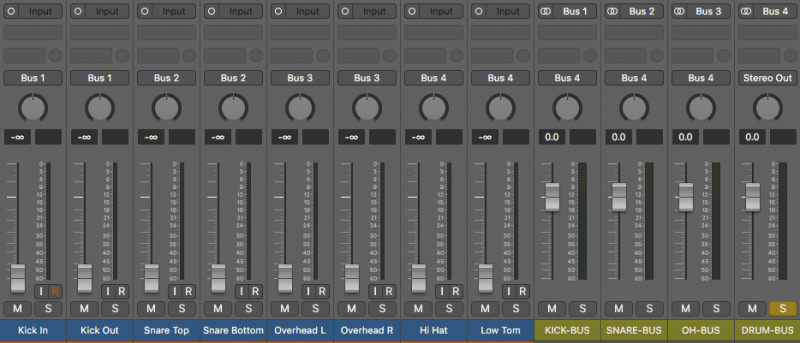
Before you can start mixing drums with the BASK Technique, you need to organize your tracks.

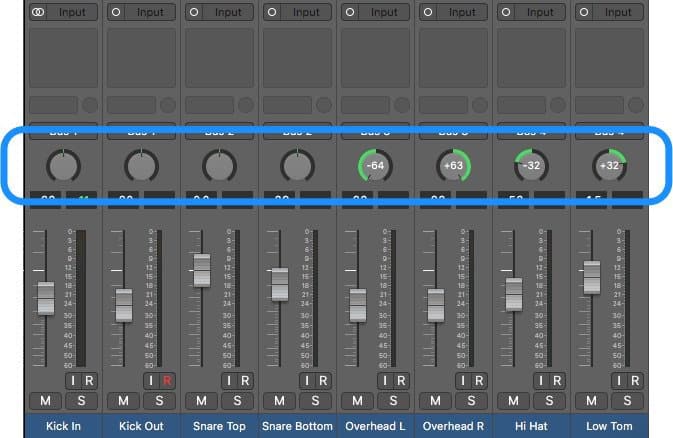
If you have multiple snare, kick, or overhead mics, you need route each to their own instrument bus. Otherwise, you’d have to mix each mic separately, taking up more time and processing power.
For example, if you have two snare mics, then set the output of each channel to the same bus. Then set the input of an aux channel to that bus.
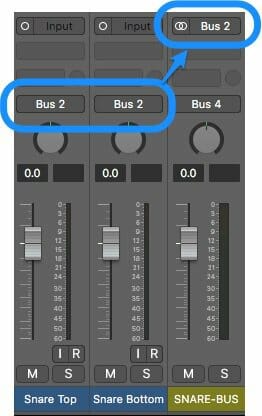
Simple as that. Now you have full control of each of the individual drums.
Next, you need to route the individual drum busses (and any other drum mics, like your toms or hi-hat) to a master drum bus.
The process, luckily, is exactly the same as above. Set the output of each of the tracks as a new bus, then set the input of an aux track as that same bus.
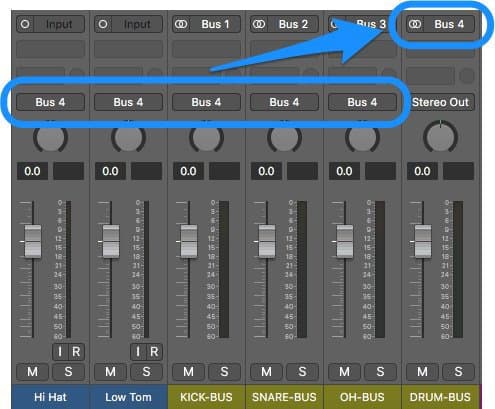
Now you have control of the ENTIRE drum set on one channel. Any processing you put on there will affect the whole drum set.
With that out of the way, let’s start our mix!
UPDATE: We released a great video showing some parallel drum compression tricks:
Step 1: Balance
The first step in the BASK technique for mixing drums is Balance. We need to get the volume balance right before we can do anything else.

First, solo your drum bus and turn all your mics all the way down.
Then bring up the most important elements one at a time.
Start with the element most important to YOUR song. This is usually the kick or the snare.
Then, one-by-one, bring in everything else. Balance each drum together until the whole drum set sounds natural.
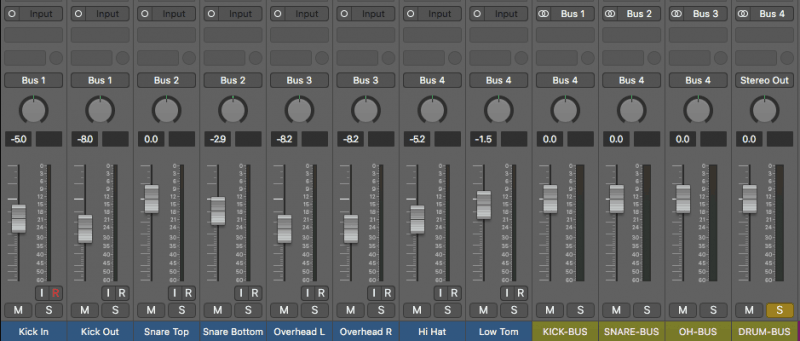
Once you have your drum set balanced, you need to balance the drums with the rest of the mix. Unsolo your drum bus, turn the volume all the way down, and slowly mix it in.
One trick is to make sure you’re doing this during the loudest part of the song. When the drums are balanced in an aggressive section, they’re more likely to be well balanced in the rest of the song as well.
Step 2: Aux
The next step to mixing drums is to start with the aux track that we’ve routed our Drum Bus to. So in other words, we’ll be mixing our entire drum kit first.

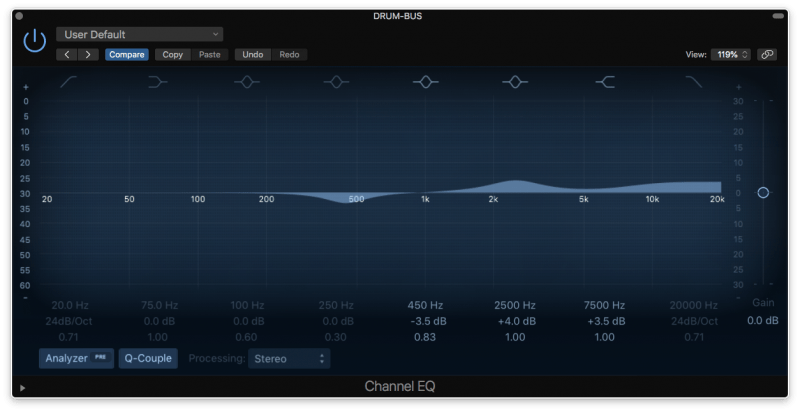
Aux EQ
First, check if there are any issues with the drum set. We’re going to do this by listening to a few reference tracks and comparing their drum sounds with our own.
Mixing with references is extremely important! It’s the only way to ensure you aren’t mixing blind.
Using reference tracks makes your mixes sound more professional, balanced, and consistent. They’re one of the best ways to make sure your mixes sound good in all types of speakers – the speakers in your studio, your car, your headphones, and even your phone.
If you haven’t been using reference tracks throughout your mix, then take ten minutes to pick a few. Grab songs that have the “sound” you want for your mix.
Once you’ve found them (and matched their volume to the volume of your mix), listen to their drums. What’s the tone like? The compression? The low end?
Then listen to your own drum set. Do you hear any major differences? Is yours too bright? Too muddy?
This is likely where EQ comes in. Go ahead and make any broad cuts or boosts that you find necessary.
You might need to cut a few dB’s out of the low mids, or boost some of the highs. I can’t tell you exactly where you’re going to need to boost or cut – it’s going to be different for every song and every kit. It’s whatever the mix needs!
As annoying as this advice is, use your ears. The more your practice, the more you’ll be able to tell what’s sounding off in your kit versus the kits of your references.
If you need a little guidance in your listening, check out our article on EQ and the Frequency Spectrum. It has some great techniques for finding problem areas in your instruments.
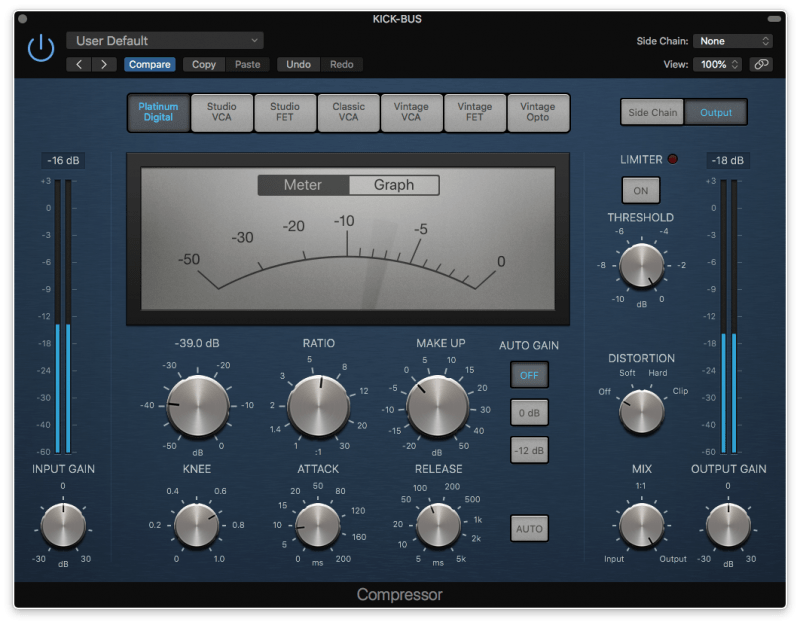
Aux Compression
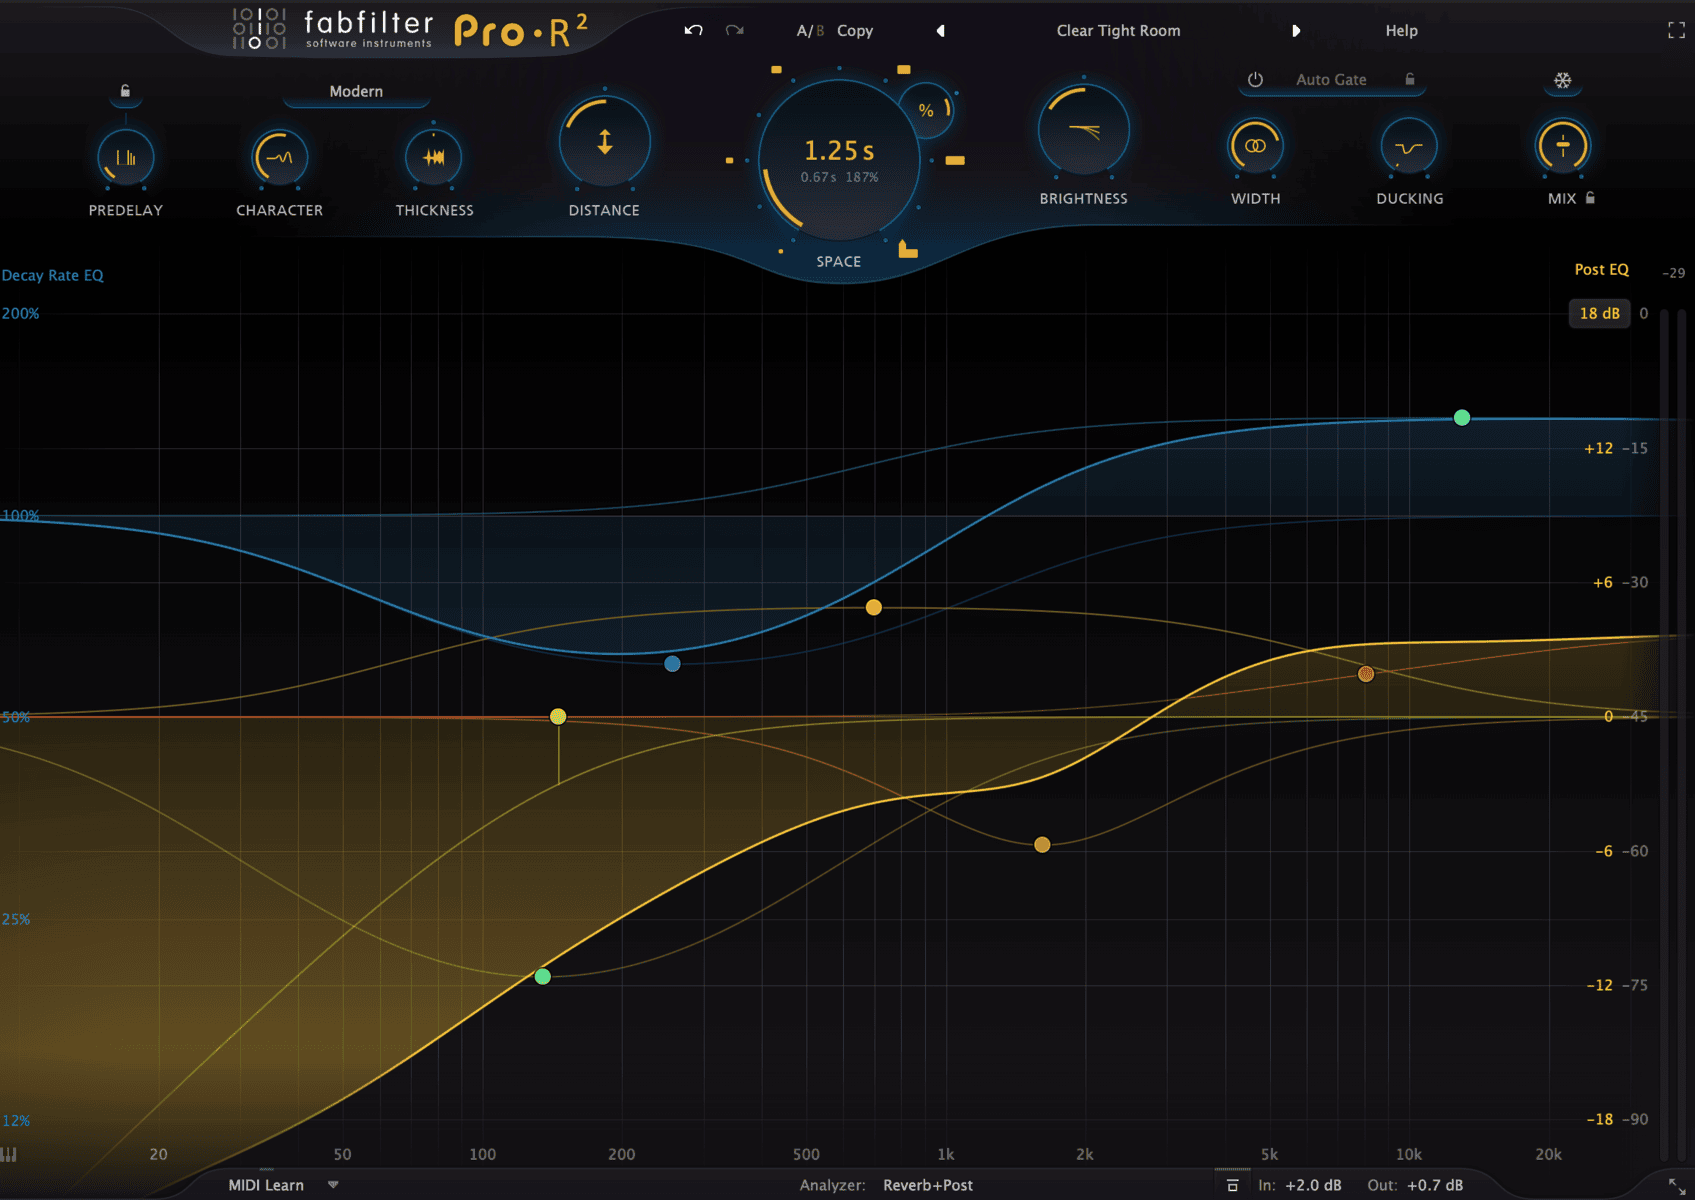
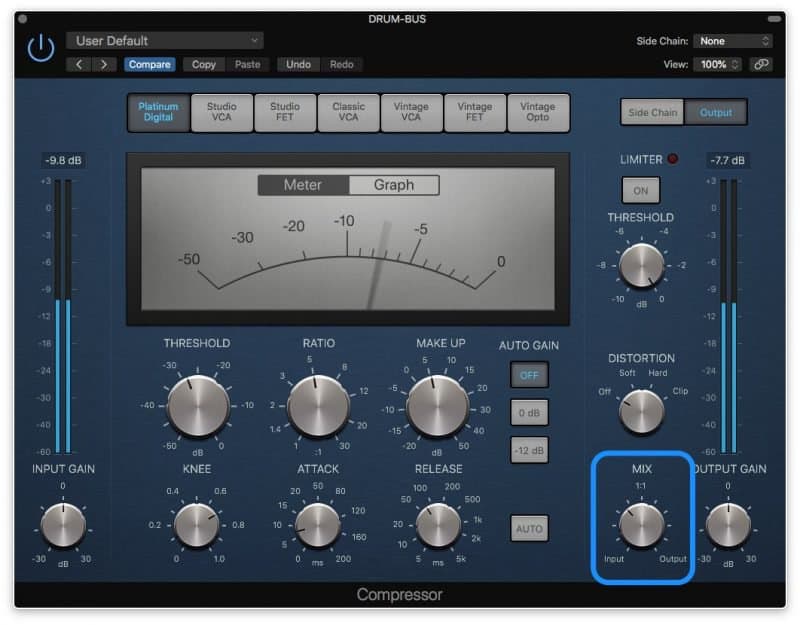
The next step is to add a little compression. This will help to make your drums more controlled and defined.
Ideally, you want to use a compressor that has a mix knob. This will allow you to mix the compressed sound in with the original sound. That will lead to a good balance between aggression and realism.
If you’re using a compression plugin without a mix knob, then parallel compression is your friend. Set up a send on the drum bus and add your compressor to that new aux track. Get the compression sounding the way you want, then mix it into the original sound.
It’s the same process as the mix knob, but with a few extra steps.
As for your compression settings, they’re going to be different for whatever genre you’re doing.
That’s one of the big secrets of compression: how much you use depends entirely on the genre of music you’re mixing.
A good middle-of-the-road level of compression would be about 5-10dB of gain reduction. Then, set up a medium attack, medium release, and 5:1 ratio.
These setting can change depending on how aggressive or natural you want your tone to be.
More aggressive? More gain reduction and a higher ratio.
More natural? Less gain reduction and a lower ratio.
Remember: you’re going to be mixing this into the original, uncompressed version. So sometimes to get the sound you want, you do the opposite of what your brain tells you to do.
For example, if you want a natural kit with a little bite to it, you could dial in some heavy compression settings and mix it in to where it’s barely heard. That might do the trick!
Aux Saturation
The final thing I tend to do on my drum bus is add a little saturation. This helps to bring out a little extra warmth or brightness, depending on what you need.
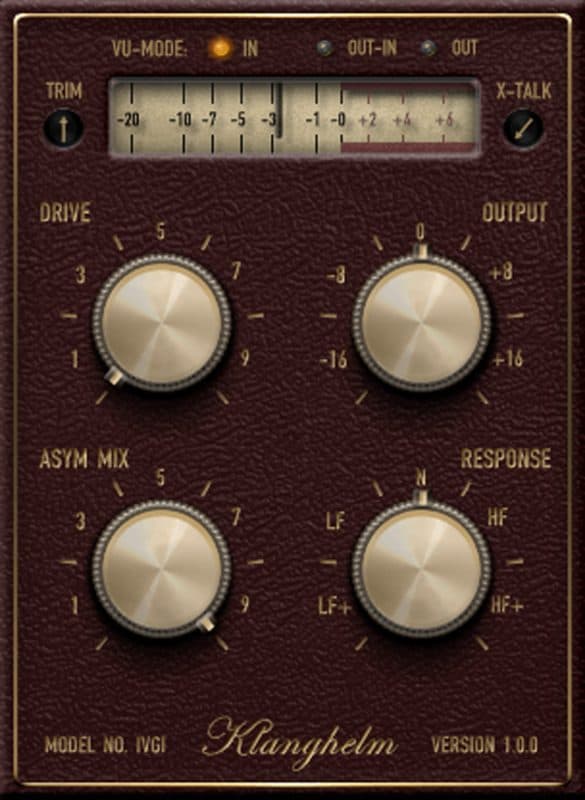
I like to turn the drive all the way up so I can hear the sound of the saturation. Then I dial in the tone knob to get the sound I’m looking for.
After that, I turn down the drive until the aggression is right where I’m wanting it.
You can also use parallel processing, just like the parallel compression above. Set up a send, get your settings the way you want them, and mix the channel into the original sound.
That’s it for the drum bus. Now let’s look at the individual drums.
Step 3: Snare
The first question to ask yourself is this: where does the tone of the snare need to go?
Does it need to be brighter? Warmer? More punchy?
The decisions you make will affect what processing you choose.
We want to make sure we’re mixing drums with intention. We never want to do something in a mix just because we think we should. Always have a reason behind every move you make in your mix.
That’s one of the secrets to getting a pro mix. Never do things “just ‘cause!”
Listen to the references again. How does your snare compare to the sound of those kits?
Once you’ve found what the issues are, it’s time to go about fixing them.
Snare EQ
First thing to start with is your EQ.
Before you start fixing any tonal issues, there’s a few steps to take.
First, turn up the volume of the snare. We want to make sure we can hear enough detail of the snare without taking it out of the context of the mix.
I’ll usually just add a gain plugin at the end of my plugin chain and turn the volume up by 5dB.
Once I’m done mixing the snare, I’ll bypass this plugin.
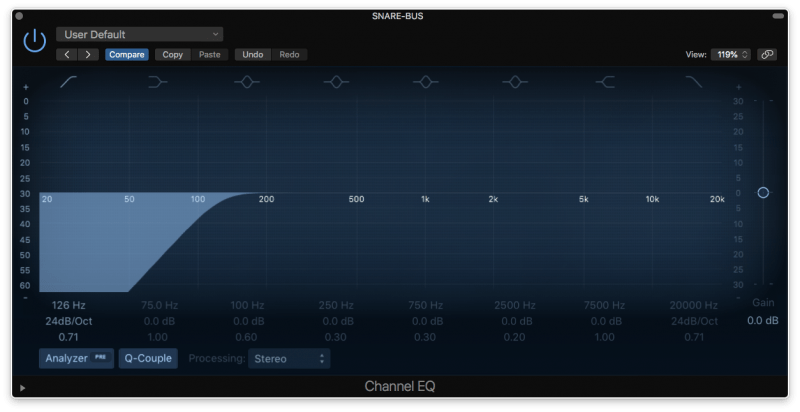
After the gain plugin is on, use a high pass filter on your EQ to cut out any unnecessary low end.
There’s only kick bleed and room sound down there. It’ll just clutter the mix.
I usually turn on the high pass filter and slowly bring it up until the snare “crack” starts to dull. Then I back off a bit. That usually does it.
 After I’ve set up my filter, I want to make sure I’m leaving space for other major instruments, like the vocal or the guitars.
Usually I take a look at the EQ’s I’ve used on both of those instruments and see where I’ve boosted. I try to avoid boosting in those areas.
In fact, I’ll often cut some of the frequencies in that area.
This is all a part of my Range Allocation system, which helps to create space for each instrument in the mix. You can learn about here:
Once that’s done, we can start our tonal shaping.
Take a listen to your references again, and make any boosts or cuts you think are necessary.
If it’s too bright, cut some of the highs. If it’s too flat, boost some of the upper mids. If it’s too boxy, cut some of the low mids. And so on and so on.
You can use saturation as well if you’re trying to get a little extra warmth or brightness.
If you need some help discerning where exactly to boost or cut, check out our article on EQ and the Frequency Spectrum. It’s a great tool for those who are learning to train their ears during mixing.
Snare Compression
Once you’ve shaped the tone, it’s time for compression.
Try using 5-10dB of gain reduction with a high ratio for a more aggressive sound.
 For the attack time, ask yourself this: do I want the snare to sound thicker or punchier? For a thicker sound, go with a fast attack time. For a punchier sound, go with a medium/slow attack time.
For our snare, we aren’t using any parallel compression. We’re already doing that on our drum bus. Just use your regular compression settings here.
Snare Reverb
Finally, add a little reverb to your snare. If you’re using a room reverb for your entire mix, then send a little of your snare there.
I’ll usually turn up the level of the snare until I think it sounds good, then back it off a bit. That tends to be the sweet spot.
That’s it for the snare. Next up, the kick!
Step 4: Kick
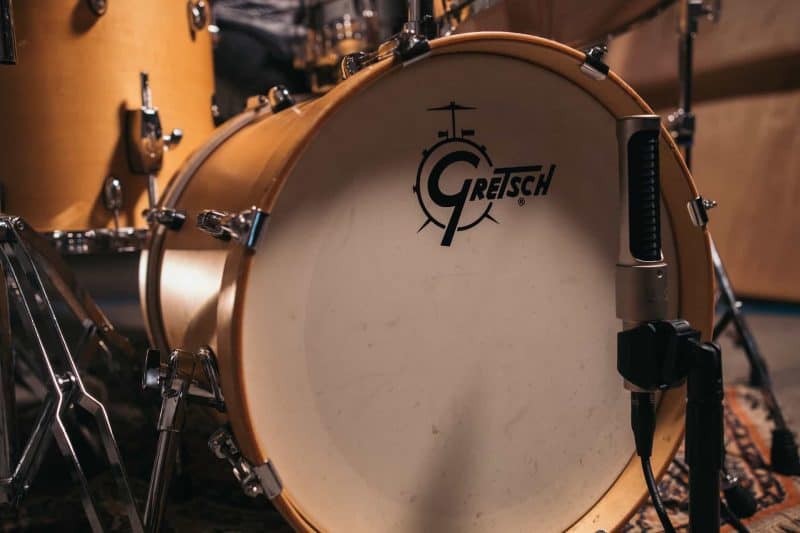
The kick drum is the foundation of the drumset. So when mixing drums, you need to treat it with care.
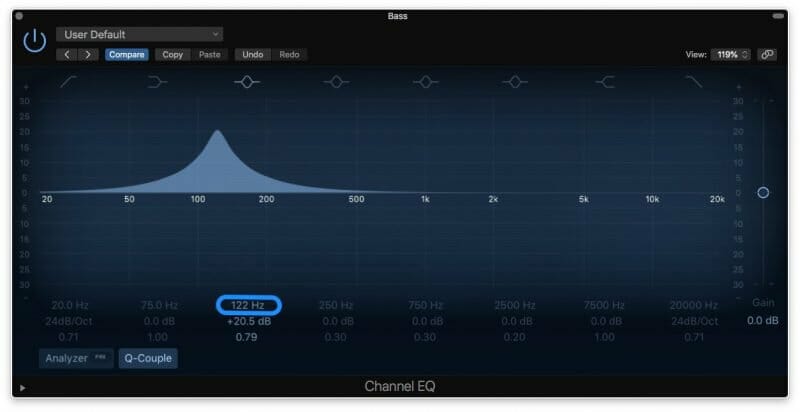
The trick to mixing the kick drum is balancing it with the bass.
In most songs there are two low end instruments. The kick and the bass. And if they’re not treated properly, they’ll actually make each other sound worse.
So before we start to work on the tone of the kick drum, we need to get our low end to sit better.
Pocket EQ
The first thing to do is to create a pocket for the kick to live in.
First, we need to ask ourselves: What’s covering the low end in this song? The kick or the bass?
If it’s a rock or a metal tune, it’s likely the bass.

If it’s a pop or EDM song, it’s probably the kick.

It’s all relative, of course – whatever works best for your song works best.
Once we know what’s going to be covering the low end, we can go about creating a pocket for each instrument to live in.
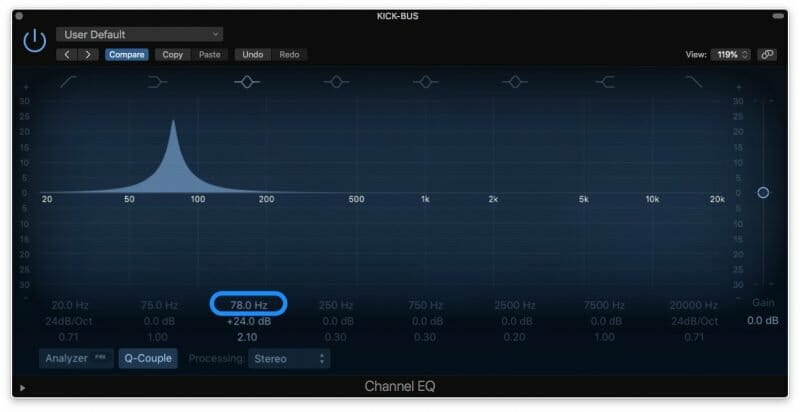
Solo the kick and open up an EQ. If it has a spectrum analyzer, then take a look – where is the majority of the energy? It’s probably somewhere between 40-100Hz.
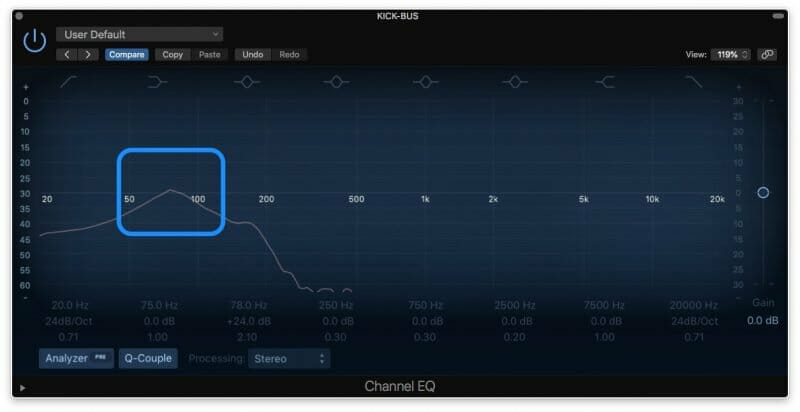
If it doesn’t have a spectrum analyzer, just boost an EQ band and sweep it around in that area. What frequency does the kick drum get significantly louder at? That’s the fundamental frequency.
 Next, let’s do the same for the bass. It won’t have one fundamental frequency, but a range of them. Use an EQ sweep to find where that range is.
Once we know where our fundamental frequencies are, we can make pockets for them.
If you want the kick to cover the low end, then boost it’s fundamental frequency area by a few dB’s. Make a cut on the bass EQ at the exact same spot.

Then boost in the area where you want the bass to live. Cut that exact same area in the kick.
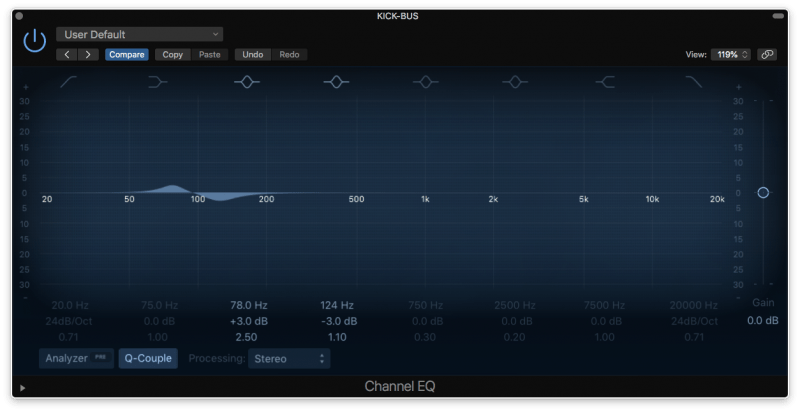
If you want the bass to cover the low end, then just flip where you put your boosts and cuts!
Now your kick and bass should be playing nicely together. Let’s move on to our tonal shaping.
Kick EQ
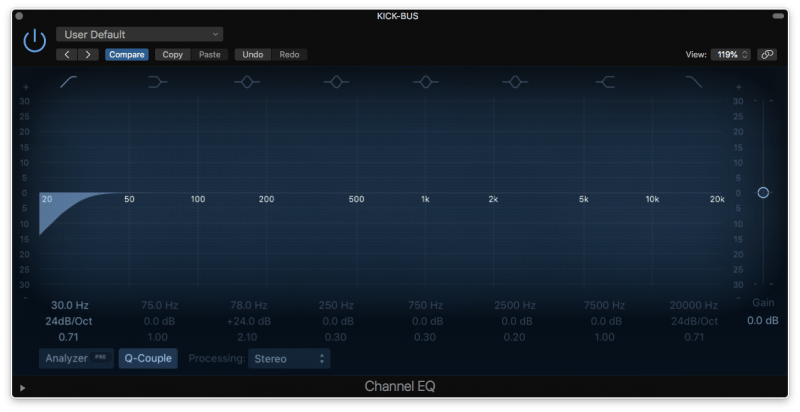
First thing’s first: use a high pass filter to clean up the sub-bass.
This might seem counterintuitive. Why would I filter the low end on my main low end instrument?
Unless the kick is an electronic sample, it likely doesn’t have any useful energy in the deep sub-bass. Just rumble and room noise that could muddy up the mix.
So we’ll be doing the same thing with our kick as we did with our snare. We’ll turn on the filter and slowly move it up until the “thump” starts to dull. Then we’ll back off a bit.
Usually, I’m only filtering a small part of the sub-bass. Around 30Hz tends to be my sweet spot.
From here on out, the process is the same you did with the snare.
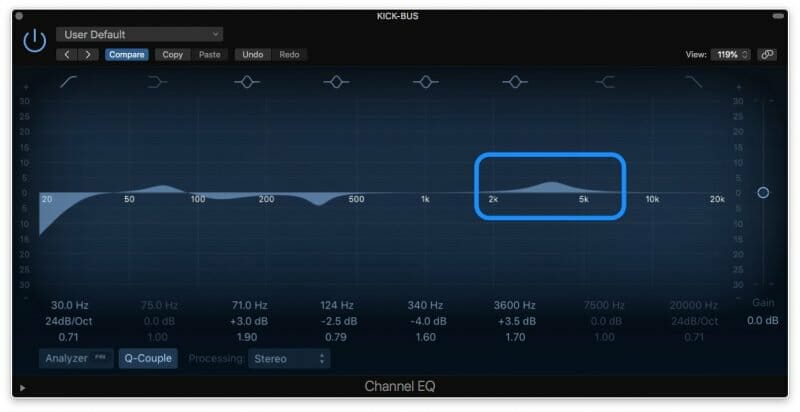
Once you’ve filtered the sub-bass, it’s time to use Range Allocation and make cuts where other instruments need to shine.
Take a look at the EQ’s you’ve used on other major instruments and see where you’ve boosted.
Make a small cut in those areas (or at least avoid boosting there).
Once that’s done, we can start our tonal shaping.
Take a listen to your references. What are the major differences between their kick and yours?
Make any cuts or boosts you deem necessary to make your sounds the same. Add any saturation to bring out extra warmth or brightness too.
One tip that might help if the kick is getting covered: find an area in the upper mids to boost. Usually the sound of the beater lives up there, meaning that a boost could give the kick a more noticeable “smack.”
Check around the area between 3-5kHz.
Kick Compression
The low end instruments are often heavily compressed. A consistent low end is important to a pro-level mix.
Try using 7-10dB of gain reduction with a higher ratio.
For the attack time, ask yourself this: do I want the kick to sound thicker or punchier?
For a thicker sound, go with a fast attack time.
For a punchier sound, go with a medium/slow attack time.
And with that, we’re done with our kick. Time for some house-cleaning.
EXTRA STEP: Tweak To Your Heart’s Content

We’ve now mixed the most important elements of the drums.
We’ve got the kick and snare to be exciting and consistent.
We’ve got the tone of the kit where we want it.
And everything is balanced in the mix.
Now, there might be a few extra things to tweak, depending on the size of the set you recorded (and the sound you want).
You might want to do some EQ and compression on the overheads. Maybe they’re a little too bright in the mix (or not bright enough). Maybe you want the cymbals to be pumping a
little more.

You also might want to do some EQ and compression on the toms. You can use the same process you went through on the kick and snare: listen to your references, find the problem areas, and use EQ and compression to fix it.
If you’re wanting a tighter/cleaner kit, you might want to try gating your drums with a noise gate.
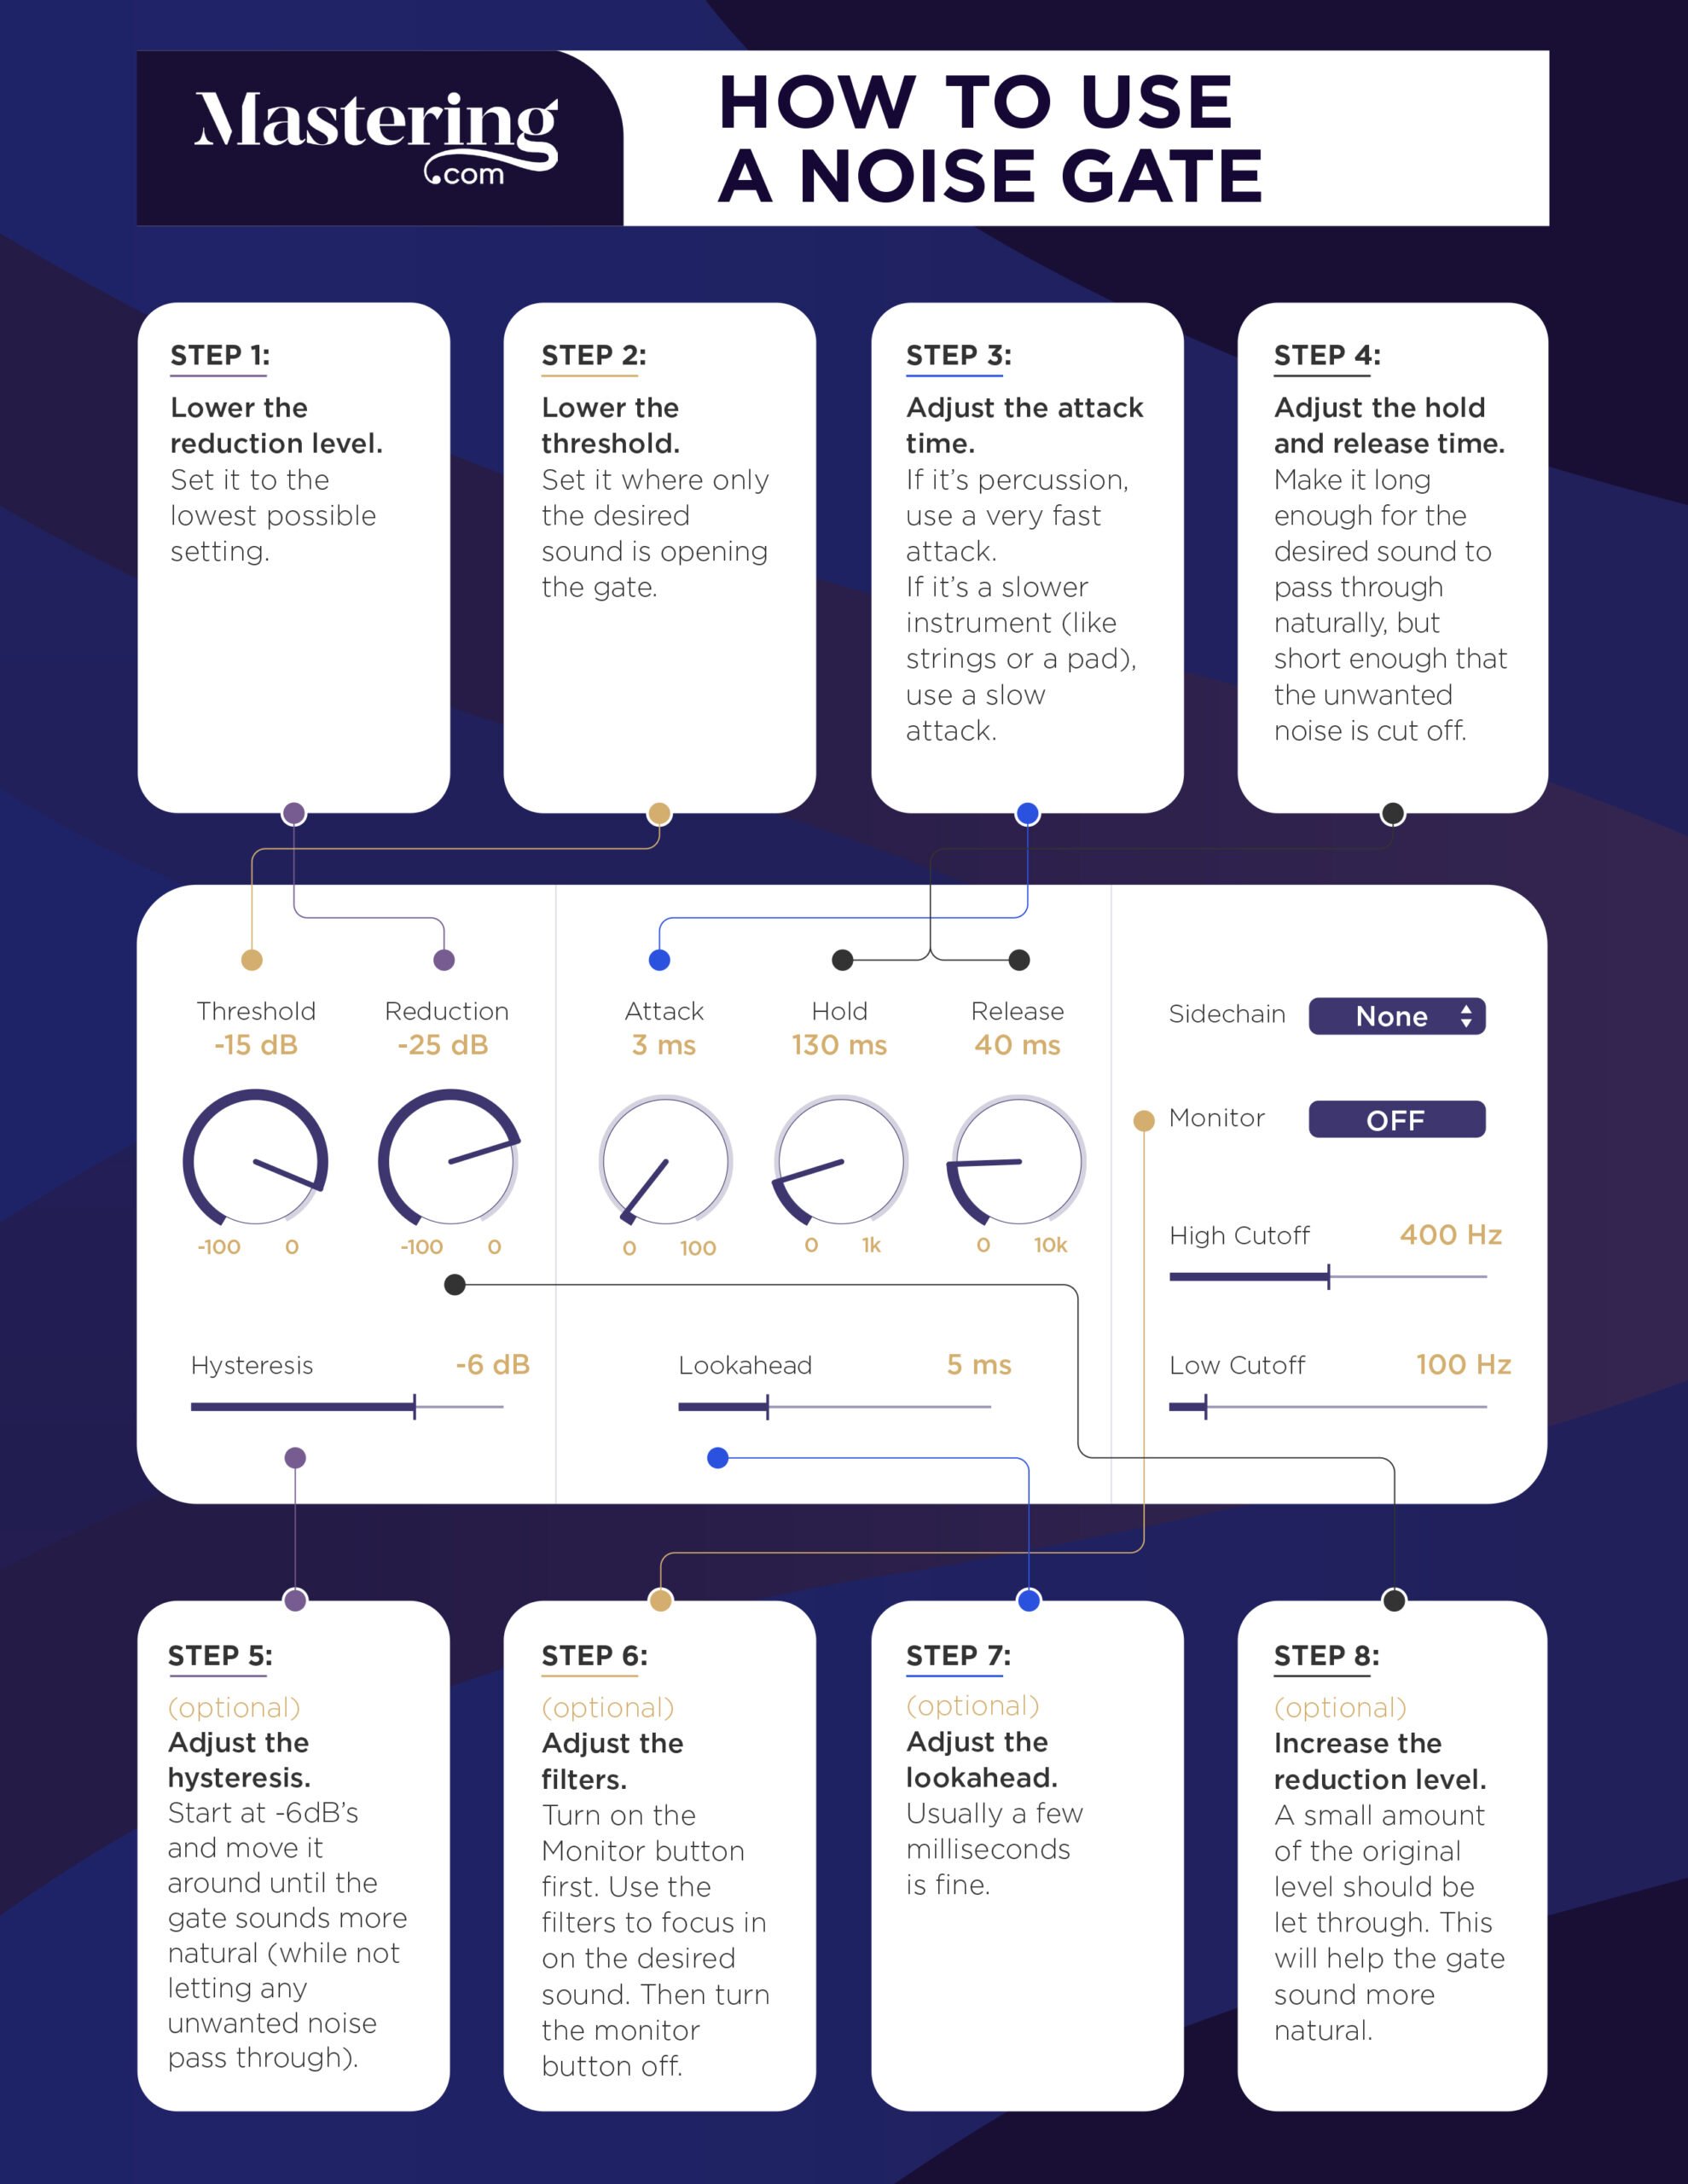
A noise gate is a tool that mutes a microphone whenever enough sound isn’t passing through. It’s very helpful for getting rid of the mic bleed that happens with each individual drum mics.
You might not want to have any kick sounds in your snare mic, and vice versa.
Reverb is another option. If you’re using a room reverb for the whole mix, then sending your kit there is crucial to creating a cohesive mix.
If not, then you can send specific drums to a reverb. Snare, overheads, and toms commonly have some level of reverb.
Finally, make sure you pan your drums. The kick and snare should be kept in the center, and the overheads are usually panned hard left and right. Everything else, however, can be panned however you’d like.
Conclusion: Mixing Drums
And that’s the BASK Technique! I use this to whenever I’m mixing drums, so I know it will come in handy for you.
Don’t forget, the BASK Technique is…
- Balance
- Aux
- Snare
- Kick
Next Steps
If you want to dig deeper into music production and learn what it actually takes to make mixes that sound pro…
And you’re an intermediate or advanced producer…
Be sure to check out the free masterclass:
Enjoy!