There’s often a lot going on in a mix.
If you don’t keep a handle on things, it can quickly get out of control.
When you have several instruments and voices battling for the same space…
It can get pretty messy.
But it doesn’t have to be that way – I have a straightforward system that will help you to create tons of space in your mix.
And it’s seriously easy to implement.
In part 5 of the One Month EQ Challenge, I’m going to show you how a technique called Range Allocation can improve your mixes and confidence…
So you can produce better music in your home studio.
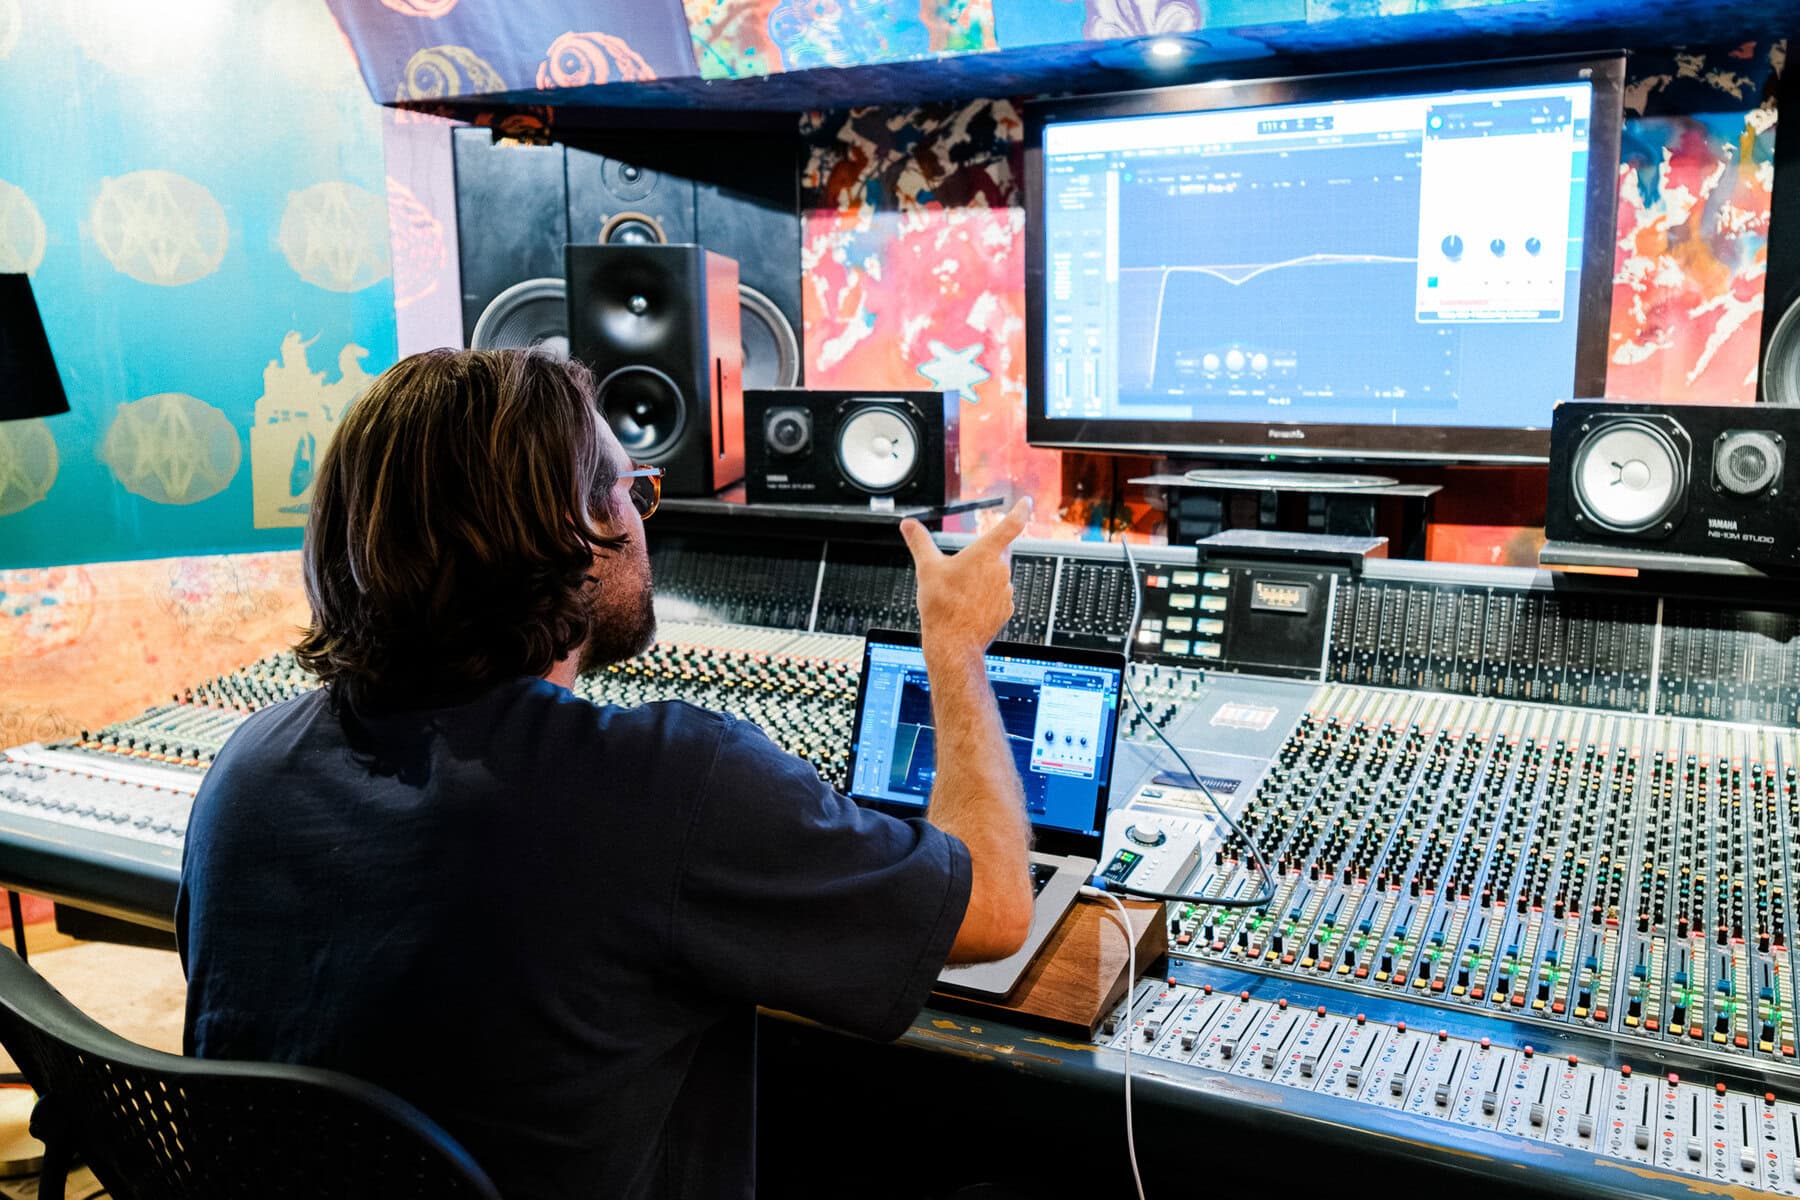
This is a technique that a lot of people use. Some people know of it as frequency slotting. It’s essentially the act of giving each instrument or vocal, or at least the most important parts, their own space within the frequency spectrum, their own corner of the mix, as to say. This really helps with separation, it really helps to clear up your mix, and it helps you to think about mixing in the right way, about where your EQ cuts and boosts are as well.
By the end of this chapter, you’re going to feel really confident with this technique, and hopefully it’s going to improve your mixes. So let’s dive in. What is range allocation? I call it range allocation (instead of ‘frequency slotting’) because you’re not just ‘slotting’ frequencies. That term makes it sound like you’re aggressively slotting instruments into a certain frequency range.
But it’s not. It’s a much subtler act. You’re allocating a range of the frequency spectrum to an instrument or a vocal. Once you’ve allocated that range to a part, you just want to be wary that you don’t boost anything else in that range, and also that you cut other things in that range to give the part a bit more space.
Again, you only want to do this with the most important parts. If you went and did this with every single element of your mix, it would take forever. You only want to do it either on the vocals, the lead guitar, and maybe the bass and kick, the snare – things like that, the most important parts. But also, you can do it on group buses.
Before I go into the finesse of this technique, just remember you’re not doing it with every single individual channel. That will take you too long. You’re only doing it with the most important parts, and maybe on the group buses as well, so all the guitars at once or all the keys at once, for example.
First example I’m going to give is vocals. Let’s go back to an earlier example of boosting vocals by 2dB at 6 kilohertz. In this example, the vocal had some aggression to it, but I wanted to dial in more aggression. I wanted to help it cut through the mix a bit more. So I already knew I was going to be boosting somewhere in the upper mids.
First of all, to find the pleasing element and to find the range that you’re going to allocate to this part, I just dial in a boost, maybe 3 or 4 dB – a bit more exaggerated than you end with just so you can hear it clearer. I know I want to be in the upper mids, so it’s going to be somewhere between 4 and 7 kilohertz. I would head to that frequency range and move the band around until I find an area that sounds nice.
At 7 kilohertz I feel like it’s a bit too high; we’re getting more into the top end, and that’s not really what I want to boost. I want to boost the high mid aggression. Down at 4 kilohertz, it sounded nice, but I didn’t feel like it cut through enough. It wasn’t enough bite. It was a different kind of element of sound.
So 6 kilohertz was the area that I liked the most. After that, of course, you dial back the boost probably somewhere around 2 dB or 1 dB, which is what I would set it on. Play with the width as well. Generally with boosts you want to be a bit wider, but just have a listen to how that affects it. It sounds a bit more musical, a bit more natural when it’s wide. But we still want to have that bite and that aggression, so somewhere between the two works well.
Here’s the important bit. Now I know that a 6 kilohertz boost on the vocal sounds nice, I can write that down. Grab a pen and write it down. “Vocal, kHz.” Now when I’m going through and processing my other channels or on the group buses, I know not to boost 6 kilohertz on anything. If anything, I want to do the opposite: I want to cut 6 kilohertz.
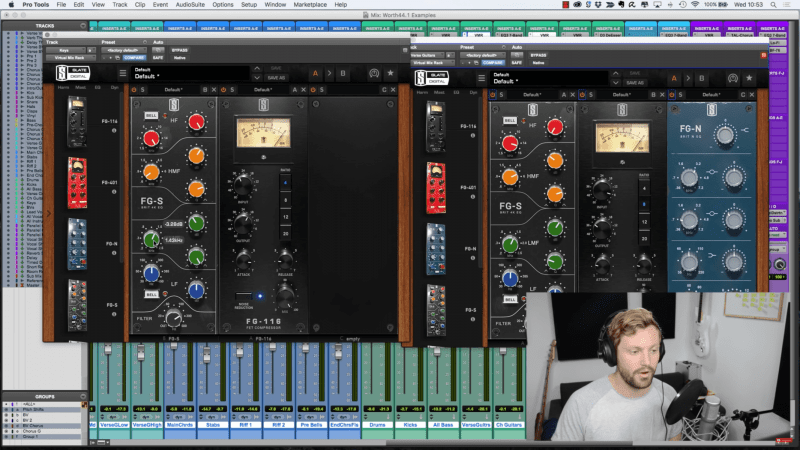
You could even try cutting 6 kilohertz on ALL the instruments. So send all of the instrument parts – drums, kicks, all bass, verse guitars, chorus guitars, keys – to a stereo aux buss called ‘All Instruments’. Then apply a subtle 1dB cut around 6kHz on this new stereo aux.
Another good example is kick and bass. If you find that the kick has got a nice sub-bass to it and you want a track to have a bit more of a groovy, dance-y feel to it, you could write down “Kick, 60 hertz.”
If the kick is at 60 hertz, you don’t want the bass to be prominent in that frequency range, so maybe the bass sounds nicer, and the notes that it’s playing and the tone of the bass sounds really nice around 120 hertz, so you write that down.
Now you’re probably going to cut 60 in the bass, because that’s where the kick is allocated, and you’re going to cut 120 in the kick, because that’s where the bass is allocated.
Now let’s use the guitars as an example. Let’s say I’m boosting them at 1.5 kilohertz, so that’s their allocation. I can write that down, “Guitars, 1.5kHz.” Again, same technique to find that frequency – I found that this frequency range was a nice, pleasant element of the guitar that I could enhance that wasn’t already being used up by something else. Then you might want to cut 1.5 kilohertz in any competing instruments, like the keys or bass guitar.
Just constantly bear this in mind. Write it down, and then when you come to EQ-ing your individual parts or the group buses, just think about what’s already been allocated, where there’s space in the frequency spectrum for something to sit.
Again, don’t go over the top with it; 2-3 dBs boost or cut here and there is all you need. You don’t need to start filtering and being really aggressive. It just creates a bit more space, it gives you some structure to work to with your EQ moves rather than just randomly boosting.
If you start boosting the same frequencies in two different parts, you’re going to get frequency masking. It’s going to start to interfere with each other. So writing those allocations down really helps you to prevent that from happening.
One last tip for this technique: try to do it with your ears as well. When you are boosting and finding frequencies to boost and to allocate, some people will use a frequency analyzer. I don’t actually have one; I never use spectrum analyzers. But Logic Pro, for example, the EQ there comes with one. FabFilter, their EQ has a spectrum analyzer.
It’s tempting to have a look at that spectrum analyzer and see where the main notes are. For example, you put it in your kick drum, you have a look and maybe the biggest peak is at 60 hertz, so then you think “Okay, I need to cut 60 hertz on everything else.”
But this is dangerous, because all that means is the fundamental is at 60 hertz. If you start boosting the fundamental, first of all that’s going to sound weird. It’s probably not going to help the tone.
Cutting the fundamental in other stuff does help, but then when you get to the common instruments that are in the low mid range, which we spoke all about in the video on muddy mixes, like guitars, acoustic guitars, the upper range of a bass guitar, male vocals, even female vocals, they’re all sitting around the same space. They’re all going to have very similar fundamentals.
You quickly run out of space in the low mids, so instead you have to look to the high mids and the mids, around 6 to 1 kilohertz and everything around that area, for your allocations. You can’t just allocate fundamentals because everything is going to be in the low mids, and then all your allocations are going to be really close to each other, in that low mid range between 100 and 300 hertz.
So try to do it with your ears. Find a boost that sounds nice in the mids and then cut it in other things.
Please do implement this technique in your mixes. I think it will really help you. Especially writing them down like that is a great way to get started. After a while you’ll just remember, and when it comes to boosting you’ll think “I’ve already boosted that somewhere else. I’m not going to do it.” But it really does help to write it down.