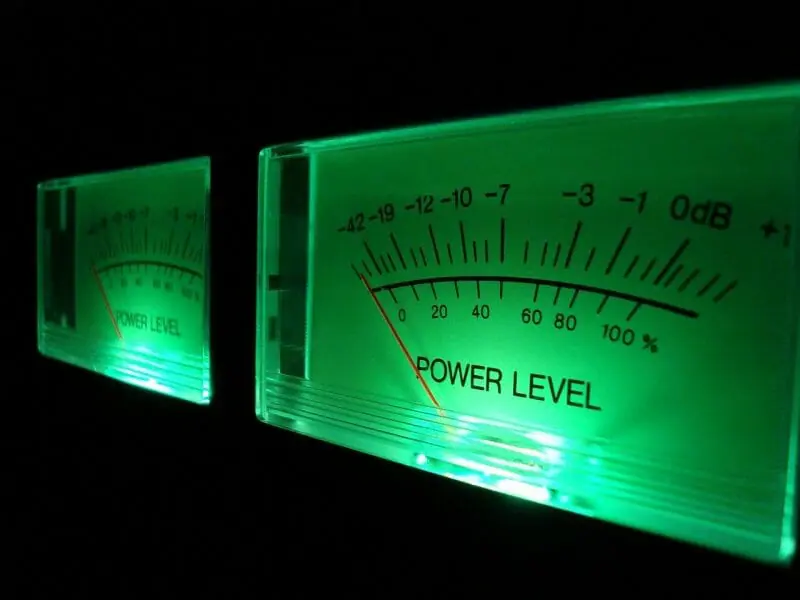
Ever seen those weird, old-timey meters in pictures of old studios?
You see a band laughing with the producer, writing music behind the mixing board…
And the entire board is covered in yellow meters with big red needles.
The first time I saw a board full of VU meters, I thought it looked like something you’d see inside a nuclear power plant.
But I never stopped to figure out what those tiny meters were… Or why they’re one of the best-kept secrets of the music industry.
Seriously, these things can be a game-changer for a DIY musician. They’re one step in getting that pro sound you’re chasing.
So let’s dive into the hidden secrets of the all-coveted VU meter.
I’m guessing you’re here because you want to make your mixes sound professional. Well, you don’t need expensive gear or software to do that – you just need the right knowledge. We put together a brief training that covers a totally new approach to music production. Until now, everyone has been teaching production totally backward. Just click below to watch. Get industry-quality every time (steal this framework)
But if you just want to learn about VU Meters specifically, keep reading.
What Even Is a VU Meter?
These things are one of the most misunderstood pieces of gear in music history.
You may have seen these old-fashioned-looking meters. On mixing consoles, analog gear, or in plugins based on the classic vintage tech.
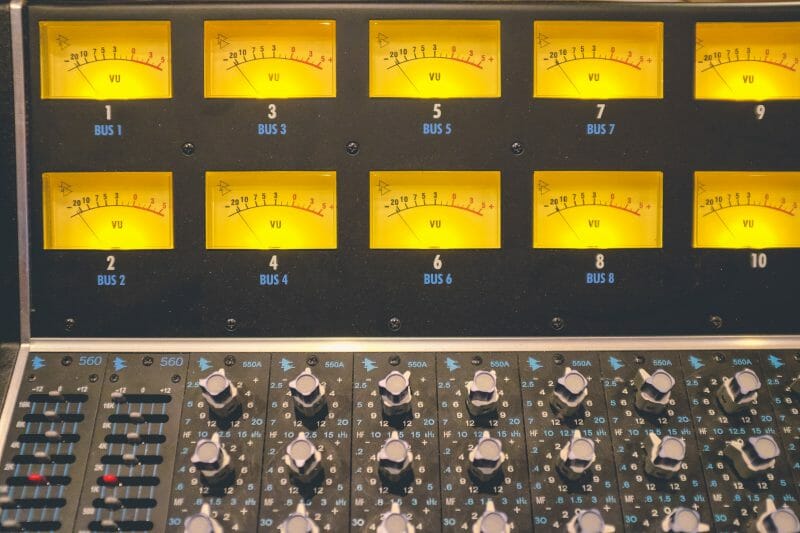
VU meters (or volume unit meters) were the main volume meters of the 20th century. Up until digital came around in the late ‘80s.
Once DAWs came around, programmers switched to FS meters (full scale meters) to measure volume. You’ve probably seen them in your own DAW – it’s the meter right next to your volume faders.
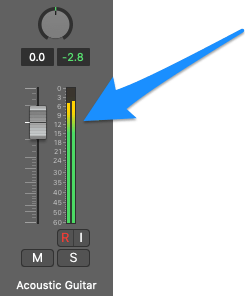
Since then, you’ve seen fewer and fewer VU meters on the market. And the pros are just fine with that…
Because it’s a closely guarded secret that VU meters do more than just show the volume of an instrument.
But before we can get into those industry secrets, we need to talk about what sets the VU meter apart.
A VU meter shows the AVERAGE moment-to-moment volume of an instrument.
This is the opposite of the FS meters in your DAWs. They show the EXACT moment-to-moment volume of an instrument.
So technically, VU meters are less accurate than their newer FS cousins. They’re slower.
But what they lack in accuracy, they make up for in realism.
How so? Well, that leads us directly into…
Hidden Secret #1: It’s Built Like a Human Ear
FS meters are technically more accurate, yes. You see each momentary peak in the volume level.
But our ears don’t hear sound like that.

We hear sound just like a VU meter… in averages!
So even though we’re looking at an “inaccurate” meter, we’re seeing how our ears are perceiving the instrument.
And ultimately, our ears are what’s important. Accuracy be damned.
Another way of thinking about it is this: FS meters show volume. VU meters show loudness.
When you put a VU meter on your instrument, you’re seeing the energy and intensity of the sound. You’re seeing how your listeners are going to hear it.

That means it’s way more useful for your mix.
For example, let’s think about a bass guitar. If you look at your DAW’s FS meter while it’s playing, you’ll see the bar jumping up and down every millisecond.
To your eyes, it might look like the bass is extremely dynamic. But to your ears, it just sounds like a nice fat bass.
Now, let’s put a VU meter on that same bass guitar and check it out. You’ll see that where it was jumping up and down 10 dB before, it’s staying around the same area on the volume meter.
So now your meter matches your ears. You can see that it’s not a heavily dynamic part. In fact, it’s staying around the same volume the entire time.
This is helpful when you’re trying to decide which instruments need more compression. If you’re trying to control the dynamics of the background instruments, you might be tempted to heavily compress this bass.
But now that we see it has a much smaller dynamic range than we thought, we can do some light compression and move on to another instrument.
There’re tons of other ways you can use VU meters to your advantage, especially when it comes to dynamics. Speaking of which, let’s move on to…
Hidden Secret #2: It Can Save Your Track’s Dynamics
One of the biggest calling cards of an amateur mixer is a quiet chorus.
Your chorus is the most important part of the song. It should feel more energetic than the verse before it.
That word should be a red flag. Where have you read that before?

Remember when I said that VU meters show the energy of a mix?
That means you can use a VU meter to make sure your energy is increasing for the chorus.
Just put a VU meter plugin at the end of your mix bus and keep it open while working on your volume balance.
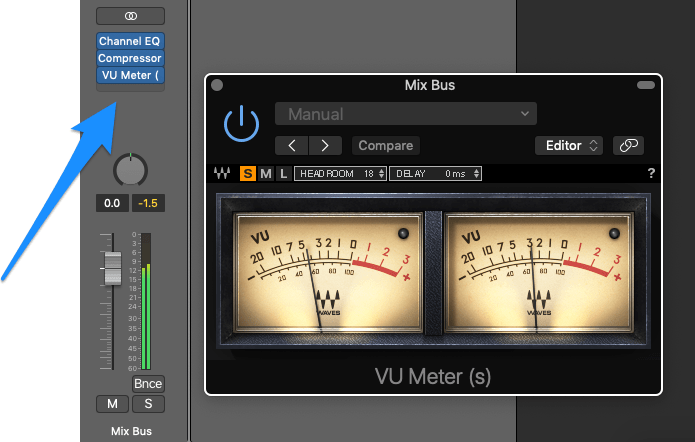
Is the meter hovering around the same area in both the verse and the chorus? You might need to bump up the volume in the chorus.
It doesn’t need to be 10 dB louder or anything. Even a little increase can be felt by the listener.
On the opposite side, you want to make sure the chorus isn’t making a MASSIVE jump in the VU meter.
Then you likely have the opposite problem. Your chorus is too loud!
I’d say a good rule of thumb is to get the average level of the chorus to be 2–4 dB higher than the verse.
But keep in mind: this is only a loose guideline. It depends on the energy and instrumentation of your particular song.
Also, in many songs, the chorus is meant to be quieter than the verse. In that case, go with your creative instincts instead.
One final tip: be on the lookout for large spikes in the VU meter.
If the meter is jumping up 5–10 dB every time the snare hits, that snare’s probably too loud in the context of the rest of the mix. It’s unbalanced.
When this happens, you have two choices.
You can simply take the instrument down in volume. Or experiment with something to control its dynamics: compression, saturation, or even limiting.
Hidden Secret #3: It Can Show You What’s Missing in Your Mix
If you’ve got your mix sounding perfect in your speakers, but it sounds like crap in your car.

Then you probably aren’t using reference tracks.
We’re a bit of a broken record at Musician on a Mission on how important reference tracks are. For those who don’t know:
A reference track is a professionally mixed song. It has a similar genre and instrumentation (and “vibe”) as the song you’re mixing.
The point of a reference track is to use it as a reference (get it?) when you’re mixing.
Every speaker sounds different, so you want your mix to be based on a song that sounds good everywhere. One that was mixed in a professional studio by a seasoned vet.
Rob goes more into detail on reference tracks here:
Here’s the problem though. All reference tracks have been mastered. Otherwise they wouldn’t have been released!
And since they’ve been mastered, that means they’re louder than your mix. That means any mixing decisions we make with the reference are going to be inaccurate.
Imagine turning up the vocal to match the level of melody in your reference.
It might sound the same when you’re comparing it. But as soon as you mute the reference, you realize that the vocal is now WAY too loud in your mix!
So we need to do some gain staging between your mix and the reference track.
In order to do this, we want to use a meter that doesn’t just show volume but loudness.
Hello, VU meter, my darling.
All you need to do to match the volume of your mix and your reference is to open up the VU that you put on the stereo output from the last tip.
Then play the chorus of your mix. Check and see the area that it’s hanging around.
Next solo the reference track. Note how much louder it is… then just turn it down by that amount.
It’s as simple as that!
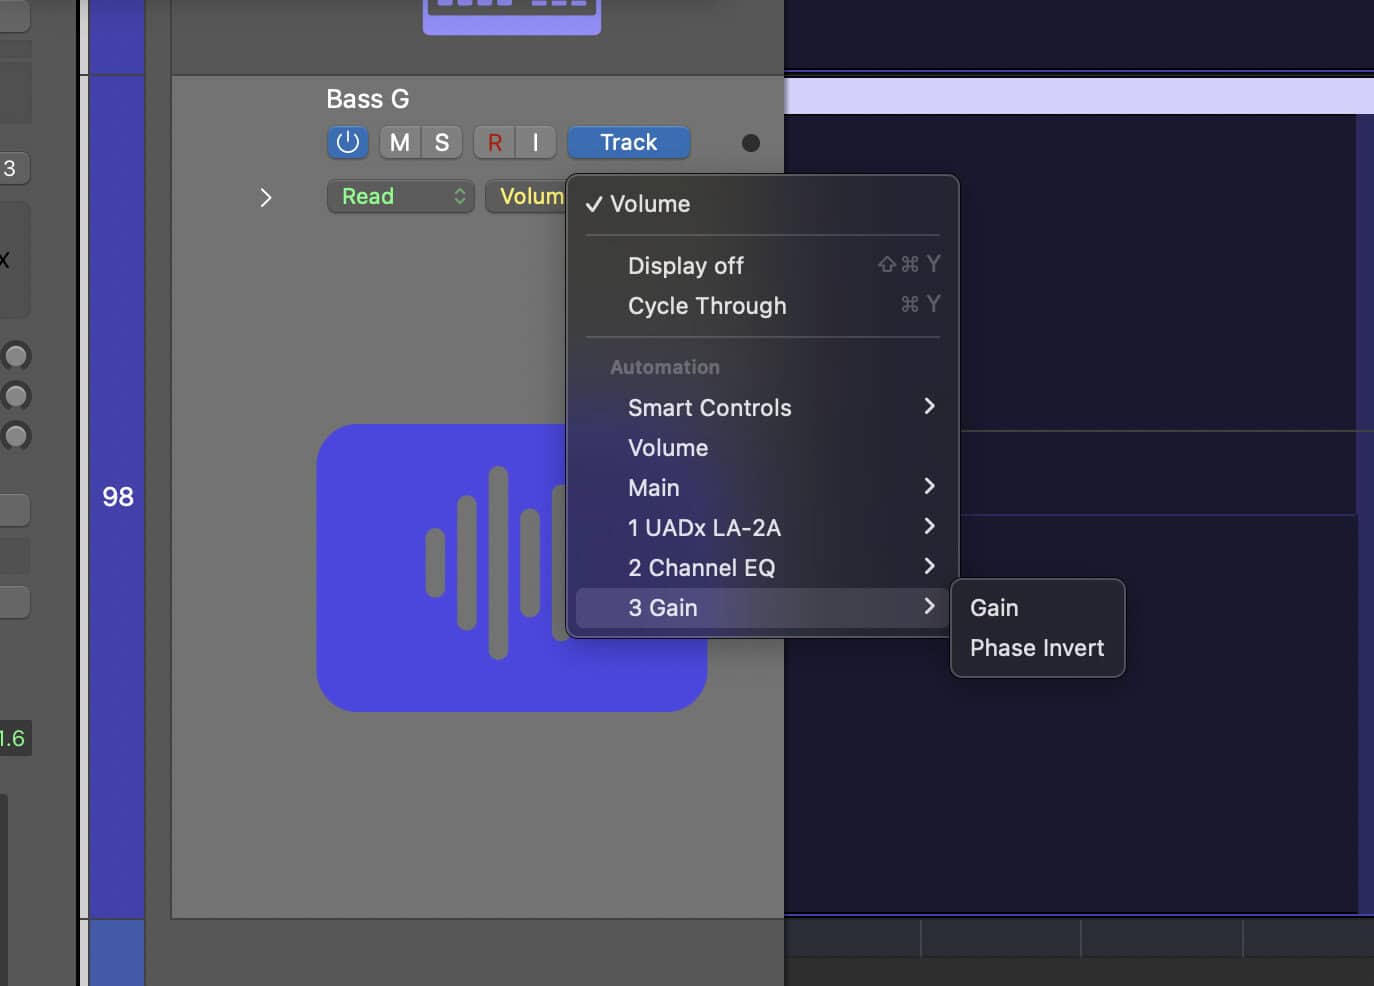
So if your mix is hanging around −5 dBVU…
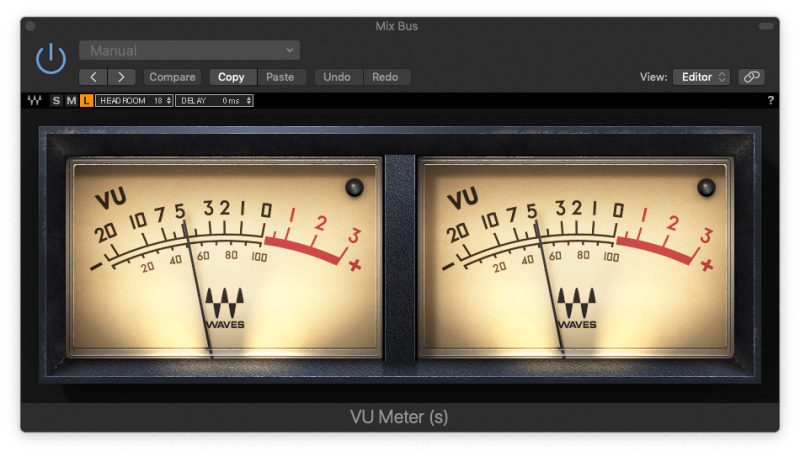
And the reference track is hanging around −2 dBVU…
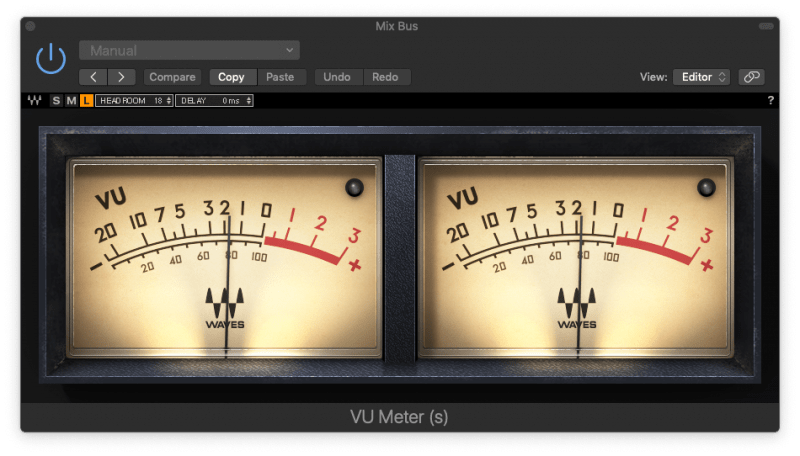
Then turn the reference down by 3 dB and check it again. Once it’s sitting around the same area, you’re good to go.
Keep in mind, this isn’t a perfect science. Remember to still use your ears.
If you’ve level matched the two using the VU meter, the reference track might still sound too loud. Then keep turning it down a bit until it starts lining up in your ears.
Do this and you’ll save your mixes!
Hidden Secret #4: It Can Find the Sweet Spot
Let’s take a quick trip back to the 1960s.
Before computers, studios had sound consoles and outboard gear to mix their songs.

This tech was analog. So you had to record your tracks at a certain volume level to make sure they didn’t sound too noisy.
Most of those old mixing tools were made to sound their best when they mixed instruments at that volume. That level is what we now refer to as the sweet spot in mixing.
Let’s fast-forward to today.
Most of the mixing tools you will use – compressors, EQs, reverbs, and so on – are based on those old models from the analog age. That means their sweet spot still exists!
So the next secret is based on gain staging. Changing the level of an instrument so it hits that all-coveted sweet spot.
So what is the sweet spot? 0 dBVU.
Yep. It’s all based on the VU meter.
Bonus Tip: Mixing with Pink Noise
Another handy tip for getting a great mix balance is mixing with pink noise. If you’re struggling to find the perfect volume for your tracks, give it a shot!
Hidden Secret #5: It Can Save You From Choice Fatigue
Choice fatigue is a real problem with mixing.
Picture this:
You’re on hour 6 of your mixing process. You’ve just put your 4th different compressor plugin onto the drums. It’s just… not sounding right.
As you slump back in your chair, you realize you feel exhausted.

Contrary to common sense, you don’t feel exhausted from the stress.
You actually feel exhausted from making too many choices.
Studies have shown that the brain uses up a limited supply of chemical energy when it makes a decision. Big or small, your brain is eating up its willpower.
So what’s the solution?
Well, a healthy diet and exercise to keep your brain fueled and healthy… And you need to make fewer decisions each day.
And mixing is full of HUNDREDS of decisions. How is it even possible to keep a hold on them?
There are many solutions. (DAW templates, custom plugin folders, and presets come to mind.)
One of the most effective is making sure each plugin is properly gain staged.
So we’ve covered gain staging a lot in the past few tips. We’ve talked about how important it is to gain stage your reference tracks, and even your recordings themselves.
But it doesn’t stop there.
Gain Staging
You can (and should!) gain stage each plugin as well.
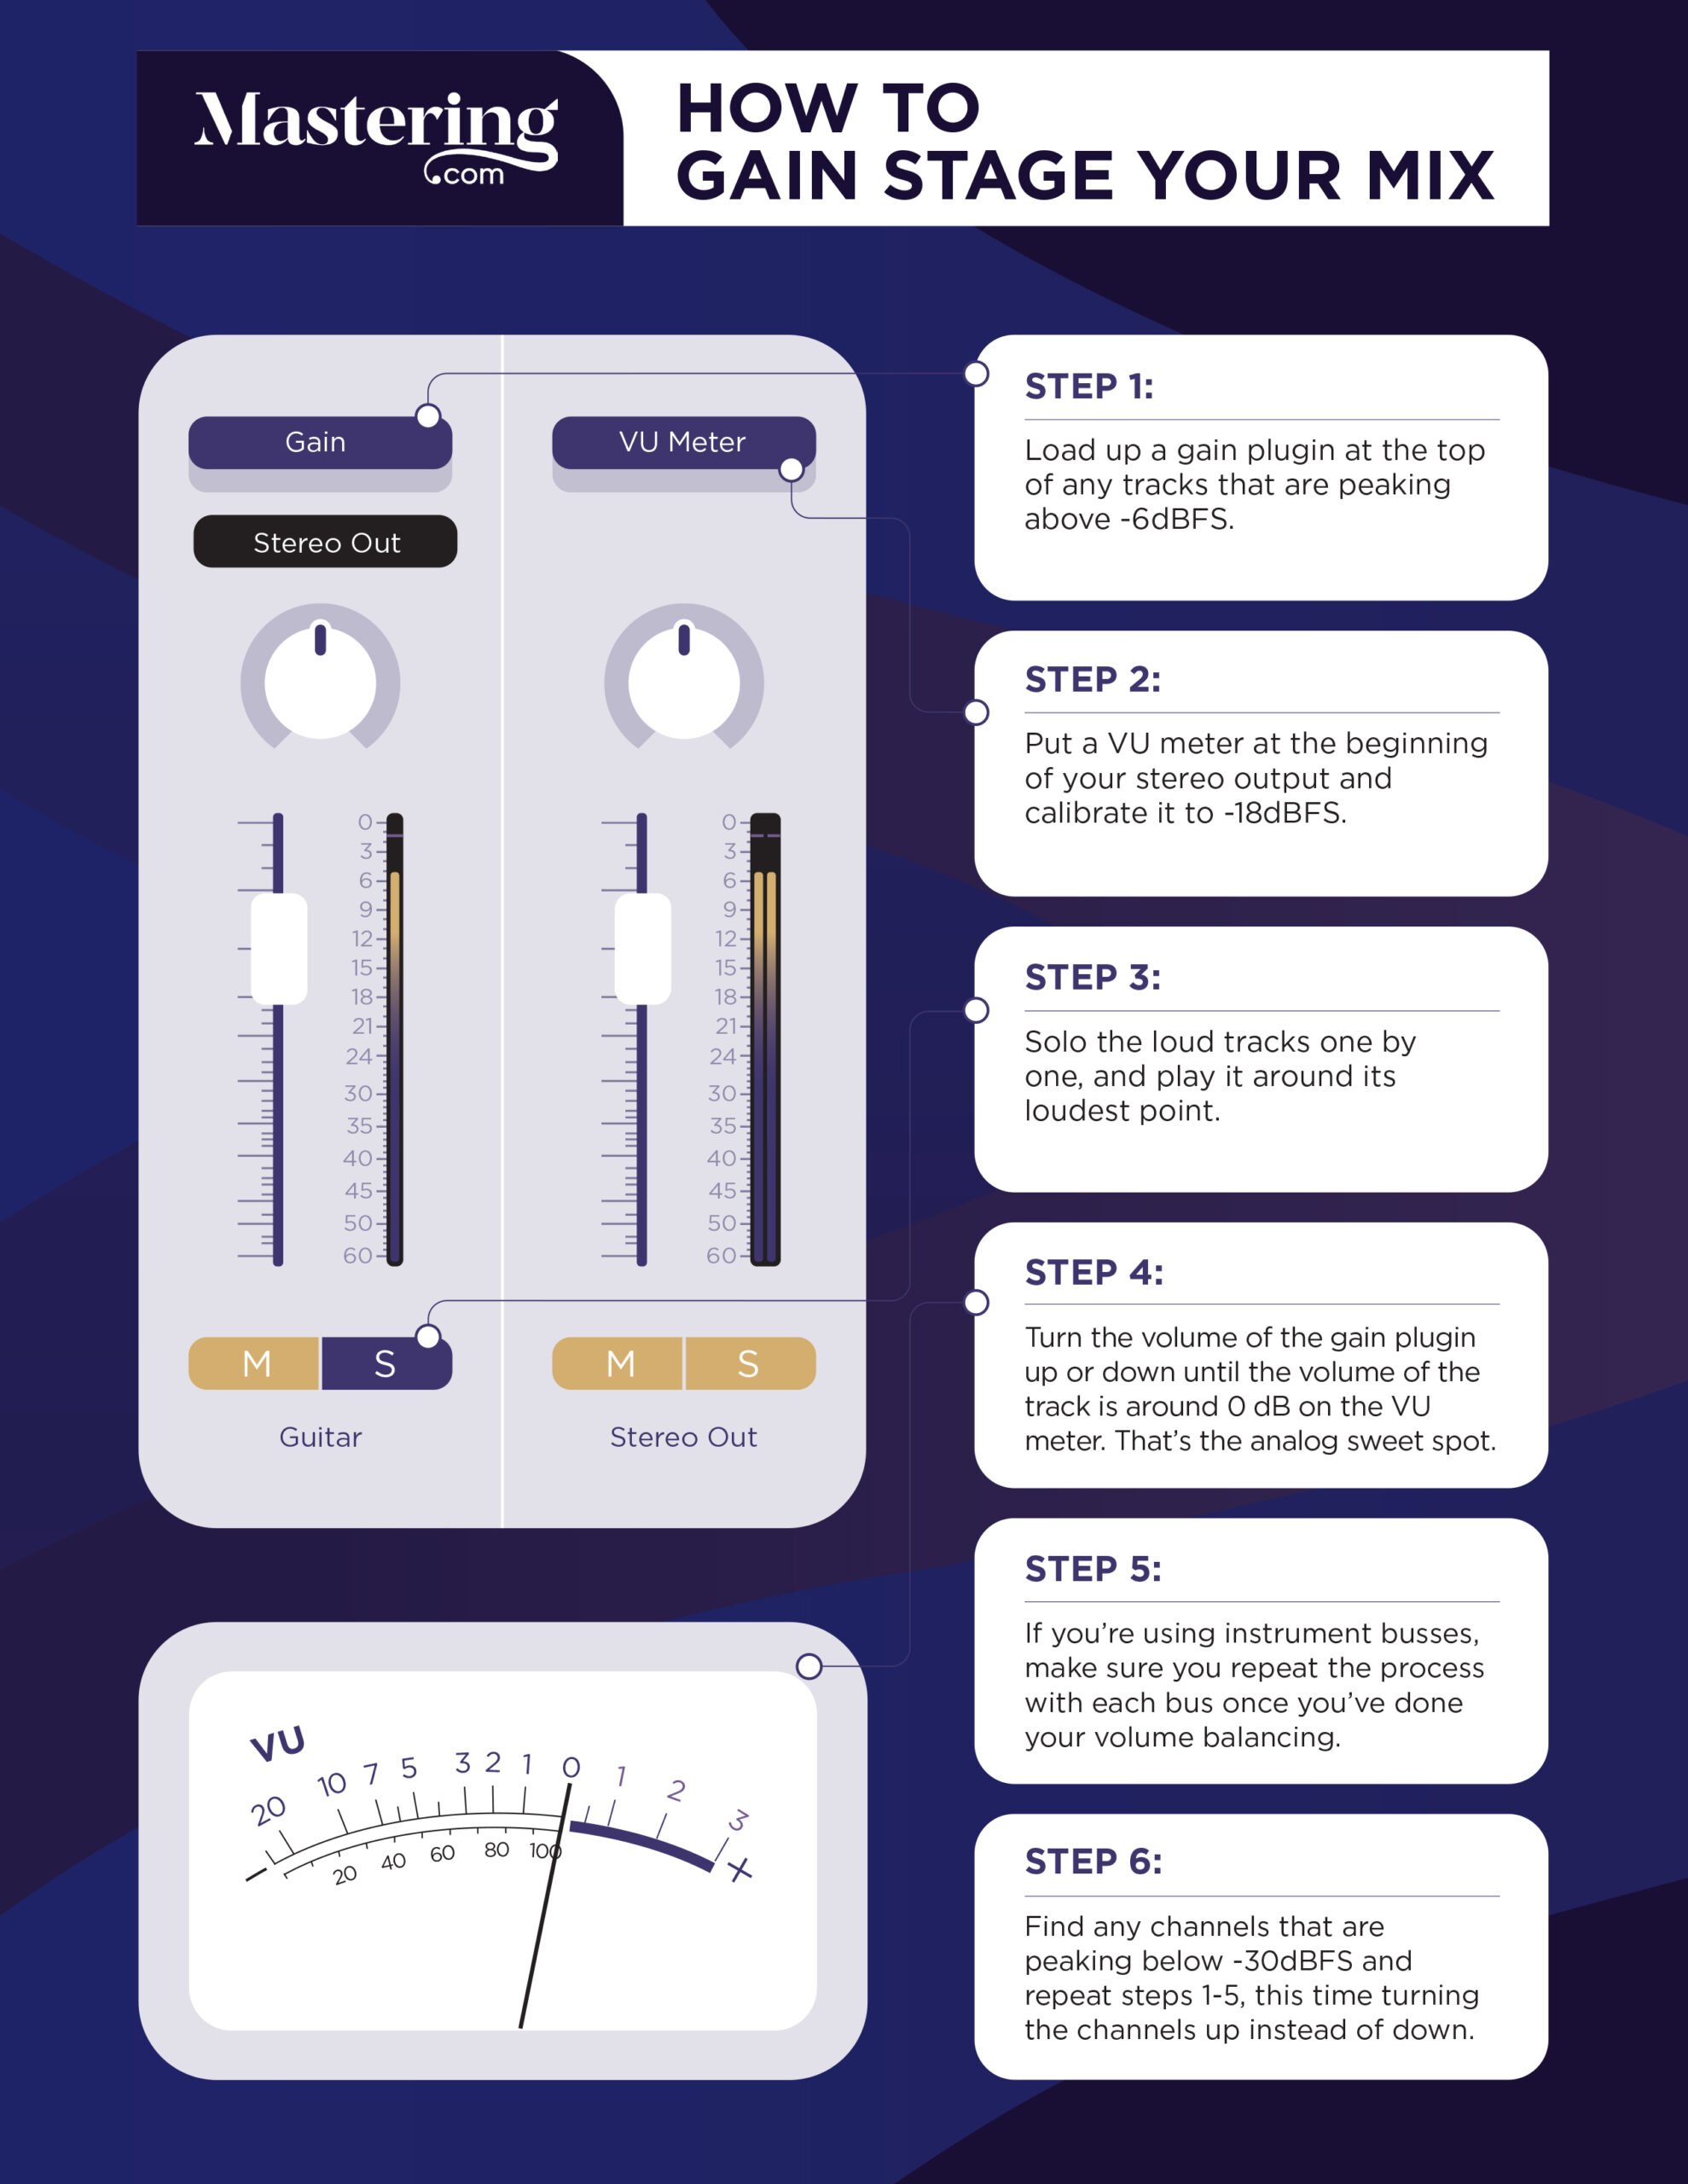
The point of gain staging is that we are changing the level of a track to match some predetermined point.
With reference tracks, we matched the reference’s level to your mix’s level.
With the sweet spot for your plugins, we matched each recording’s level with the analog gear sweet spot of 0 dBVU.
With this, we’re matching the output volume of a plugin to the input gain of a plugin.
To put it more simply, we want our input level and our output level to match. We want the volume of the track to be the same as before you put the plugin on in the first place.
This is so important because volume dramatically changes how your ear perceives quality.
The human ear primarily perceives louder sounds as more full and exciting. Softer sounds seem thinner and duller.
So that distortion plugin you just slapped on? It might actually make your drums sound terrible… but because it’s suddenly louder, you think it’s badass!
Or on the opposite hand, the compression on your electric guitars might sound weak and boring. But that’s just because it’s suddenly 5 dB quieter, since you haven’t gain staged it.
It might actually be exactly what you need.
You want to quickly make a decision with your plugins. So make sure the volume of the instrument is the same when you bypass your plugin.
The easiest way to do this is with – surprise! – a VU meter.
Just put one at the end of your instrument’s plugin chain and have it open while you’re mixing that instrument. Every time you add a new effect, check out the meter.
Here’s a drum set BEFORE I add some distortion on it:
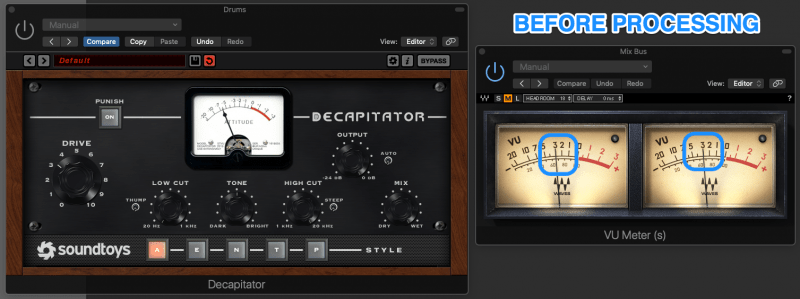
Here’s that same drum set AFTER I add the distortion to it:
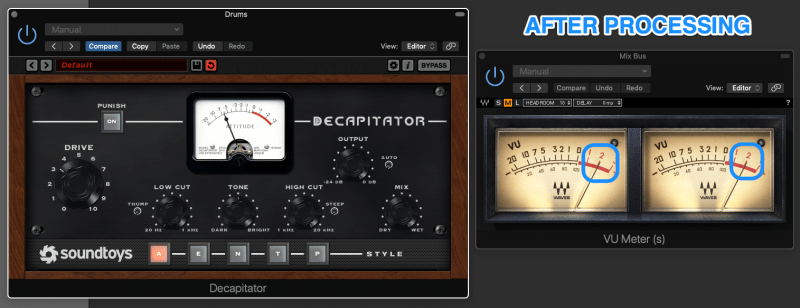
See how the VU meter went up from -3dB to +2dB? This distortion is adding a ton of extra volume to our drum set!
Figure out how much gain the plugin has changed. Then grab the output volume knob in the plugin, and turn it up/down enough that the VU meter is roughly in the same area as before.
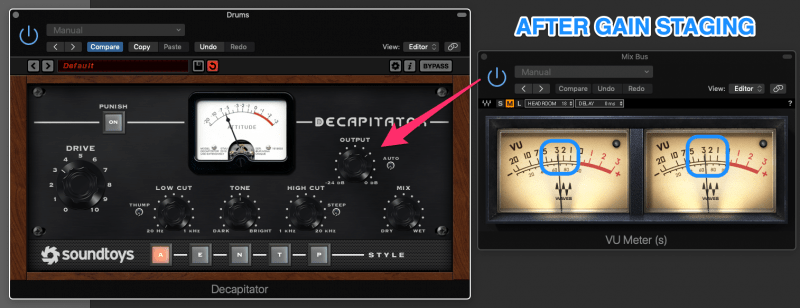
The trick is this: when you bypass your plugin, the needle on the meter needs to stay in the same area.
It might move more erratically, but that’s just because you’re affecting the sound. You’re just looking for an average.
There’s no need to spend more than 7 seconds on this for each plugin you use. Just set it and forget it.
If you do this on the entire mix, not only will you work FASTER, but your mixes will sound BETTER. You’ll be making better mixing decisions than you ever could before!
Where Can You Get a VU Meter Plugin?
There’s tons all over the internet. Some are free and work just fine, and others are expensive with more bells and whistles.
I’m personally a fan of TBProAudio’s mvMeter2 and Waves’ VU Meter. Go test them out and see if they work for you.
DISCLAIMER: The Numbers Are Different!
It’s important that you realize that VU meters and FS meters use different numbers to measure volume.
FS meters use negative numbers to show how loud something is. For instance, −30 dBFS is pretty soft, whereas −5 dBFS is pretty loud.
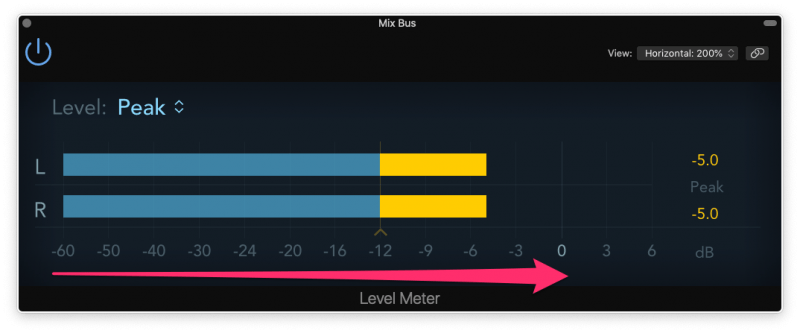
The negative numbers go all the way up to 0 dBFS, where it starts to clip and distort. That’s the edge of the volume in digital audio.
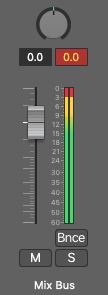
You can’t go any louder without making your audio sound worse and worse.
VU meters also use negative numbers, but they don’t stop there. They use positive numbers as well.
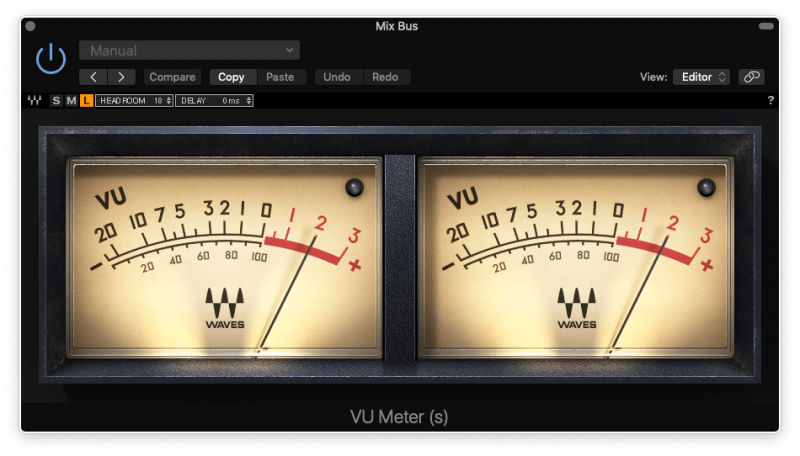
The important difference is that 0 dBVU is NOT the loudest your audio can get. In fact, 0 dBVU is actually roughly equal to −18 dBFS in your DAW.
So if you get into the positive numbers on a VU meter, that’s okay.
Depending on the plugins you’re using, you may start to get some subtle saturation. But until you see your DAW’s dBFS meter begin clipping, you’re not in any danger.
Make sure to remember this when you start mixing with your VU meter for the first time.
CONCLUSION: VU Meter
And now you know the secrets of the VU meter.
Hopefully, you’ve learned a thing or two that’ll make your mixes even better.
If you want to dig deeper into music production and learn what it actually takes to make mixes that sound pro… And you’re an intermediate or advanced producer… Be sure to check out the free masterclass: Enjoy!Next Steps


