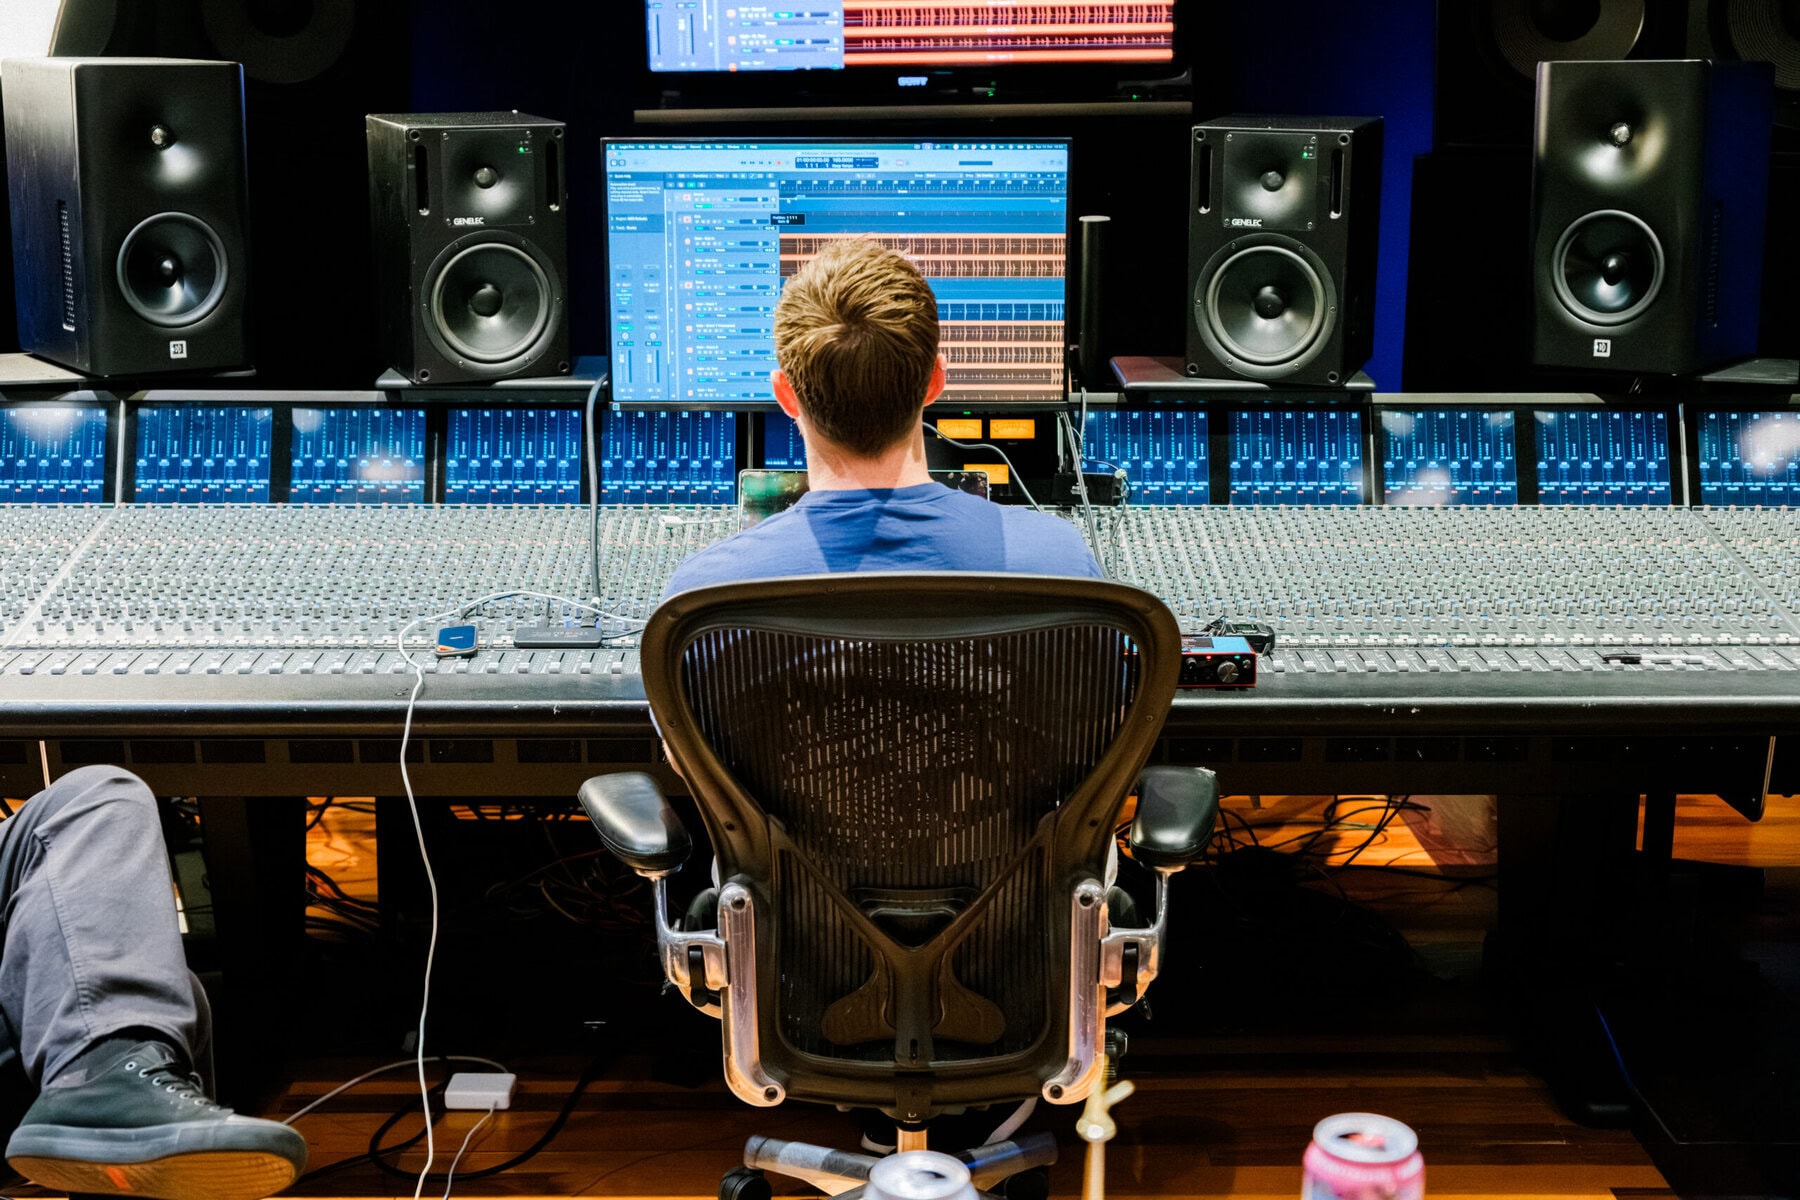
If you record or mix music, you need to know what signal flow is.
Getting a good grasp on signal flow will save you a ton of time and frustration fixing technical issues.
To help you understand everything you need to know, we’ve put together this guide to signal flow. It’ll cut down on the time you spend finding and fixing problems with your audio when you’re recording and mixing.
I’m guessing you’re here because you want to make your mixes sound professional. We put together a brief training that covers a totally new approach to music production. Until now, everyone has been teaching production totally backward. Just click below to watch.Get industry-quality every time (steal this framework)
But if you just want to learn about Signal Flow specifically, keep reading.
What Is Signal Flow?
Signal flow is the order of operations a sound goes through.
When you record an instrument, the sound goes through different stages before you hear it through the speakers.
Signal flow is the list of steps that sound goes through in order for you to hear it.
It’s kind of like riding a train.

Say you’re trying to get downtown. You get on a train stop near your house and off you go!
But there are a few stops along the way. So before you actually get downtown you have to go to other places first.

Before the sound gets to your ears, it goes through a bunch of different stages.
And understanding that chain of events is crucial to solving any issues you run into along the way.
Why Is Understanding Signal Flow Important?
Understanding signal flow makes it easier to solve problems while recording.
And if there’s one thing we all know about audio, there’s always a problem.
If you don’t really know what’s going on with signal flow, you’re going to waste a ton of time fixing stuff.
And when it comes to mixing, understanding signal flow helps you maintain the highest sound quality possible.
The order your effects are in make a huge difference in your mix. So paying attention to that signal flow will help you make sure your mix sounds great.
So learning about signal flow isn’t just some formality. It’s a critical time saver that’ll help you stay creative and avoid embarrassment!
Signal Flow While Recording
It’s a lot to look at, but basically the signal flow while recording goes like this:
- The instrument or voice you’re recording
- Microphone
- Audio interface
- DAW
- Back out to the audio interface again
- And finally through your headphones and/or speakers
If something goes wrong while recording, think about where in this chain the problem would be.
For Example
Say you’re trying to track vocals, but no sound is actually being recorded.

Think about the signal flow. Something must be wrong in the first few stages.
Maybe you didn’t turn on Phantom Power, so the condenser mic isn’t working. Maybe the input for the channel isn’t set correctly.
One way or another, you know that the problem has to be in one of those first few steps of the signal flow.
On the other hand, what if you can see audio has been recorded to the channel, but you can’t hear it? Something’s probably gone wrong towards the end of the chain.

Signal Flow While Mixing
Once again, it’s a long list. But when you break it down, it’s pretty simple.
- The hard drive your recordings are on
- DAW
- Any effects you’re using
- Audio interface
- Speakers or headphones
While recording, signal flow is about fixing problems. But signal flow in the mix is more about making sure you have the best audio quality.
It’s kind of like an assembly line in a factory.
In order to make a good car, everything has to be done in a certain order.

Before you install the engine, you have to make the frame.
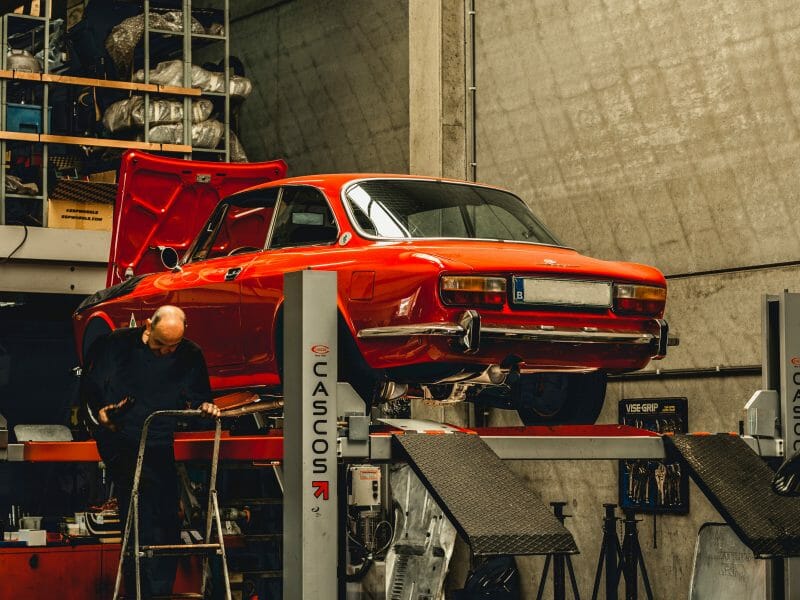
Ok, I don’t know much about cars. I’m a musician, not a mechanic! But the idea is, the order of your effects changes the quality of your mix.
For Example
Imagine you’re mixing a song, and the drums sound super distorted.

Since it’s only the drums, it’s probably an issue with the drum channels themselves.
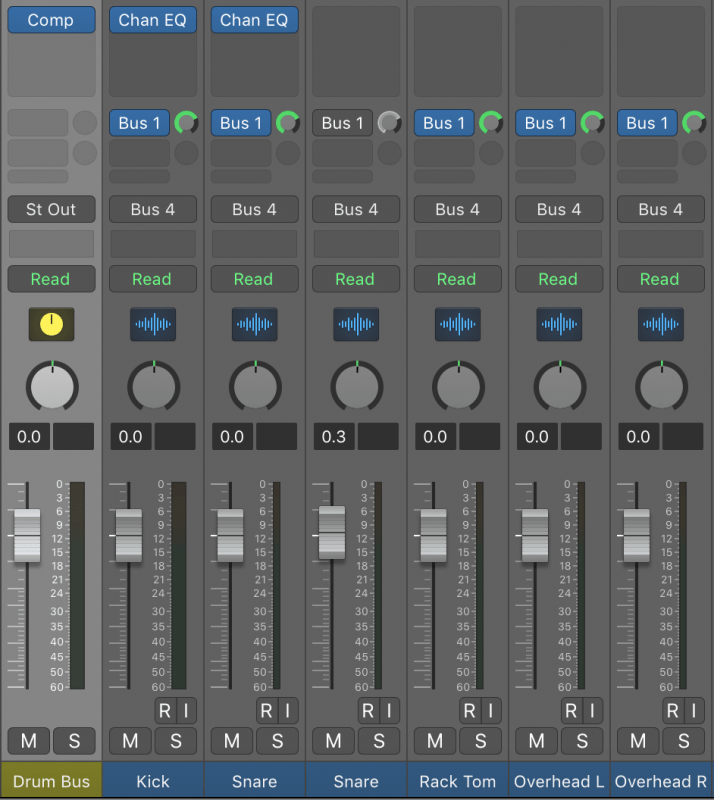
Maybe you’ve turned the channel faders for the drums up too loud. Or maybe there’s a plugin on your drum submix channel that’s making them distort.
Either way, you can quickly home in on the source of the problem by thinking about where the problem is.
If your entire mix sounds distorted, the issue might be at the end of the signal flow.
Maybe an effect on the master bus is making your song clip. Maybe the volume on the master fader is set too high.
Using Signal Flow Creatively
Understanding signal flow can really supercharge your mixes. By getting creative with the order of operations you can take your mixes to the next level.
For example, you can use sends for reverb or change the order your plugins are in.
Something as small as changing where a compressor is in your plugin chain can make a big difference!
Sends and Busses
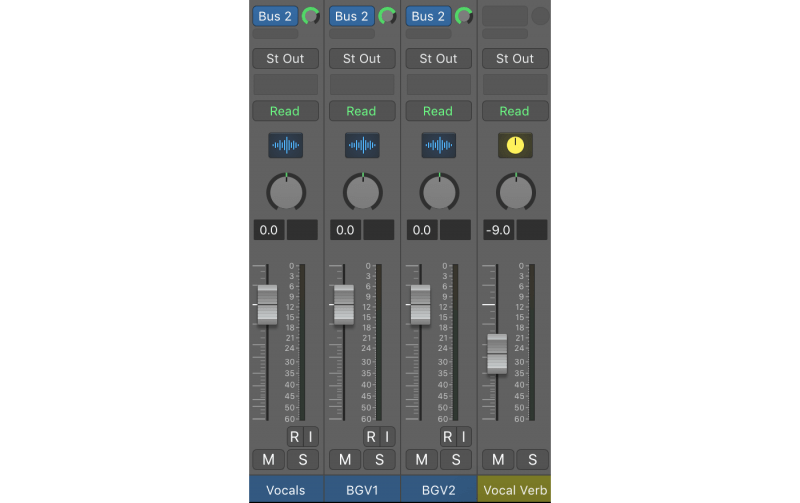
Adding sends and busses to your mix changes up your signal flow a little.
When you send a track to another bus, you’re literally copying the signal from that first track and putting it on another one.
So your signal flow ends up looking like this:
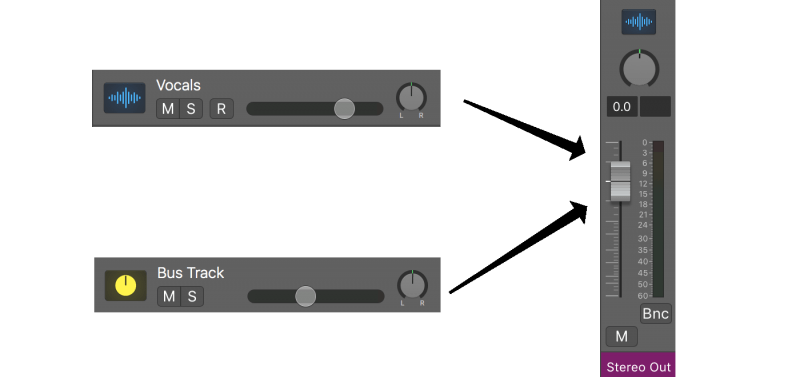
You can use sends and busses for all kinds of cool effects, like parallel compression or EQing a group of instruments.
So think about how you can use buses to your advantage!
Changing Up Your Plugin Chain
The order of your plugins can make a huge difference in sound quality!
For example, you’ll probably want to EQ before you compress a track. If there’s any extra noise in the low end of a channel, it can make your compressor open up too soon.
So EQing before you compress can help you avoid over or under compressing your instruments.
And the same goes for other effects you’re using! The order you put things in matters.
So think about how your plugins are interacting with one another.
If you’re using saturation, do you want it to go before or after the compression?
If You’ve Gone Through the Entire Signal Flow and Can’t Find the Problem…
Try restarting the entire system.
Restart your computer and interface, then load the project back up.
If you can’t find a logical explanation for why something isn’t working, sometimes it’s just a weird digital error.
Computers are weird!

Sometimes stuff just doesn’t work. If you’ve restarted your computer and you’re still having the same problem, you might have a hardware issue.
But make sure you try everything you can think of before assuming there’s a problem with your computer, audio interface, or any other hardware!
Troubleshooting your software is free. Taking your gear into a shop will probably cost you at least a consultation fee.
Feedback
Ever been to a concert and heard a loud, piercing whistle coming from the guitarist’s amp?

That’s feedback, and it can really derail tracking and mixing sessions.
Feedback happens when a signal is fed back into itself.
Usually a signal flow looks like this:

But feedback looks like this:
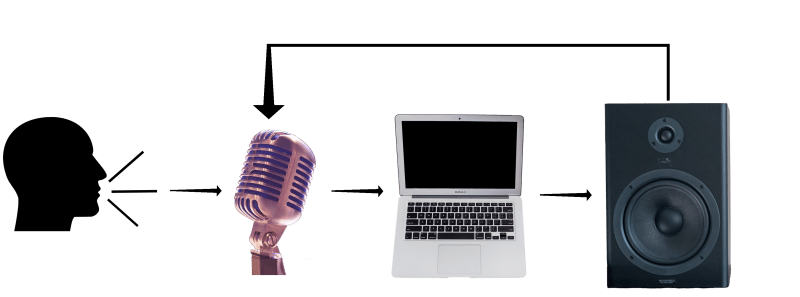
A classic example of feedback happens while recording vocals.
Imagine you’re listening to the song through speakers while recording vocals. This is a bad idea for a couple of reasons, but it still happens.
The sound of your vocals will also go through the speakers, causing a feedback loop.
So save yourself from ear damage by avoiding feedback loops.
Conclusion: Signal Flow
Signal flow isn’t just some technical concept audio engineers rant about to sound smart. It’s a crucial part of figuring out how to solve problems while recording and mixing!
I recommend saving both signal flow diagrams above so you can check them out in any session. If something isn’t working right, think about where in the signal flow your problem might be.
You’ll save a ton of time fixing problems. And that lets you focus on the creative stuff instead of getting bogged down in technical issues.
Eventually it’ll become second nature!
If you want to dig deeper into music production and learn what it actually takes to make mixes that sound pro… And you’re an intermediate or advanced producer… Be sure to check out the free masterclass: Enjoy!Next Steps


