Sick of thin, lifeless bass recordings?
This complete guide to recording bass guitar will teach you everything you need to know.
From the gear you need to recording techniques used by the pros. You’ll have incredible bass recordings in no time.
How to Record Bass Guitar
Recording bass is simple once you learn how to do it.
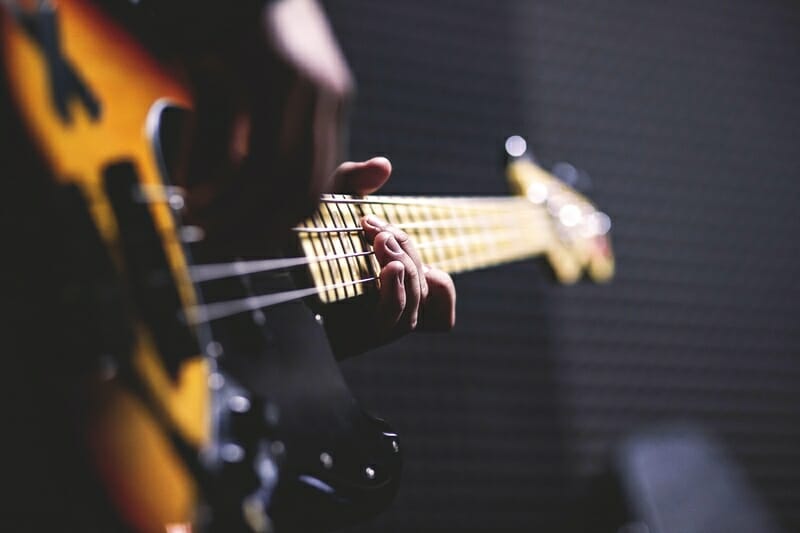
There are a few different techniques to choose from. Which one you choose largely depends on what gear you have.
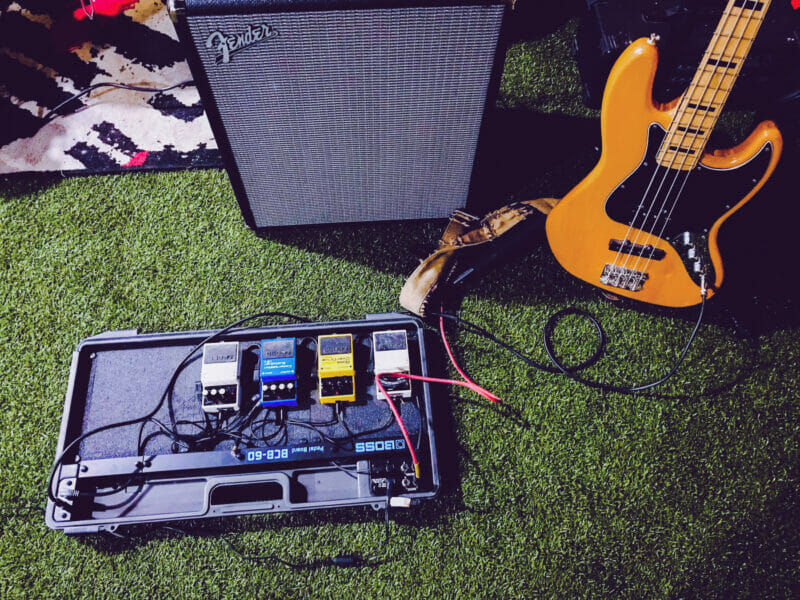
Gear
Here’s the gear you’ll need in order to record bass.
- Computer
- Audio interface
- Headphones or speakers
- Microphone (optional)
- Amp or amp simulator
- DI box (optional)
- ¼″ cable
Technique #1: Direct Insert (DI)
The easiest way to record bass is to just use DI.
DI stands for direct insert. It’s when you plug the instrument directly into your audio interface.
It’s really that simple! Just plug and play.
But there are a few things you’ll need to watch out for.
DI recordings are notorious for background hum. You’ll want to do everything you can to lower your noise floor.
That’s why you may need a DI box as well. This is a preamp for your bass.
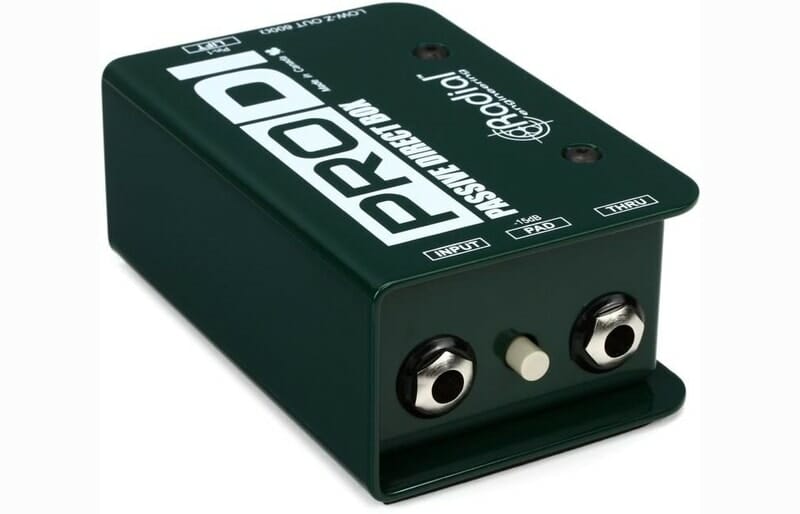
If the preamps in your interface aren’t powerful enough, there may be too much noise in your bass recordings.
A DI box will help you get the volume you need without turning up any unwanted noise.
You’ll also need to reamp the sound since it isn’t being recorded through an amp. Otherwise you probably won’t get the bass tone you want.
There are a few ways to do this.
You can use an amp simulator or an impulse response from an amp. Or you can reamp the sound through an amplifier afterward.
Technique #2: Microphone and Amp
The next way to record bass is by miking an amp.
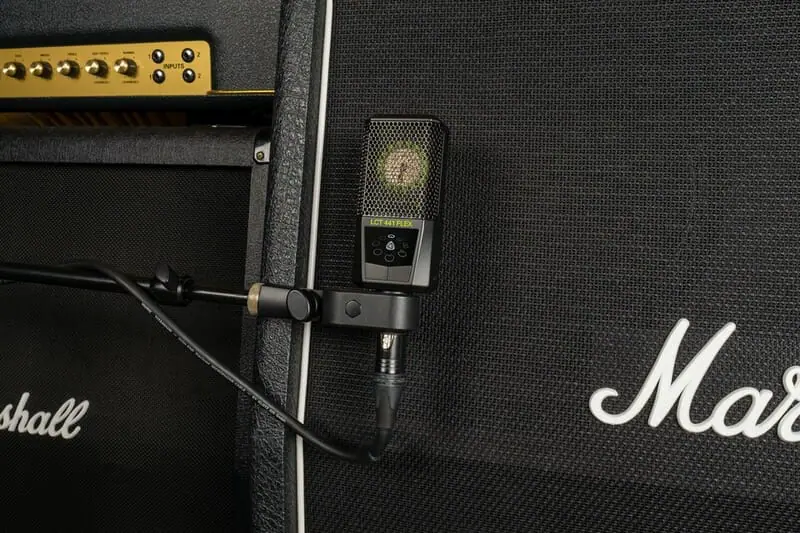
Your best bet is a dynamic microphone. Condensers can’t handle the sheer volume of bass amps as well as dynamics.
Some dynamic mics are specifically made for bass guitars and kick drums. Scroll down for a list of my favorites!
Bass Mic Tips
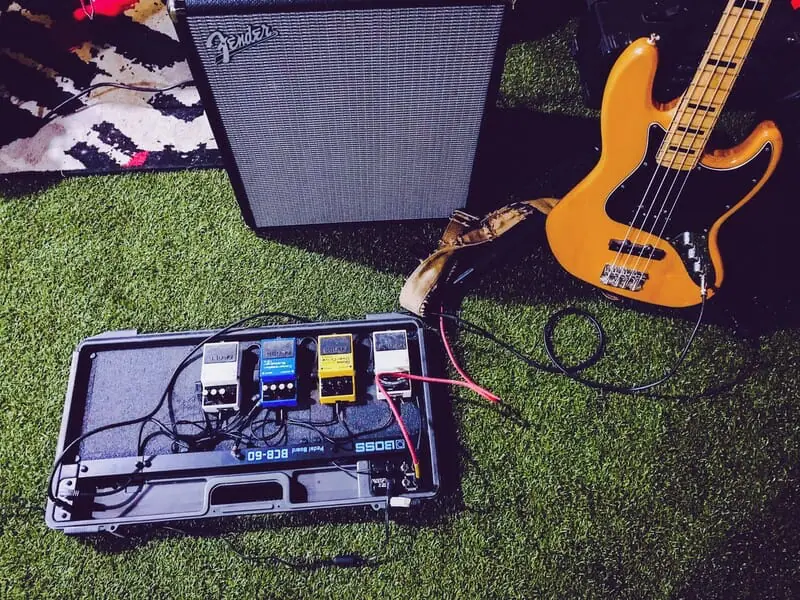
Mic placement can help you get the bass sound you want. The mic’s distance from the amp, its angle, and where it’s pointing will all change the tone.
Here are a few tips to keep in mind while miking a bass amp.
- The low frequencies will get louder the closer your mic is to the amp.
- Point the mic closer to the speaker cone for a brighter tone. Pull it to the side for a darker sound.
- Point the mic directly at the amp for clarity. Angle it slightly off axis for a more murky tone.
It’s not common to use multiple mics on a bass amp.
Bass frequencies aren’t very directional. So you aren’t likely to get a super different sound by using more than one mic.
If anything, they’ll just increase your likelihood of phase cancellation.
Technique #3: DI and Microphone
One of the best ways to really get the tone you want is to use both of the previous techniques.
Basses recorded DI tend to be really clear but can sound two-dimensional. Amps on the other hand are thicker and more saturated.
So by using both, you can get a three-dimensional bass that cuts through a busy mix.
If you have the gear to use a mic and DI, you might as well. Blending the two often sounds great.
Even if you decide you only need one, at least you’re making an informed decision from multiple options.
Technique #4: MIDI Bass
The last option is to record MIDI bass.
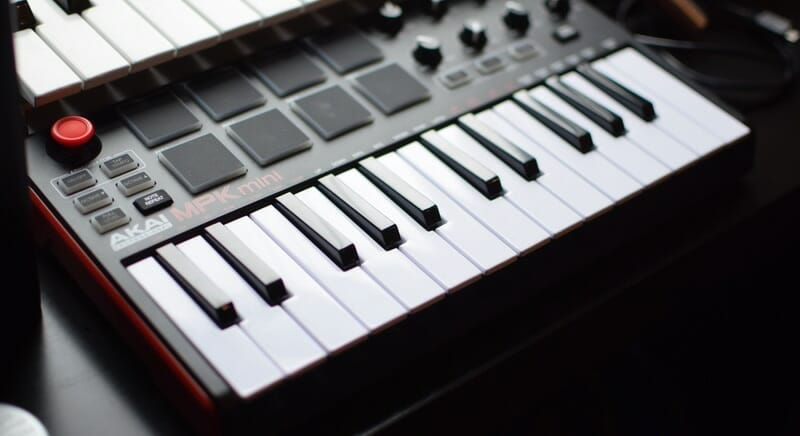
This is great for anyone trying to cut costs or working in a really digital genre.
All you need is some kind of bass VST and an amp simulator.
Ample Sound’s P-Bass Lite is a great free option.
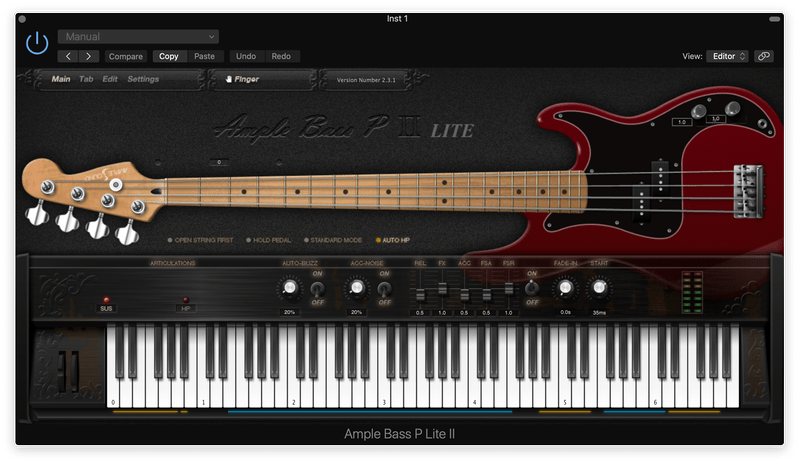
Just create a MIDI track and add your bass instrument of choice to it. Record your bass part using a MIDI keyboard or writing notes in by hand.
You’ll probably want to add an amp simulator to the channel.
The best part of recording MIDI bass is you can tweak the sound to your heart’s content.
Don’t like something about the tone? It’s all digital, so you can change it at any time!
Getting the Right Tone
This is just as important as the recording technique you use.
Think about the kind of bass sound you want for the song. Should it be deep and wubby like a dub song?
Or should it be mid-heavy like a classic funk tune?
It depends on your personal preference and the needs of the song.
Listen to artists you like and pay close attention to the bass. What makes it sound great?
Then think about all of the instruments in your song. What frequency ranges are they taking up?
Sculpt your bass tone so it isn’t occupying the same fundamental frequencies as another instrument.
EQ, compression, and distortion are just a few of the ways you can push your tone in the right direction.
Bass Guitar Mics
No matter what your budget is, there are some solid options for bass mics.
Here are a few to choose from.
Shure SM57 – $99
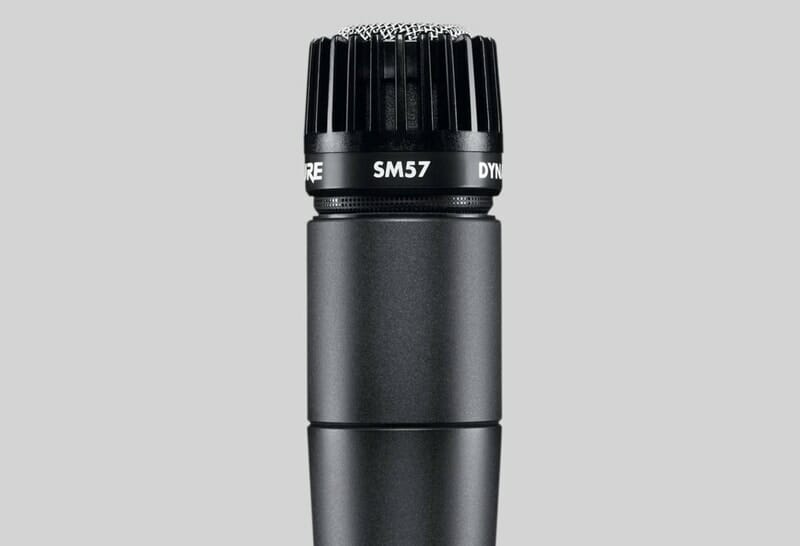
I’ll be honest, the SM57 isn’t the best bass mic out there. It’s more attuned to mid frequencies than lows.
That being said, if you need a budget mic that will work for any instrument you throw it on, the SM57 is your best bet.
There are beloved albums that were recorded using only SM57s. For example, Bon Iver’s first record.
So even though it isn’t the best bass mic, it’ll get the job done.
And it’s tough as nails.
I know people who’ve dropped SM57s from third-story roofs. They plugged the mics back in, and they worked just fine!
I don’t recommend you throw your SM57s off of buildings. But you don’t need to worry about them breaking either.
AKG D112 – $199
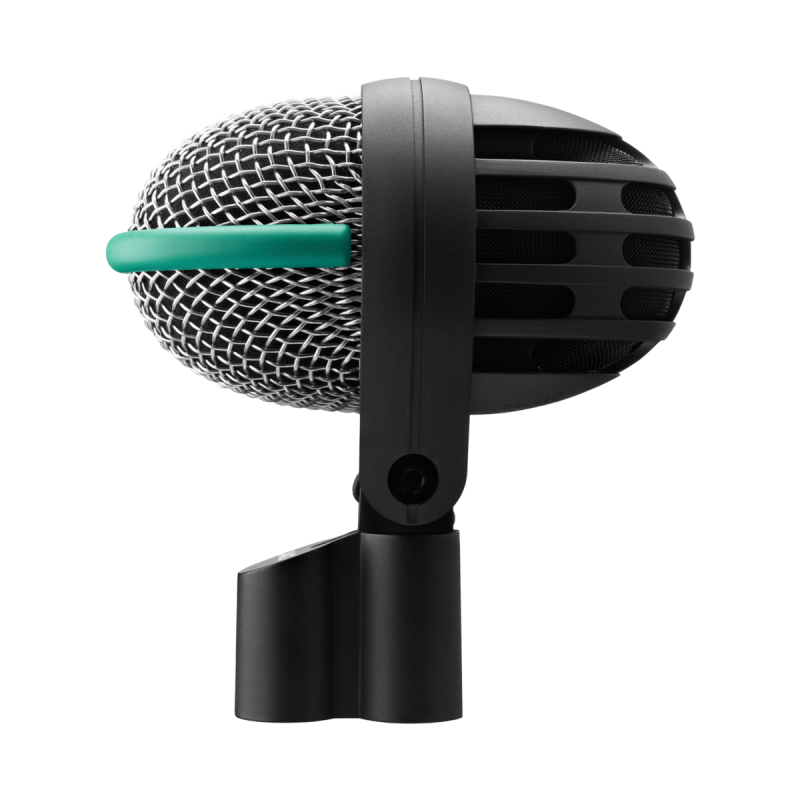
The AKG D112 is a great option for anyone who needs a bass mic but doesn’t want to spend an arm and a leg for it.
The D112 is widely beloved on kick drums, but it sounds awesome on bass as well. It’s got a nice bump in the low end as well as the upper mids
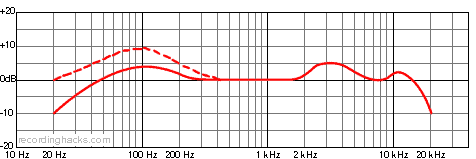
EV RE20 – $449
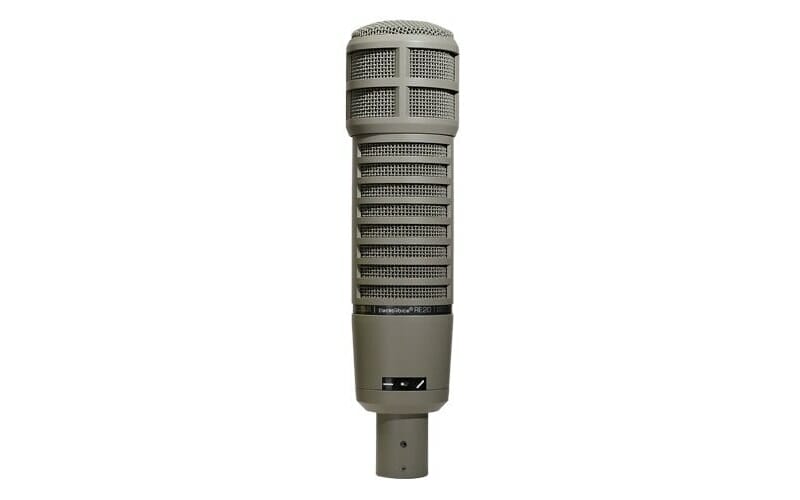
The RE20 is billed as a broadcast mic for radio announcers. But it also happens to be a beautiful bass mic.
It’s pricey, but in my opinion, it’s worth the cost.
With a smooth, rich tone, it fits nicely in many mixes without a ton of EQ.
Conclusion
Once you’ve got the right tone and the right recording technique, all that’s left is to nail the performance.
So have fun and start recording!


