If you’re like me, you prefer the sound of a live piano over a keyboard.
Something about it just sounds more authentic. Capturing the room sound makes it feel like it’s right there with the listener.
But if you’ve never recorded a real piano, it’s hard to know where to start.
I’ve recorded piano many times, and I know the difficulties of it.
So let’s talk about how to record a real piano properly…
Stereo Miking Techniques
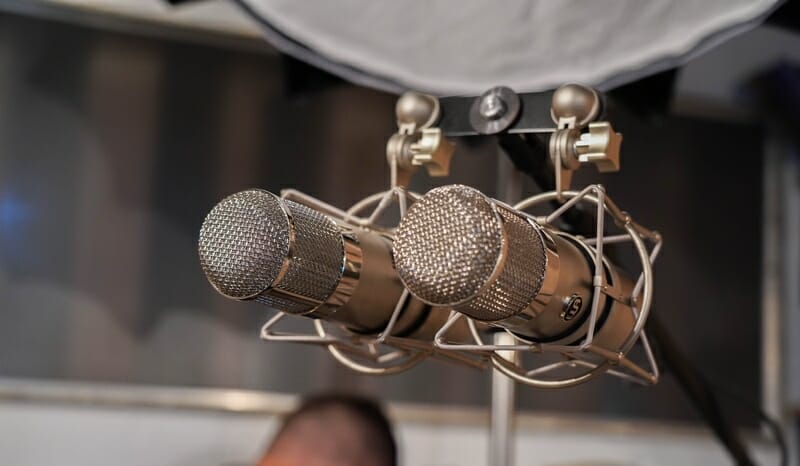
Miking your piano with two mics is the best option.
You’ll be able to get a fuller recording. One that you have more control over during mixing.
But depending on the role of your piano, there are different miking techniques you can use.
AB Technique
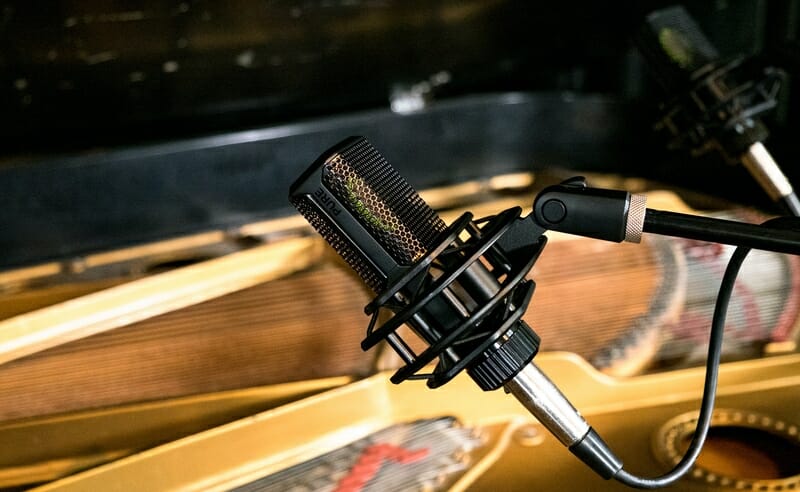
The AB technique is when you space the microphones away from each other. This lets you capture the wide dynamic range of the piano.
But how you use this technique depends on the role of the piano in your track.
For a Song Where the Piano Is Featured

Want the piano to cut through the mix? Use a pair of small-diaphragm microphones with cardioid pickup patterns.
Place them roughly 6 inches above the hammers so you get the percussive elements of the piano. This also helps bring out the brightness of the piano.
Space the mics 14–16 inches apart from each other. One picking up the low end, the other picking up the high end.
You don’t want them too far apart, so the middle notes don’t get picked up. But you want them far enough away that you get a nice balance of low and high notes.
And just remember, the notes directly under the mics will be the loudest.
For a Song Where the Piano Sits in the Mix
More of a support instrument? Use a pair of large-diaphragm microphones with cardioid pickup patterns.
The goal here is to capture a full and warm sound, not to emphasize the low or high end.
So place the mics about 4–6 inches away from the strings and 6–8 inches behind the hammers (not directly above them). And about a foot and a half away from each other.
You’ll get less of the hammer sound and more of the room sound. And because they’re a bit farther away, they’ll pick up more notes and give you a more balanced sound.
You can even point the mics slightly away from each other to get more left and right separation.
If You Want to Capture a Piano from the Audience’s Perspective
You can use a pair of omnidirectional mics. (They capture sound from every side.)
Place them at the lip of the piano, about 15–20 inches apart from each other. Giving the listener the perspective of being in the audience.
If you’d like a little more ambiance, you can move the mics farther away from the piano.
With all of these AB techniques, you’ll need to experiment a little. But these are good starting points.
XY Technique
The XY miking technique is pretty simple. And it can help you avoid phase issues.
Get two microphones with cardioid pickup patterns. Place them as close together as possible at a 90-degree angle to each other.
The capsules (in the tip of each mic) should be directly over each other.
So one mic will pick up the lower end, and the other will pick up the higher end.
It will be more convenient if you use a stereo bar. This is a piece of metal that securely holds both microphones in an XY pattern.
But you can use this technique with two mic stands.
Single-Mic Technique
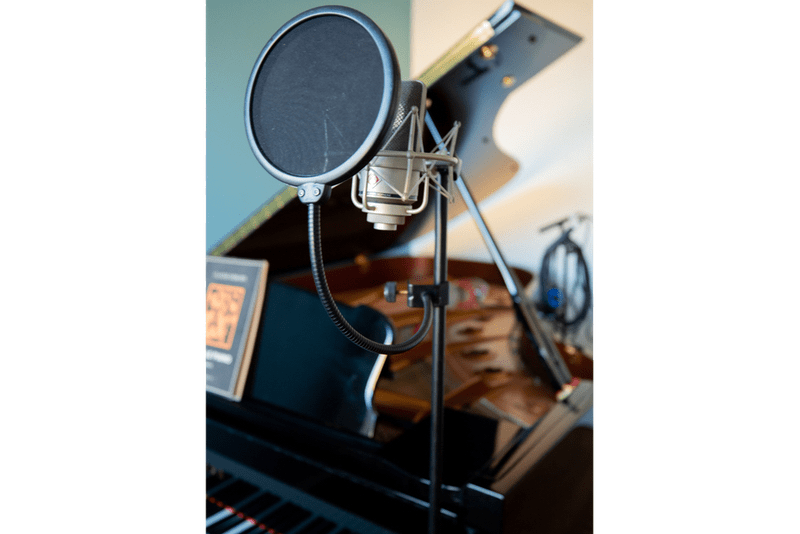
If you only have access to one microphone, that’s fine.
You may find an omnidirectional mic works best, as it will capture sound from all directions. This will give you more of a dynamic range to work with.
As for mic placement, the best place to start is to put the mic over the middle strings.
If you move it closer to the strings or the hammers, you’ll get a more percussive feel and more emphasis on the notes directly below it.
Move it further away, and you’ll get more room sound.
Again, this will require some experimenting. So just trust your ears.
Microphones for Miking Piano
There are so many microphones that work well on pianos. But to get you started, here are a few that get consistently high praise from users.
AKG C414 XLII
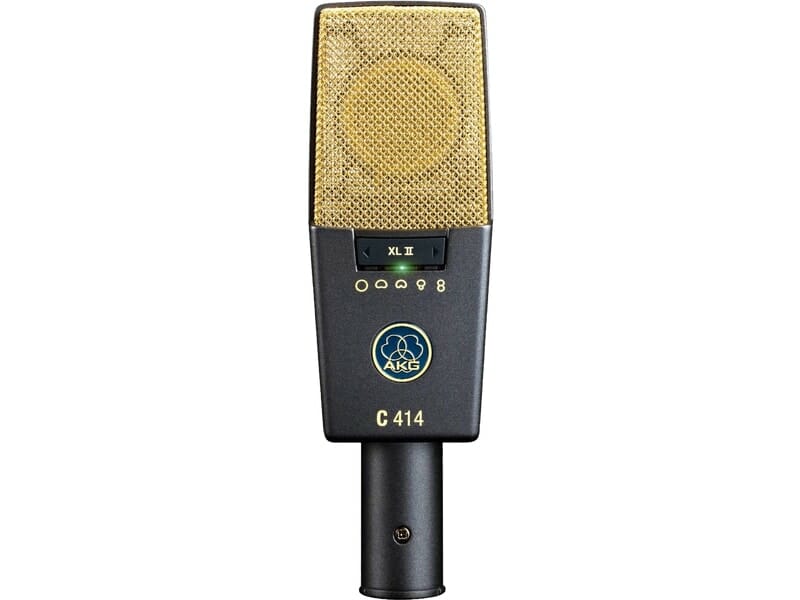
The C414 is a nifty large-diaphragm microphone. You can change the pickup pattern.
You can choose between five pickup patterns. Omnidirectional, cardioid, wide cardioid, hypercardioid, and figure 8.
It also has a low-cut filter, letting you cut starting at 40, 80, or 160 Hz. You can also reduce the input on the mic by −6, −12, or −18 dB.
Overall, this mic gives you clarity in the high-end. Even though the cost is about $1,000, all of its features make it a good option for recording piano.
MXL 770
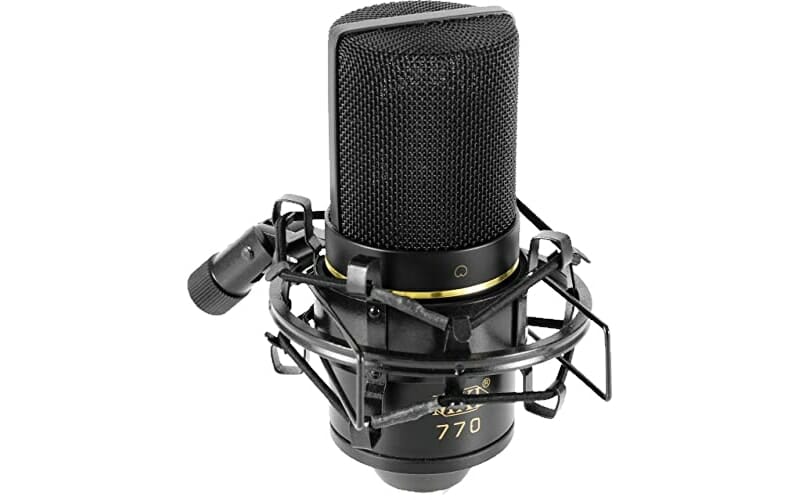
This small-diaphragm mic records in a cardioid pickup pattern. And it sounds good on high-end instruments.
It’s a versatile mic, and it’s a great option for recording piano.
It is very sensitive, so you’ll want to make sure your room is treated as much as possible. The mic itself, however, has low self-noise.
Plus, it’s very affordable, coming in at under $100.
Sennheiser MKH 40
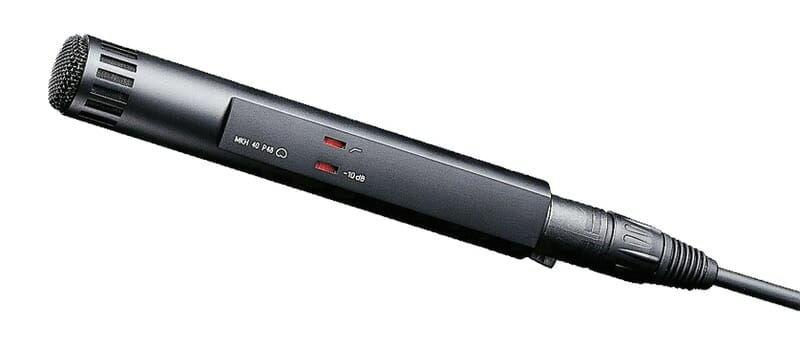
This small-diaphragm mic captures audio in a cardioid pickup pattern.
On top of a −10 dB roll-off switch, you can turn on the 500 Hz low-cut filter. That will really bring out the top end of your instrument.
It’s a very high-quality mic, and it has a bit of a steep price tag. But it’s perfect for capturing accurate piano sounds.
Shure SM57
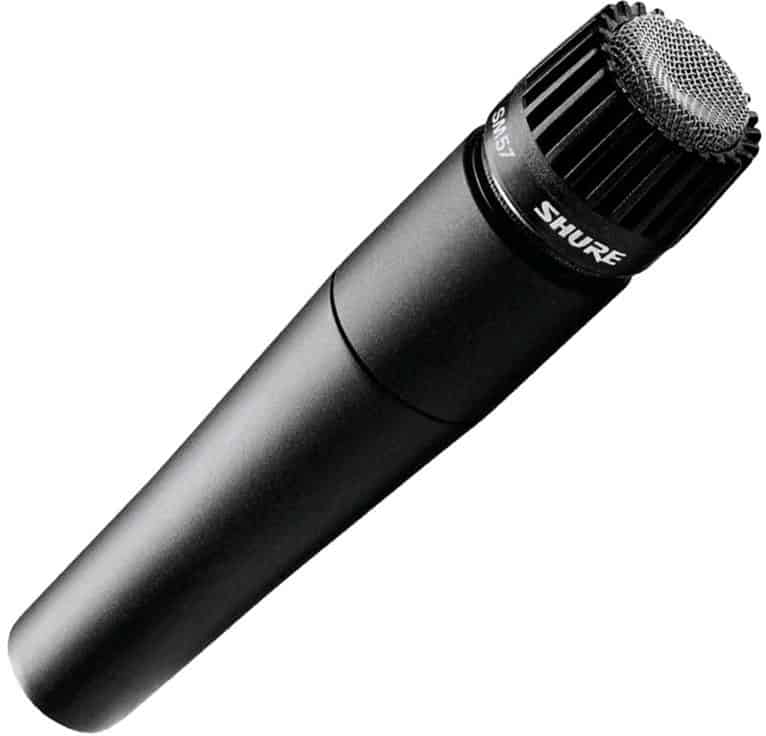
The SM57 is a dynamic microphone. Which means it can handle loud recordings while still capturing high-quality audio.
Because of this, you can move this mic closer to the piano strings than you can a condenser mic. So this mic is great for playing more aggressive piano parts.
Plus, it’s under $100, making it a good option for home producers.
Piano VSTs and Libraries
Let’s say, after reading this far, you realize recording piano is too much trouble or too expensive. That’s fine.
There’s an alternative: piano plugins and libraries. You can get real piano sounds sampled by professional players and engineers.
I use a plugin called Addictive Keys 2.
They have a bunch of piano sounds to choose from, and they all sound real. (Because they are!)
Here are some other piano plugins and libraries to check out:
- Keyscape
- Walker 1955 Concert D
- Una Corda
- Pianobook (this one has tons of free piano libraries)
Conclusion
View these miking techniques as starting points. They’ll help you save so much time because you won’t have to guesstimate mic placement.
Start with these methods and adjust to your taste, and always trust your ears.


