We often reach for a compressor when we’re looking to control dynamics. While compression is great for tone and glue, it is actually quite poor at handling sudden high-energy peaks. Even the fastest attack settings let transients slip through.
To truly control your dynamics without altering the envelope of your sound, you need a tool that doesn’t just react to audio but simply cuts it off. That is where clipping comes in.
The Enemy of Clean Audio
While you may think that clipping is the enemy of clean audio, the red clipping light isn’t necessarily a stop sign. It’s a tool. When used deliberately, clipping becomes the “anti-compressor” that solves dynamic issues and provides transparency where standard compression often falls short.
The Geometry of Distortion
To understand why we want to apply clipping, we need to look at the shape of the sound. All clipping is distortion, but the shape of that distortion determines its function in your mix.
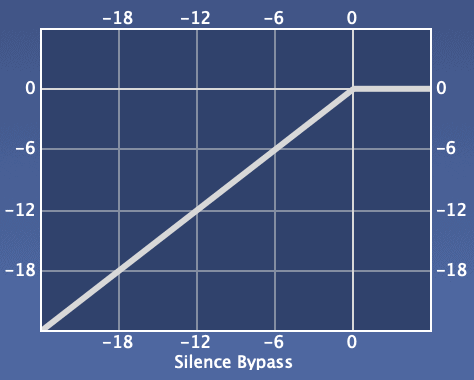
- Hard clipping is like running a razor blade over the peak of a waveform. It cuts off the peak in a straight horizontal line. This creates uneven harmonics that can sound harsh on long-duration instruments like bass or vocals, but incredibly powerful on transient sources like drums. Because the cut is direct, there’s no attack or release time.
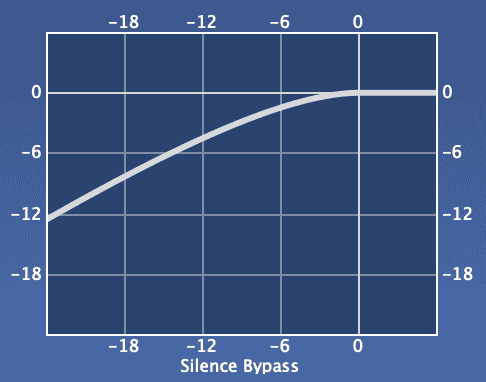
- Soft clipping acts more like sandpaper. It rounds off the waveform’s edges as it approaches the ceiling. This generates a mix of even and odd harmonics that we associate with “warmth” or analog tube saturation. This is great for blending a drum bus or adding body to a synth line, but it’s less effective at strictly controlling peak levels than a hard clipper.

The Snare Drum Example
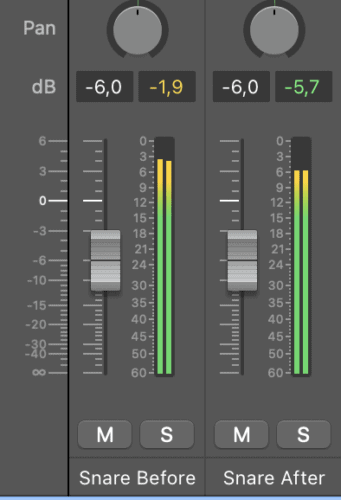
Using a compressor to tame the snare drum often results in losing punch. When you use a clipper, you’re essentially telling the computer to remove the top 3 dB of the punch. Because this happens instantly, the brain perceives the impact as the same, while the meter shows a significant reduction in peak volume.
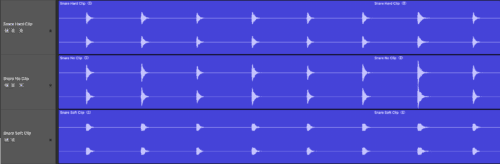
For example, all 3 of these snare tracks sound equally loud:
Here is how to do it:
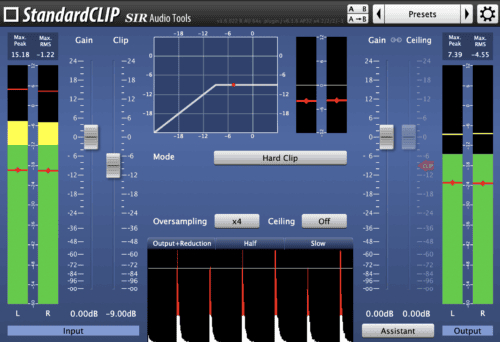
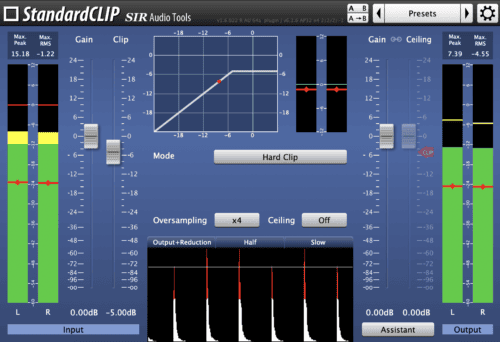
- Place a clipper plugin (such as StandardCLIP, BSA Clipper, or IK Classic Clipper) as the final insert on your snare track and drive the snare by lowering the clip/threshold until you hear audible, raw distortion.

- Now slowly dial it back. You want to find the point just before the distortion becomes audible.
- Check your peak meters. You should see the peak level drop by a few decibels, while the snare sounds just as loud as before. You’ve now created extra headroom to turn up your entire mix.

From the Mix to the Master
When you send a mix to a mastering engineer (or master it yourself), the limiter is the final gatekeeper. If a snare transient is 4 dB above the rest of the track, the limiter has to duck the entire track every time the snare hits to accommodate that peak.
By clipping that peak at the source, you give the mastering limiter a flatter and more consistent signal. This allows you (or your engineer) to further increase the overall loudness of the track without pumping or breathing artifacts. It’s not about distortion; it’s about density.