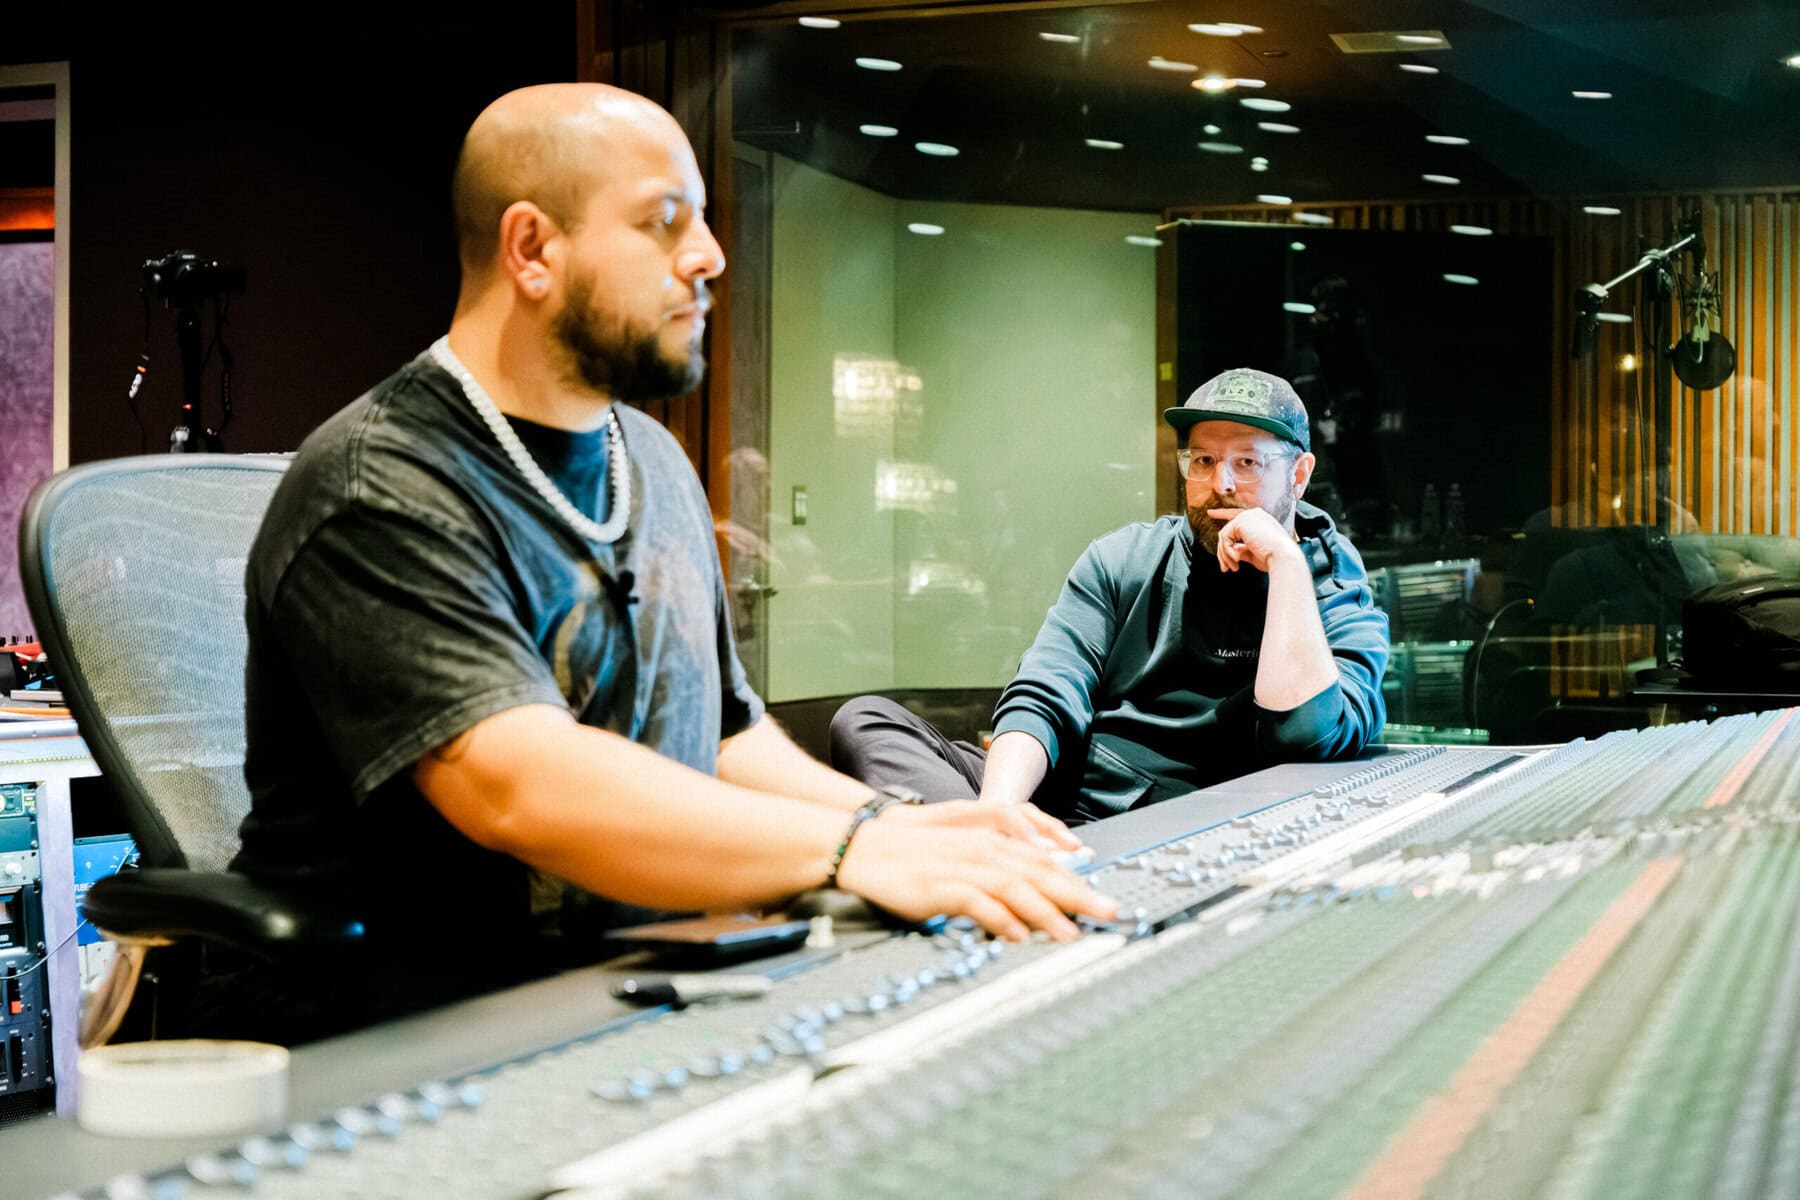
I’m guessing you want your mixes to sound professional.
Who doesn’t?
Here’s the thing…
Every song on the radio goes through a process that is vital for achieving that “radio-ready” sound.
If your mixes don’t go through this process…
You could be missing out.
BIG TIME.
That process?
Mastering.
But here’s the secret…
When you’re in a tight spot, you can master your tracks yourself.
It isn’t as big and scary as it may seem.
In fact, it comes down to just 15 simple steps.
Anyone can follow these 15 surprisingly easy steps – even with stock plugins, and an untreated room.
If you want your mixes to sound professional…
Watch this video and you could improve your mixes in minutes.
What you’ll learn:
– What mastering ACTUALLY means
– How to master your own tracks at home with stock plugins
– When you shouldn’t master your own tracks (this is vital)
– The ‘sharpen the axe’ approach to mastering that guarantees you don’t just make your mix worse
– 15 simple, easy, understandable, uncomplicated steps to pro mixes… that sound great EVERYWHERE!
Watch this video if:
– You mix your own music at home and you want to learn how to master it too
– This is NOT for aspiring mastering engineers – I am not a professional mastering engineer
– These are cost-effective, fast strategies for mastering your own music (big wins)
Hello and welcome, hope you’re having a fantastic day. Rob here from musicianonamission.com and today you’re going to learn how to master a song at home with fifteen simple steps to pro mixes. Now just quickly before we dive in, this is what you’re going to learn in this video.
First of all, you’re going to learn what mastering actually means, you’re then going to learn how to master your own tracks at home even with stock plugins, you going to learn when you shouldn’t master your own tracks and this is vital because I really don’t believe you should always master your own tracks,
I’m going to talk more about that in a second. You’re going to learn the sharpen that axe approach to mastering and it guarantees you don’t just make your mixes worse, which is a real threat here and you’re going to learn fifteen simple, easy, understandable, uncomplicated steps to pro mixes that sound great everywhere,
that sound great in the car on headphones and half headphones on computer speakers, everywhere because that’s one of our main aims here. So if you want to take your mixes to the next level, make sure you check out the home mastering cheat sheet that I put together for you it’s completely free and inside that you’re
going to get a complete breakdown of these 15 steps, you’re going to get a check list to use when you’re mastering your own tracks and that’s going to be super useful, you’re going to learn my favorite plugins to use for mastering, if you want to go beyond stock plugins and you also going to get a decision matrix, that
will help you to decide when home mastering is the right choice. So that’s completely free I put together just for you watching this video and you can get that by going to the link below the video there should be a link in the video now or you can just go to musicianonamission.com/mastering. So make sure you grab that
if you’re ready to take this seriously. Now keep watching if you mix your own music at home and you want to learn how to master it too because this video is not for aspiring mastering engineers, I’m not a professional mastering engineer, I’m a mix engineer, I’m a musician I’m not a mastering engineer so if that’s what you
want to do, perhaps you should go find a professional mastering engineer. What we’re going to focus on in this video, is cost effective, fast strategies that you can apply today for mastering your own music and we’re going to be focusing on the big win. So what are the simple easy things we can do to master your track and
take them to the next level and make them sound full of energy, loud and translatable, that’s what we’re focusing on here today. So if that sounds like you, keep watching. Now let’s talk about mastering at home because I’ve really don’t believe this should be your only approach to mastering, my songs clearly something
you’re thinking about right now, you’ve recognized the need for it, that’s why you’re here watching this video but I want to make it clear that this isn’t the only option and in fact, it’s just one way to master your tracks, of course there are multiple ways and I don’t think this should be your only approach there are two
other clear important ways and that’s professional mastering and automated mastering. So let’s talk about those a bit more. Well pro mastering, in most cases, this is actually the route that I recommend. I recommend hiring a professional, especially for important projects like albums, EP’s, singles, that kind of stuff, you’ve
spent a lot of time on, you’ve put your heart into and you want it to be the best possible quality, in that case it really is worth hiring a mastering engineer, it doesn’t have to cost a fortune. Now the reason for this is because first of all, you get a second creative opinion, this is someone else that’s going to listen to your
music and just kind of like a final check to make sure everything’s sounding good but it’s also second pair of ears to listen to your mix, make sure you haven’t missed anything really obvious or messed anything up and it’s the second room, if you’ve mixed your track in your own room or on headphones and this is a chance
to send your tracks off to someone else with a different room in most cases a very well-tuned professional room, to listen to your mix in and find any issues with. So all of this just means they’re kind of there to catch any mistakes that you’ve made while mixing but this doesn’t mean you should be lazy, this doesn’t
mean if you are using a professional mastering engineer say well, it doesn’t matter if my mix acts because the mastering engineer will fix it, obviously that’s not the case. There’s not really a whole lot they can do if you send them a crappy mix, they’re not going to be able to fix it completely, they can just make a good
mix better or find any small mistakes that you made. So instead, just think of this as mixing it to sound mastered, even if you’re sending your tracks off to be mastered, you want to mix them to sound finish, your aim is for the mastering engineer to not have to do anything to your mixes.
So mix it to sound mastered, mix it to sound finished and then that’s going to avoid any lazy mixing. So that’s one approach but of course that cost money. So next, we have automated mastering and this is great for quick masters or demos.
So you don’t have to hone your own mastering skills, if you’re going down this route but it is way more cost-effective than using a professional mastering engineer for every single track. So if you’re putting out loads of demos or you just want to quickly get your tracks mastered to see how they’ll hear when they’re
finished, that kind of stuff then automated mastering is great for this, it means you don’t have to put in the time and effort and learning how to master your own tracks, in a sense this is still a second opinion, you’re not getting the second opinion of a human being, you’re getting the second opinion of an algorithm in most
cases but it’s still a second look at your mix and a chance to catch any mistakes. Now what I recommend you do, if you are mastering your own tracks, if you’re going to apply everything you’re about to learn in this video is that you master your own track, you then upload it to an automated marketing service, service
like Aria, which is one of my favorites or Landa on Martin box, there’s a few out there and then compare them, you can just do this with one track on your EP for example, compare them, see which one was best and then for the rest of the EP, use automate for mastering.
If that sounded better on master it yourself, if that sounded better. So this is another approach and then finally, we get back to home mastering. Now the problem with home mastering is that you quickly lose objectivity, especially if you’re working on your own music, your own mixes, you’ve written it, you’ve
recorded it, you’ve mixed it by this point, when it comes to mastering, you’ve really have no objective sense of how the track is sounding and you can take a long break and that’s really important but by this point, you’ve still lost a lot of that objectivity, you’re just used to how the track sounds by now but the big upside,
compared to pro mastering and to a lesser extent compared to automated mastering, which is way more affordable but still cost money, home mastering, doing it yourself is free, you can do it yourself with stock plugins and you can do it today.
So another reason why this is good is because it’s a great way to practice mix bass processing. If you haven’t dived into the word a mix bass processing yet, this is going to get you to think about how you can add processing to the entire mix, which is a really important part of mixing and it just kind of makes you think
about your mixes in a different way, up until at this point you thought about your mixes more on a granular level, thinking about how the bass sounds, how the kick sounds but when you think about mastering, it forces you to look at the bigger picture and consider the mix as a whole and consider how well it translates
onto different speakers, consider how well the dynamics work as a complete band or as a complete arrangement. So it kind of forces you to think about them in different way but please don’t do it for important projects or at least if you are going to master your own tracks in your own EP, your own albums at least
compare it to an automation master. So you’ve got a point of reference. So now let’s move on to what is mastering before we dive into those 15 steps. Well for a lot of people, mastering is just EQ, compression, limiting and some other processing on a stereo file on the finish mix, in a sense it’s about making the track
sound better, enhancing it, making it sound more finish, more professional, more polish, making sure it’s translatable and it sounds good on any speaker system, whether that Apple headphones or a big hi-fi system and making it louder, making sure it can compete with other tracks on the radio but this is a very narrow
view of mastering. If you just see mastering is this collection of kind of processes that you’re applying to a stereo file, you’re actually missing out on a lot of what mastering is. So to me and this is why I really advocate getting a professional mastering engineer, if it’s an important project, it’s all about getting a second
opinion. If you’re mixing your own tracks or even mixing somebody else’s track in your room and you kind of finish it to the best of your abilities, you say you know what, this is the furthest I can take this mix, well when you send it off to get mastered, that’s when you get the second opinion, the second room and that is
absolutely vital for me but it’s also about managing the relationship between the songs and making a collection of songs like an album or an EP sound like an album. So we don’t need to just think of mastering on an individual track basis because also if you send several tracks off to get mastered or if your mastering
several tracks. So if you need to think about the relationship between the tracks, they need to sound like they belong in the right order and often the mastering engineer will actually have a say in this or if you’re mastering your own tracks, you want to think okay, how does the energy of the album? Does it crescendo
and then kind of tail off, is that the energy I want, do the songs make sense in terms of tonality, sometimes it makes sense to put songs in the same key or similar keys next to each other. So it really sounds like the album flows and that’s part of mastering. A lot of people overlook that, it’s also about continuity making
sure all of the songs on an album sound like they belong in the same place, they don’t sound all wildly different. So you want to make sure there’s some cohesion and continuity there and finally it’s also about creating Redbook standard files, which is really important if you’re sending it off to get printed and if you’re
doing a run of thousands of CDs, you want to make sure they’re in the proper format which is read eBooks standard and also just exporting the mix at appropriate settings for other services, making sure you’ve got high quality files to upload to Sound Cloud, iTunes etc. So there’s more to it than just a bit of processing
on the stereo file. So now that you’ve got an overview of how high mastering fits into the bigger picture, what mastering actually is, let’s dive into those 15 simple steps and if you’re on a complete overview of these steps, make sure you download the cheat sheet, they’re all in there and there’s a checklist to make sure
you’ve gone through each of these steps when you actually come to master track. So please download that cheat sheet I put together specifically for this video and now we’re going to dive into those 15 simple steps. Okay so here I am in logic with a finished mix, I haven’t got any mix bass processing, you can see this is
my mix bass, here my stereo output, my master fader whatever you want to call it, there’s nothing on there but I finished the mix. You can see it’s quite a big mix, high track count and a lot of the processing is actually on group busses but I’m at the point now where I’m ready to bounce this down and start to think
about the mix as a whole. Generally, I would actually start doing this way earlier in the process, I would add loads of processing like EQ, compression etc. to my mix bass as I’m mixing and in a sense that’s kind of mastering as you go but what I’ve done here is just completely remove all of them so we’ve got an empty
mix bass and this is purely the mix, let’s just have a quick listen so you know what we’re working with here. So it sounded great I can already hear some issues which we’re going to address later but it’s pretty much a finished mix.
So we’re ready to move on to the marketing phase. Now I mentioned earlier on about the sharpen the axe approach to mastering and that’s all about preparation. Abraham Lincoln famously said, give me six hours to chop down a tree and I will spend the first four sharpening the axe and this is what this approach is all
about. The first 10 steps, in fact of this 15 step approach to mastering, are all about preparation and it’s not until we get to the eleventh step that we’re actually going in and applying EQ, compression that kind of stuff in the master and this approach I think is important for numerous reasons which you’re going to learn
about as we’re going. So the first step in preparing to start mastering is to optimize your listening environment and I can’t stress the importance of this enough, if you have a bad listening environment, first of all your mix is never going to sound great and secondly your masters definitely aren’t going to sound
great, with mastering, we’re generally doing much finer, subtler moves on a bass guitar for example, you might boost it by 10 DB at 400 Hertz, if it needs it for example, if you did that when you’re mastering, that’s going to completely ruin the track and instead you’ll be doing small 1 DB, cut some boosts for example. So
these finer changes you need to make sure you can actually hear what’s going on. So you need to optimize your listening environment, I’m not going to dive too much into that now but you want to make sure you’re in a good room, you’ve thought about the acoustics of the room or if you’re mixing in headphones.
You want to make sure you’ve learnt your headphones or you’re using a headphone correction software like sonar works headphones software, which I think is incredible but just make sure you’ve actually thought about this and you’re working in an ideal listening environment or at least as ideal as you can make it within
your means. So then once you’ve done that, step 2 is to finish your mix and I want to stress that idea again of mix it to some master. So what you’re doing is not being lazy in the mixing phase and relying on this next mastering phase to fix any issues, you want to make sure your mix is as perfect as it can be and the
reason I included this as a step is because if your thing about mastering, it’s easy to kind of stumble over the end of the mix and you might be naturally inclined to rush towards the mastering phase, especially if you’re new to this and you’re excited to try it.
So just make sure you’ve actually taken time to think, okay, is this mix really finished? Have I really mix this to the best of my ability, does it pretty much sound mastered already and am I now ready to just kind of add those final finishing touches just the icing on the cake? So that’s step two.
So now step three, we’re still in the mix here but the last thing I want you to do is just check your levels and what I mean by that is just look at all your channel faders and make sure you’ve got Headroom everywhere. Make sure you’ve got Headroom on your stereo route as well because if any of these channels are clipping
or close to clipping or any of your group basses or if your stereo out or your mix bass, anything like that is close to clipping, then mastering is going to be much harder and you’re not going to have optimum levels to work with, you want to make sure you’ve got your head some Headroom when you’re mastering so that
when you apply compression, limit in that kind of stuff, you’ve got something to work with and Headroom is just making sure you’re not clipping anywhere, you’re not hitting zero. So I’m just going to hit play now and take a look at all of these level meters make sure everything’s okay.
Okay everything’s looking good and that’s because I’ve already addressed it, you might notice these game plugins on these group basses. What I’m doing here is just trimming 7 DB 9 DB, 7 DB 7 DB because they were getting a bit hot. So let me show you this one here, the acoustic drum bass, we’re trimming that by 9
DB, what happens when I have by passed that. So if you’ll notice, the acoustic drum bass that was fine and so are plenty of headroom but we peaked on the stereo out, this actually Peaks. So you just want to make sure you’re not near peeking, sometimes it’s deceiving because even if you’re not peeking anywhere else for
example, when your group bass is individual tones, you can still be peeking on them stereo out. So then when I engage that again, okay great, we’ve got five DB of headroom, that’s plenty of room for the occasional peak to just push that up a bit.
So we’re good to go and we can move on to step four now, which is to bounce down your mix to a stereo file. Now when you do this, a couple of pointers, you want to make sure that you’re bouncing it down at the bit rate that you’re already working in. So if you’re working in 24-bit, which you probably are in most
modern doors and with most modern interfaces, leave that at 24-bit when you export it, of course you want to export to WAV or another lossless format, you don’t want to export to mp3 and finally stay in the same sample rate as well.
So this project was in 48 kilohertz. So I’m going to leave it at 48 and what we’re doing here is just making sure we’re maintaining the same settings that go through to the master, at this point, we don’t need to bring it down to 16-bit and 44 point one kilohertz just yet, which is the standard for audio on CD and streaming
etc. We want to keep it in 24-bit and 48 kilohertz. So we’re going to use those same settings interleave because we want a stereo file, no dithering, which I’m going to talk about a bit more later and that’s it. So we can go ahead hit OK and bounce this down to a stereo file. So once you’ve done that, step 5 it’s actually
a bit of a curveball. I’m going to ask you to go away and have a long break, especially if you’ve written, recorded and mixed this track yourself, you need to get back some objectivity, you need to kind of forget how it sounds and come back to it, if fresh ears so take a long break at least a day, I recommend, between
when you finish your mix and when you do the master, ideally more than that, wait a week, forget about it and come back to it a week later and this is vital if you’re mastering your own music. So please don’t overlook this step, it is important. So now let’s assume is a week later, we’ve come back to project and what
we’re going to do now is actually create a whole new file within logic, I can just create a new project alternative, if you’re using ProTools or another door, you might need to just create a new project and the reason we’re doing that is because now, we want to work on a stereo file and we don’t want to just import
that into this mix in projects, we want to move on now. We’ve finished this step, we want to commit to it so create a new alternative, if you using logic or just create a new track and what you’ll see here is I’ve just got my stereo file on one channel, I’ve then got all my references on another channel. So these are just tracks
that sounded similar in terms of genre that I wanted to use as a reference, just tracks I kind of use as references over and over again, really had 15 step great tracks using the reference, lots of couple of all OJ tracks every other freckling fits pleasure just reminds me of this band so I wanted to get a bit of their vibe
and energy, Blair coffee and TV again kind of just reminded me of this track and desire which is another mix that I did for this same artist. So I want to make sure there’s some cohesion and continuity here as well as I’m mastering it. So then my reference is, this is my track rule in a new project. So we’re ready to move
on to the next step, step seven is to have your first lesson after taking your hopefully long break because there’s something magical about the first lesson, after a long break or if you’ve never had a track before, you just notice new things that you hadn’t noticed before or things that you became used to, if you’re
working on your own music and if it’s the first time you’ve heard a track, then you’re never going to get this first listen experience ever again. So this is vital and what I want you to, actually doing this step is to grab a notepad or open up Evernote something like that and just listen through the track, for the whole track and
take notes as you go on any issues that need fixing. So I’m going to go to the beginning of the track, I’m going to hit play and I’m just going to show you an example of the kind of stuff that I would be writing down. So we’ve got a few things there I’m going to stop that before I bore you because the next step is, after
you’ve had your first listen and take your notes is to do a full analysis and this is really going back to that idea of sharpening your axe and the things you want to do now are compared to your references, that’s really important, listen to your track, listen to a reference, skip back to your track go to another reference and just
kind of move around a bit focusing on the low end the top end and the mids, does it sound muddy in the lower mids and does it need more energy in the upper mids? It’s that kind of stuff also try loading a graphic spectrum analyzer onto your track and again compare to the references.
So if I move this onto the stereo out, I can then compare my tracks and my references, just to show you an example. So you can see there maybe I’m lacking some energy in the mids in general, you can also try using a filter just to narrow in on the low end. So I can engage a filter like this, let’s make that nice and steep and
I can bring that down to say a hundred fifty Hertz and just listen to everything below that and then jump to a reference. So now I can hear if there’s as much low end as slipped my other tracks. So just kind of do a full analysis before you dive in and actually do anything, take more notes, compare to references and that’s
really important, make sure your references are the same volume or at least as similar volume as possible otherwise that’s going to trick you into thinking, if your track sounds better or your references sound better and I’m just going to kind of do that now and take a few more notes before we move on. So in terms of top-
end, you can actually hear there’s quite a big difference between my references, this Radiohead track, it’s got quite a lot more top end than the OJ track and some of this is going to be subjective of course, it depends what kind of tone you want to go for. I’m going to go for a bit more of a modern tone.
So yep, let’s increase some of that top end as well. So I’ve got a few issues here and once we’ve got our list of issues, we can then move into the next phase which is compression before we actually address these more tonal issues. So when it comes to compression, we’re just looking really to add more glue to the tracks
to control the dynamics a bit more and add some energy by using a slow attack time, you can increase the energy with compression or by using a fast attack time, you can make something sound thicker and heavier. So let’s just go back to our track, I’m going to loop the loudest section or the climax, which I highly
recommend you do when you’re mixing, when you’re mastering anything like that, I’m going to load up just the stock compressor and we’re going to go for quite a slow attack time. Let’s start around 10 milliseconds, we don’t want it to be really slow wise, it’s not going to react fast enough but I think probably between 5
and 10 is going to work best, the release I’m just going to leave on auto, also released it tends to work really well when you’re mastering or mixed bass compression and we can play around with that bit but I think also it’s going to work.
Make sure auto gain is turned off, we don’t want to increase the gain and I’m going to just now play around with the threshold and ratio and so what I’m seeing 2 or 3 DB of gain reduction. So two or three DB gain reduction, I find is generally more than enough on the mix bass. Normally, you’d actually want a bit less in
some situations, one DB can often make quite a big difference and I’m just going to play around with the attack time, play around with some of these different models, until I find something that sounds good, I like to use VCA normally on mix bass, it’s nice too, transparent but we’re going to flick over to FUT in opt so
as well just to see how they sound. So I quite like the energy that this vintage VC has given. So now let’s just tweak the sentence a bit, again until we say into the DB gain reduction. So in this case, I actually quite like using manual release, it’s something a bit more energy and but we’re pretty much there, we can bump
up the makeup gain. Now to make sure it’s the same body, let’s do a quick comparison, what you should notice is without the compression and it sounds a bit lifeless and when I bring that compression in, it adds more glue and energy to the track.
So this is without. So there we go, I’m not too fussed about dynamic control here, some people when they’re mastering, they really squeeze the track because they want to get as much volume out of it as possible. I actually find if you do want your track to be louder, it’s better to leave it but in this day and age with
streaming services that turn down your track. If it’s too loud, you don’t need to worry about loudness at all instead, I’m more worried about dynamic range, which we’ll talk more about in a second but I’m happy with that.
So now let’s move on to EQ. So I’ve got those issues that I wrote down that we’re going to address. So we want to increase the top-end vocals and everything really just sounds a bit muddy. So that’s where we’re going to mean a cut around 3, 4, 500 Hertz in that kind of lower mid-range, not enough energy, I think it
can have a lot more energy in the upper mids and that will give it and that kind of rock aggression that we want and then the lower end is sounding a bit undefined, not so much muddy where it was talking about a bit low in that maybe around 100 Hertz.
I’m going to try cutting that and we’re going to try and prioritize cuts but I really don’t subscribe to this subtractive EQ mindset, if you need boosts to get where you want to go and this is why it’s so important to have these intentions and have this sharpen the axe approach it’s because now, we know exactly what we
want to do, we have a clear intention, we’re not just playing around with EQ. So I know exactly how to dial these in so let’s load up an EQ and let’s just get going. So let’s start with the top-end. So we’ve got added a bit more air to the top and now it’s address that much. So just really subtle nice and wide only one DP, just
to clean up that mud a bit. So what’s next, not enough energy, let’s try increasing the upper mids, check our references again. So good that’s adding quite a bit more energy in there, I just found that 5k was a bit of a sweet spot for that and now let’s address the low end, let’s try tied in that. I’m going to turn the volume of
my headphones off a bit, I find generally that helps if you’re struggling to hear the low end and something else I’m going to do as well it’s just Chuck on so no works because I’m doing this in headphones, I really love using the sonar works reference and I’m going to turn that on so this might sound a bit odd to you now
but just while I dial this end, I’m going to have that on and then I’ll turn it off. Okay cool so let’s turn that off, let us now listen before and after so this is without. So that something gets me, I feel like we’ve solved those issues that we wrote down and there’s another thing that I want to point out here, sometimes you will
need to use multiband compression, when you’re fixing tone or fixing issues, if they’re static issues and that are there throughout the whole mix, then fix them with EQ but if there are dynamic issues for example, with the bass is fine in the vs. but then in the chorus, it’s overpowering, that’s when you want to start using
things like multiband compression and I’m not going to dive into that too much here because we’re really focusing on the big wins but you can use montalban compression to control the low end of your mix and just by engaging the lower band rather than all of the band’s, just engage the low band just to compress the
low end individually or sometimes if the mix is muddy, just in sections you could just compress let’s say 2 to 500 Hertz. Don’t go crazy with multiband compression, it’s really hard to run your mixes, we have, my main advice there is to just use one band at a time, just compress the low-end or compress the upper mids,
if it’s sounding a bit harsh, don’t try and use every band and in this particular case, I don’t feel like there are any issues that I need to fix with most band compression. So I’m not going to do it for the sake of it, I’m going to move on to the next step now. So step 12 is optional enhancements and on a stress that word of
optional because sometimes you don’t need these things, sometimes just with a bit of compression in EQ, we’ve addressed the tone, we’ve addressed issues and it’s sounding awesome. We don’t need to do anything else but generally, there’s a few more steps, I’d like to take just to enhance the track a bit more so that could
be things like stereo widening, it could be saturation or it could be automation, maybe we want to actually automate the volume here so that this last chorus, which is kind of the climax of the song is 1 DB louder than the rest of the tracks and I can just bring the rest of the track down 1 DB and then as we transition into
that chorus, it’s going to get louder. So if you notice this, I’ll make it a bit more obvious. So we need to make that forward a bit. So that’s pretty drastic but sometimes just a DB increase can have a huge impact on the energy of the track and then we might want to use something like BX solo, which is a great little
plugin, I forget who makes it every single time, there we go and we can just use this to turn up the sides a bit more and enhance a stereo way and that’s a free plugin. So not stock plug-in but a free plugin and then you could also try saturation, really subtle saturation or tape emulation and that kind of stuff, again not
going to dive into that too much here because we’re going to focus on these big wins and now move on to the next step which is limiting and this is a crucial part of mastering, this is how we get the volume. So at the moment, you can see the track is peaking probably around minus 6, not even we’re sitting around minus
12 but what we want is for it to be sitting around zero. If we just increase the volume until it’s sitting around zero, it’s going to clip, obviously we don’t want it to clip, this is why you use a limiter and all a limiter does is literally set an upper limit to the volume, it’s called a brick wall limiter. So if I set the output level to
minus 0.5 and I then increase the gain until we’re hitting zero, which is technically – no, point five but near enough zero. What this is going to do is make sure it never actually goes above this output level so we’re not actually clipping and instead it’s like a fast compressor that’s just going to really quickly clamp down
on the audio to make sure it doesn’t peak and that’s how we get volume, that’s how you make your mixes loud. Now my recommended approach here is that you just increase the gain until you’re seeing two or three DB of gain reduction and generally that’s enough to compete with stuff online, you really don’t need to push
your track hard, you don’t necessarily need to worry about lifts and how loud your track is because as soon as you upload it to Spotify, YouTube, iTunes, it’s going to get turned up and all the other tracks that are too loud are going to get turned down and by just having two or three DB of gain reduction on a limiter, we
know that first of all, we’re not pushing the limiter hard. So it’s not going to some bad and secondly, we know that we’ve got enough volume at least to compete. So let’s just do that now okay, cool. So let’s see how that compares to our references. So the references sound louder of course, they do, they’ve been heavily
squashed and if you want to go down that route, you can’t use your stock limiter, you’re going to have to invest in a good limiter, you’re going to have to apply more compression each stage to make sure you’re squeezing every little bit of volume out of it. So the next step and we’re getting towards the end here, step
14 is metering checks and just final checks to make sure we’ve got enough volume, there’s nothing weird going on and mostly here, what I’m using is Dino meter. This is a great plugin that my friend Ian Shepard developed and what this does is shows us the dynamic range of the track rather than showing us volume,
which it doesn’t really make sense anymore to optimize for volume, it shows us dynamic range which means when we upload this to Spotify, all these streaming services, it’s going to sound better than everything else because it’s got more dynamic range. So let’s just check that. So we’re 11, where is this Radiohead track.
So now we can see that Radiohead track is really squashed and actually trying to get to that level of loudness isn’t really what we want to do. So I’m happy with that, we’ve got a good nice level nice dynamic range and then one more check we can do is just check the stereo width and again another great free plugin as the flux
stereo tool and with this, we can just check the fade. So that looks okay to me, we want to be near a plus-one, definitely don’t want to be -1. So that’s it, just check the dynamic range check, the stereo with any metering plugins there’s a few out there just to make sure you’re good to go and then step 15, we’ve reached
the end, is to bounce your track down. Now before you bounce it, you want to make sure you did the ring. So let’s go to our export window and we want to export a wave, let’s tick mp3 as well while we’re at it. Let’s also burn an mp3 and now what we want to do is actually go down to 16 bits and 44.1, which is the standard
for audio and we’re going to dither, we want to make sure we’re doing here because we’re going from 24-bit to 16-bit and without going too much into the science, if you don’t, did it you can turn a kate and add distortion to your track.
So you want to divvy this down to 16-bit and sometimes you could do this in your limiter in other doors, it’s in other places so make sure you look this up and then we can hit OK, make sure that normalizes off hit OK and we’re done. That’s it, the master is finished. So once you’ve done that, I recommend you go and
listen to this in your car, listen to it on as many different speaker systems as you can and then you can go back real just repeat this process as necessary to make sure you’ve got a track that translates well. Now I just want to show you quickly, now the difference between stock plugins and premium plugins because you
might be wondering now well how much better could this sound if what I was using really expensive mastering hardware and how much better could this sound if I was using premium plugins and I want to show you that it’s really not as drastic a difference as you may expect and even with stock plugins, by going
through these 15 steps you can really enhance the sound of your track. So this is with stock plugins on, now let’s go to premium plugins. So there is a clear difference but you can hear that we’re 80% on 90% of the way there with stock plugins, those premium plugins just add a kind of new level of Sheen.
I’m also doing a lot more, I’ve got some multiband compression going on, I’ve got some saturation, I’ve got some mid/side EQ. So with this EQ here, I’m only giving the sides which is why it sounds wider but you can also hear that we’ve stock plugins, we’re getting 80 90 percent of the way there we’re still improving
the sound of the track, making it more translatable, making it have more energy, more punch, more power. So make sure you really get confident at using stock plugins before you move on to premium plugins because you can get an amazing sound with them. I hope you enjoyed this video, I just want to remind you
again about the home mastering cheat sheet because in slide day, you’re going to get a complete breakdown of these 15 steps. So you can run over them again and really learn them, there’s a checklist there to use and actually apply this, you can get a list of my favorite plugins to use for mastering as well as the decision
matrix to help you decide when home mastering is the right choice and you can get all of that for free, it’s absolutely free and I made this just for this video by clicking the link in the top right of the video clicking the link in the middle of the video, clicking the link in the description or by going to musicianonamission.com/mastering.
So don’t forget to leave a like, if you found this helpful let me know in the comments below, if you have any questions and I’ll see you again soon.

