Getting a lead vocal to sit perfectly in the mix is a struggle for any home studio engineer. Many producers simply stack three aggressive compressors on their vocal chain and hope for the best. Unfortunately, that’s not gonna cut it…
The Pre-Compression Cleanup Method
The secret to professional-sounding vocals actually happens before the signal even hits a compressor. By combining clip gain editing, gain riding, and gain automation, you create a solid anchor for your entire vocal track.
We do this to feed your compressor a consistent signal, which will prevent your compressor from overreacting to sudden spikes or flattening the louder sections of the performance. Here’s how to get it done:
Step 1: Manual Adjustments
Start by manually chopping the audio region and adjusting the raw volume of individual words or phrases. The goal here is to make the raw waveform look somewhat even before you even insert a compressor.
This is also the right moment to manually reduce breaths and sibilance. Don’t delete breaths entirely, that usually ends up sounding unnatural. Instead, slice them out and lower their clip gain so they feel natural and not distracting. You can do the same with sibilance.

Step 2: Gain Riding
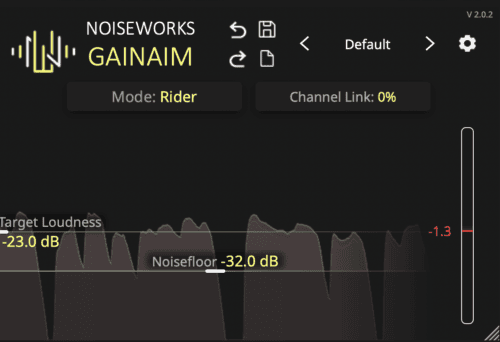
Once you’ve manually balanced the waveform across the entire performance, you can use your digital tools to further smooth it out. A gain rider plugin automatically adjusts the volume based on a target level you set.
Using a gain rider removes the unnatural pumping effect that heavy compression often creates. Using a tool like this will retain the natural human dynamics while maintaining a totally professional presence.
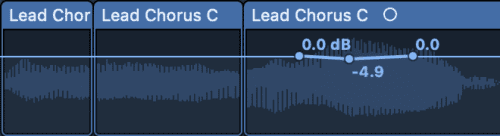
Step 3: More Manual Adjustments
While gain rider plugins will do a great job, you will usually want to adjust phrases manually here and there. You can do this by inserting a gain tool and automating the volume using automation lanes in your DAW.
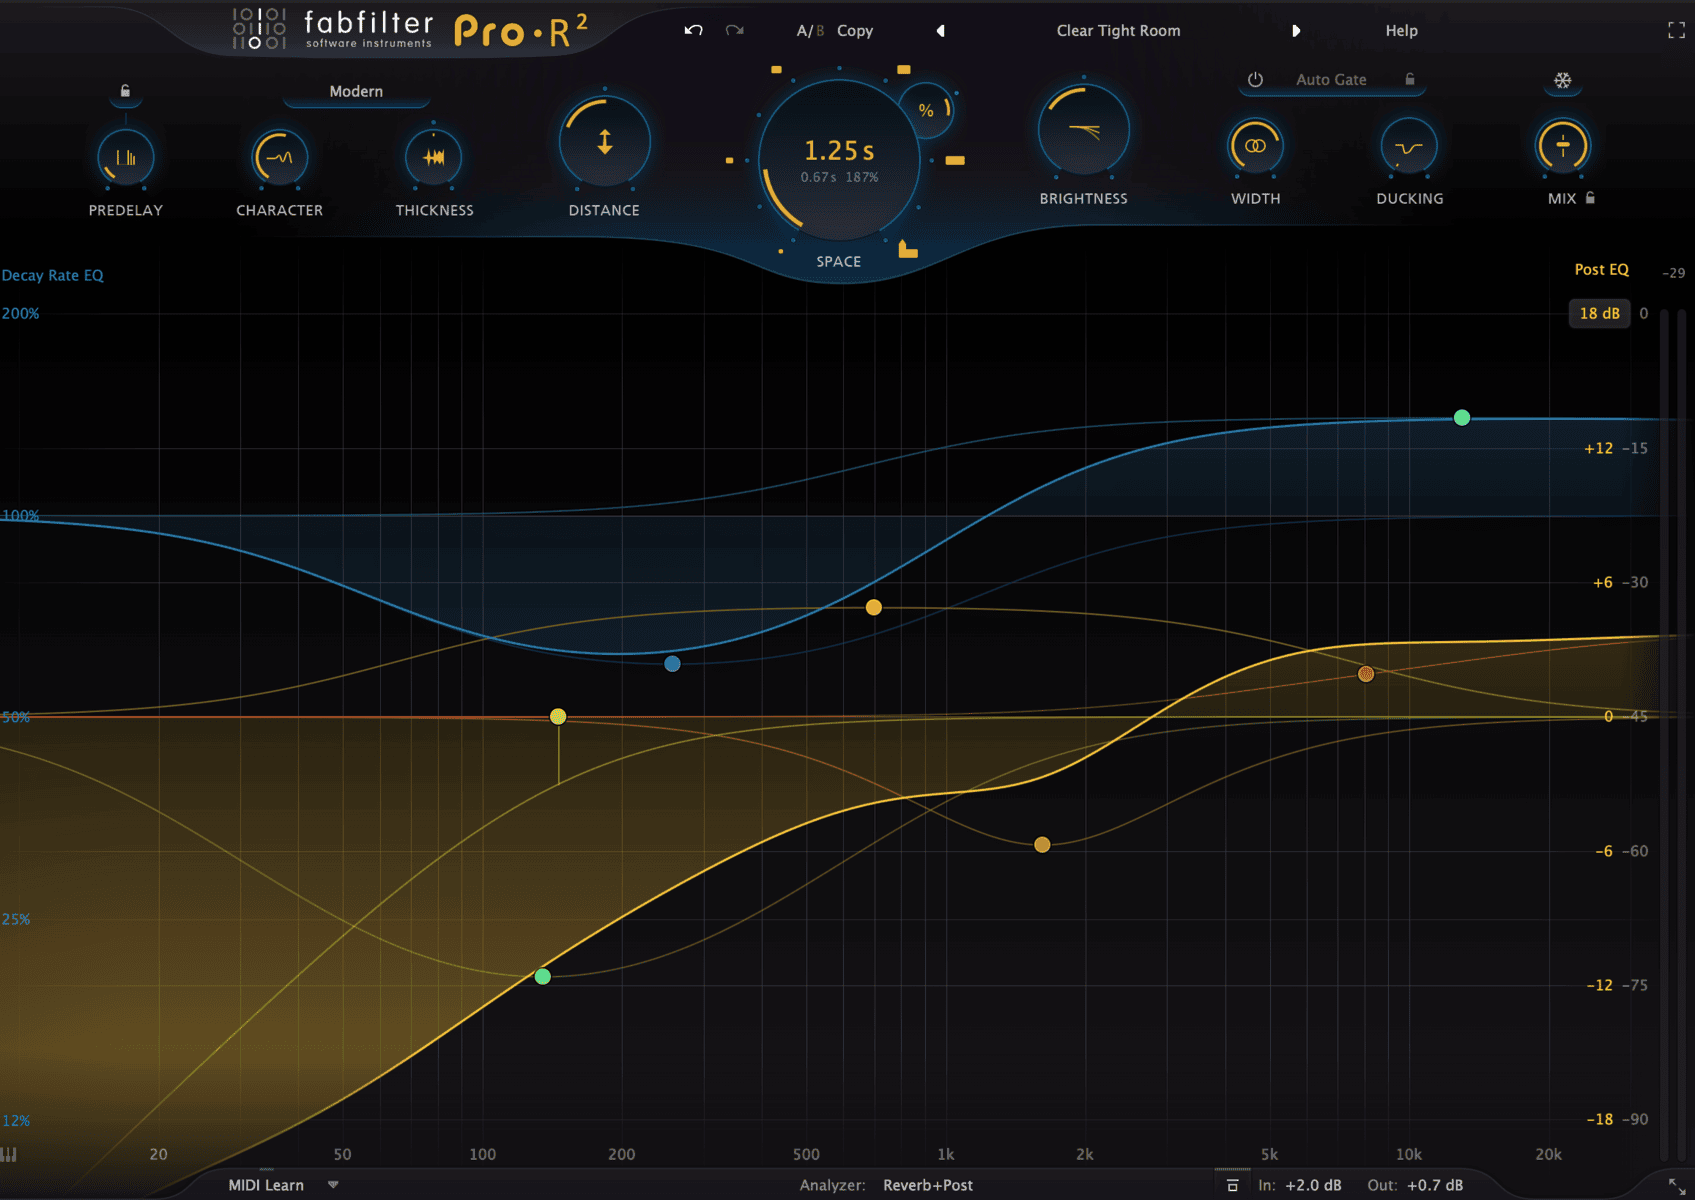
Step 4: Add Your Favourite Flavor(s)
Now you can insert your favourite compressor (chain) to get your desired tone. Whether you go with the classic 1176+LA2A combo or a more modern approach, your compressor(s) are no longer workhorses but rather taste makers that help set the tone.
You could also add a pre-amp simulator before your compressor(s), as these can add some nice color to your vocals and will not clip like they could if you didn’t go through these manual adjustment steps.

Step 5: Even More Manual Adjustments
Just like after the gain riding stage, you might usually want to adjust some phrases. You can simply insert another gain tool after your compressors and automate the phrases.

Closing Takeaway
Radio-ready vocals require a multi-layered approach to dynamics. Relying on compression alone usually leads to a squashed and lifeless performance. When you combine manual clip gaining to fix raw inconsistencies with subtle gain riding and purposeful track automation, you unlock the expensive sound we’re all looking for.
Stay tuned if you’d like to learn how to produce professional-sounding vocals. We have an amazing course coming up on how to do just that!