Is your mix too muddy? Is the low end taking over?
If so, you need to know about the high-pass filter setting on your EQ plugin.
Here’s what it is and how to use it…
What’s a High-Pass Filter?
A high-pass filter (HPF) is also called a low cut because it cuts the low end of the frequency spectrum.
Or you could say it like this:
A high-pass filter lets the high frequencies pass through the filter by removing some low-end frequencies.

HPFs can show up in many places. Like on a microphone, as part of a preamp, and on an EQ plugin.
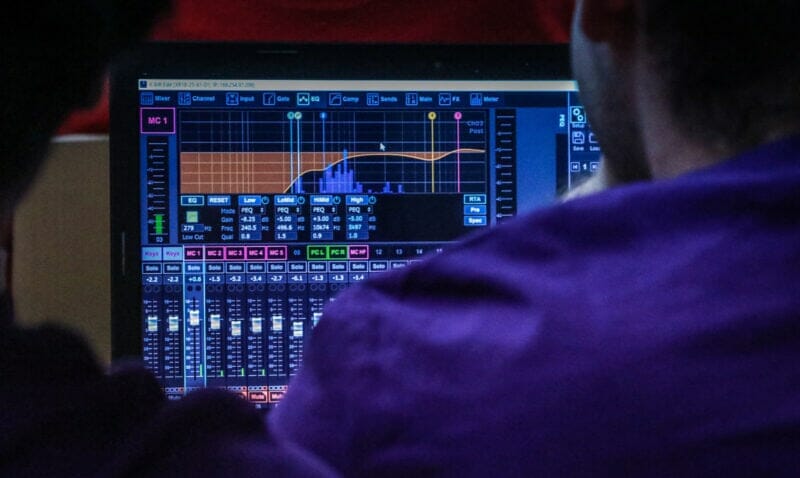
On an EQ plugin, an HPF will be all the way to the left on the frequency spectrum. When you apply it, it cuts the frequencies in a sloping direction to the left.
This cuts the frequencies below (to the left) of the high-pass filter.
It will help you perceive the higher frequencies better. And remove certain lower frequencies.
High-Pass Filter Settings
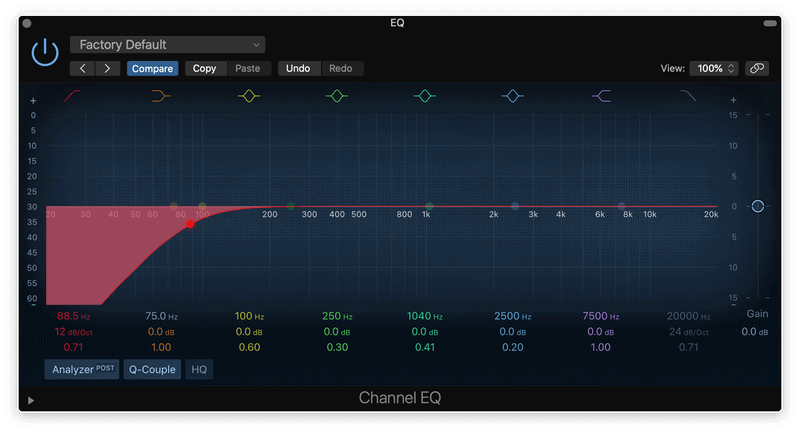
What settings will you see on a high-pass filter in the context of an EQ plugin?
First, you’ll see the frequency, the cutoff frequency, measured in Hz. This is where the filter starts to cut the frequency signal and slope down and to the left.
Second, you’ll see the gain setting. With a high-pass filter, this will always be at 0 dB
Third, you’ll see the bandwidth, or octave. This setting controls whether or the cut slopes down and to the left or it peaks before the cut.
Why Use a High-Pass Filter?
There are a few great reasons to use a high-pass filter. Let’s look at a few of them…
To Bring Out the Top-End

What happens when you decrease the number of lower frequencies?
It allows more high frequencies to pass through the filter. So you perceive more of the top end.
For example, with a lot of instruments, especially vocals, there aren’t any frequencies needed from about 100 Hz and below. So you can apply a high-pass filter that cuts everything from 100 Hz and below.
This puts less strain on your headphones and monitors. Leaving more power to push the other frequencies through.
Remove Rumbles
Let’s say there’s traffic outside your house or a neighbor walking around upstairs. Those sounds can translate to low rumblings in your recording.
You need to remove them, and a high-pass filter can help do that.
Just apply an HPF and move it up the frequency spectrum until the rumblings are gone.
To Add an Old-Timey Effect
Apply a high-pass filter and move it two-thirds or halfway up the frequency spectrum. You’ll hear the bass get sucked out of the instrument.
This creates an old-timey radio effect, as vintage radios didn’t produce much bass. And depending on your production, it can be a pretty cool effect.
High-Pass Filter Mixing Techniques
Now let’s head to the studio and cover some mixing techniques you can use today…
Cut Unwanted Rumbles
Sometimes rumbles are easy to spot. Sometimes they’re a bit more sneaky.
Our hearing is limited, so it may be difficult to hear them.
You may not even hear them. But they can affect the rest of the frequency spectrum and reduce the overall headroom.
Humans can’t typically hear frequencies below 40 Hz. So it’s probably safe to apply a high-pass filter starting at that point on most instruments.
Clear Up the Vocals
In most music, vocals are the featured element. So they need to stand out.
To make them pop, you can apply a high-pass filter, cutting 100 Hz and below. Just make sure you don’t cut frequencies present when the singer hits the lowest note in the song.
This allows more room for the mid to high frequencies to pass through the filter. And that brings clarity to the vocals.
Allow Room for the Kick and Bass
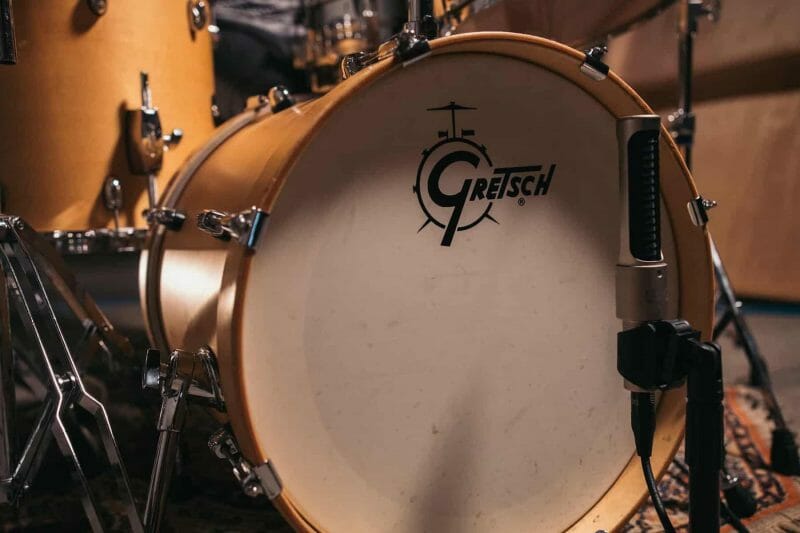
If the kick drum and bass guitar are getting drowned in your mix, you can use a high-pass filter to shape the low end.
You can apply an HPF to other instruments to carve out room in the mix for the kick and bass.
But why bother if the other instruments aren’t very bassy? Removing those low frequencies from multiple elements makes space for the low end.
Conclusion
Whenever you apply a high-pass filter, be careful. An HPF is one of the most overused tools, especially with beginners.
If you’re too drastic with it, you can inadvertently remove some of the low-end drive from an instrument. You may also end up making the mids and highs pop out too much.
So use your ears. Just because an instrument emits higher frequencies doesn’t automatically mean you should cut the low end.
With a high-pass filter, you’re trying to bring more clarity and remove muddiness. So before you jump to a high-pass filter, try first using the gain knobs and panning.
As with everything in mixing, many small moves add up to big improvements.


