If you’ve ever tried to get your tracks loud enough for , you’ve likely encountered two essential tools: clippers and limiters. Both can help create room to increase loudness, but they work in fundamentally different ways. Knowing when and how to use each can make or break your master.
What is a Clipper?
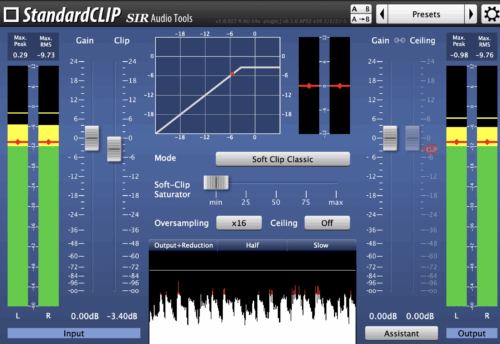
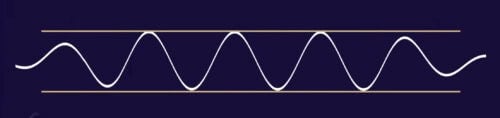
A clipper is a waveform-shaping tool that often hard-clips the signal at a defined ceiling. Unlike a limiter, which gradually reduces gain, a clipper chops off peaks that exceed the threshold. This can add harmonic distortion and perceived loudness, but it can also sound harsh if overused.
Also note that not all clipping is hard-clipping. You can also soft-clip a signal, which round. This creates a smoother, more musical distortion that can of traditional clipping, but it’s also less precise.
In essence, all clipping is simply a form of distortion, but with a different method of control compared to a typical saturation plugin. Instead of applying distortion to the entire signal using a drive or input control, with a clipper you’re only applying distortion when the audio exceeds the set threshold.
How It Works:
- Instantly cuts off any signal above the threshold.
- Adds , which can sound pleasing in small doses.
- Can introduce distortion if not used carefully.
When to Use a Clipper:
- Before the limiter in your chain to tame peaks and reduce the limiter’s workload.
- On individual channels or instrument busses to tame sharp transients and create headroom.
- For where aggressive loudness is desired.
- When you want to add character to a mix with

What is a Limiter?
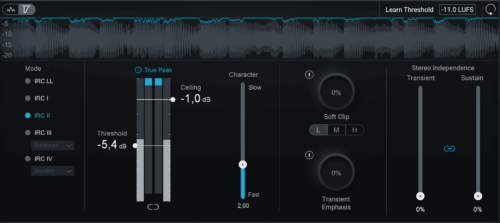
A limiter is a type of compressor with an extremely high ratio (often ∞:1). Its primary job is to prevent audio signals from exceeding a set ceiling, ensuring no peaks get through. Limiters are the final step in mastering, but you can also use limiting on individual channels, instrument busses, or multiple limiters in series before your final limiter when mastering.
How It Works:
- Detects peaks above the threshold.
- Instantly reduces gain to keep the signal under the ceiling (there’s no attack phase like a compressor, instead lookahead is used to instantly clamp down and prevent overshoots).
- Can add subtle harmonic distortion if pushed too hard.
When to Use a Limiter:
- As the final step in your mastering chain (and earlier if you want to spread the load over multiple limiters).
- When you need controlled loudness without obvious distortion.
- For streaming platforms that penalize tracks with .
Key Takeaway
Clippers and limiters serve different purposes, but they work best together. Use a clipper to shape transients and add character, then rely on a limiter for final loudness control. The goal isn’t just to make your track loud, it’s to make it .
Want to learn more about clippers, limiters and compressors? Check out this YouTube video where we break down the differences with visual animations and real-world demonstrations!