This week, let’s talk about a simple but powerful way to improve your workflow in by creating custom channel strips for your busses.
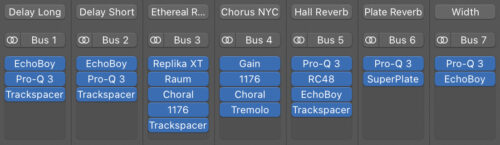
When working with sends (like reverb, delay, parallel compression, or saturation), it’s easy to waste time setting up the same chain of plugins every time. Luckily, most DAWs let you save custom channel strip settings so you can load up your go-to plugin racks with ease.
Why this works:
Your bus channels often follow consistent patterns. Maybe you always like your vocal reverb bus to have an EQ cutting out the lows and a compressor after the verb. Or your drum parallel compression chain includes a specific compressor with a hard ratio and some saturation to bring the energy forward.
Instead of rebuilding that setup from scratch every time, you can save it as a user preset and instantly recall it whenever you need it.
How to do it:
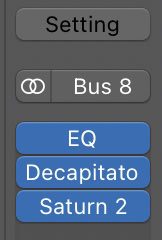
1. Set up your bus with the plugins and settings you like.
2. On the channel strip, click the “Setting” menu at the top.
3. Choose “Save Channel Strip Setting As…” and name it something clear like Vocal Verb Bus or Drum Crush Bus.
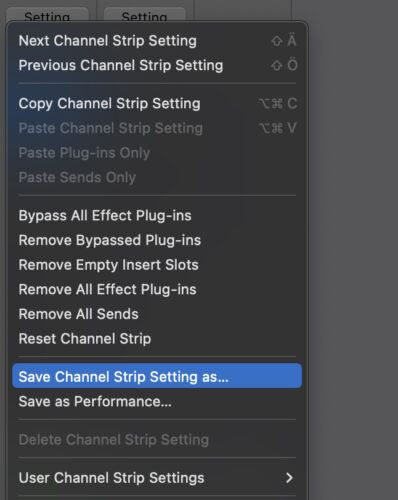
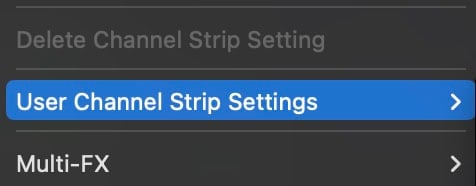
4. Done! Next time, just load it from the same menu under “User Channel Strip Settings”.
I’ve used Logic for this example but please note you can do this in any DAW. Just search online for “save channel strip in [your DAW]” or “save plugin chain [your DAW]” to find the exact process in your DAW.
Using Channel Strip presets, your mixing workflow becomes way faster and more consistent, especially when you’re combining this with your user plugin defaults (from an earlier Sound Advice). But when you’re ready to upgrade your mixing skills to the next level, make sure to check out this free mixing course!
Until next time,
Rob