The idea of a mix bus used to be so confusing to me.
So I just ignored it, even though everyone was saying, “You need to be using mix buses!”
Well, now I’m one of those people saying that.
Once I understood the concept of a mix bus and saw it in action, something clicked. And buses instantly made my mixes much more professional.
So I want to share what I’ve learned about using a mix bus.
What is a Mix Bus in Simple Terms?
A mix bus is a channel through which you send your instrument channels. So when you apply an effect to the bus track, it adds that effect to every channel routed to it.
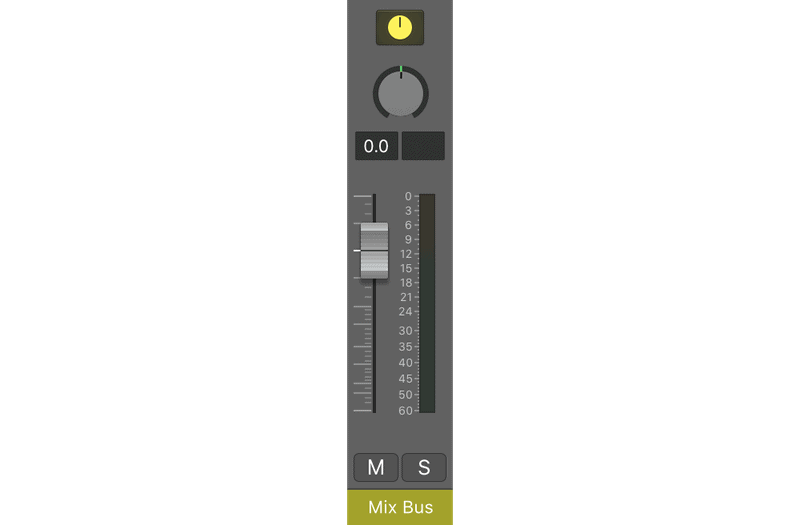
The best metaphor for a mix bus is an actual bus.
Imagine that all of the channels in your DAW are people. And the mix bus channel is an actual bus.
You can tell certain people (channels) to get on the bus. Then any direction the bus goes, the passengers (channels) will go.
For example, if you send the bus down the reverb road, then reverb will be applied to every channel on the bus.
Technically, a mix bus copies the signal of a channel, applies the effect, then adds the signal back into the mix.
Mix Bus vs. Master Bus
Just to be perfectly clear, a mix bus is not the master bus (AKA the master track).
If a bus track is a bus full of children, then the master bus is a ferry that carries those busses and school children.
Every channel in your DAW is fed through the master bus.
As a general rule, you don’t ever want to add effects to your master bus. This will screw up the track when you bounce it for mastering. Just don’t touch the master bus.
Why Route Tracks To A Mix Bus?
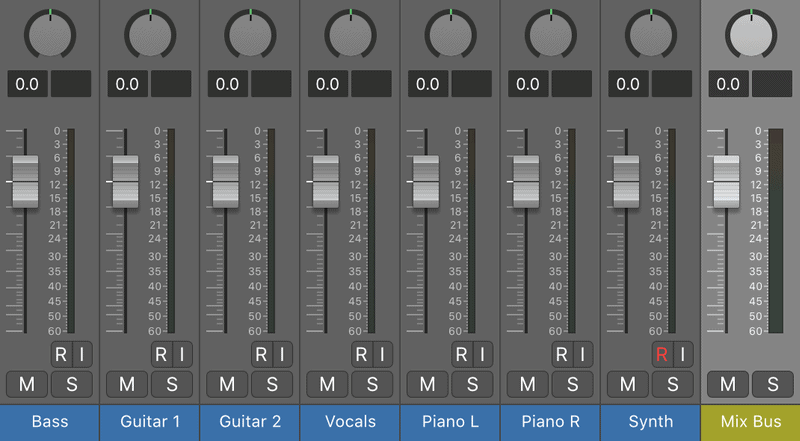
Why go to all the trouble of creating a mix bus track?
Well, because a bus track copies the signal, it leaves the original signal untouched. So you have more control over both the original and the duplicate.
Let’s look at this practically…
You want to add reverb to your vocal. You could slap the reverb effect directly to the vocal track and that would be fine.
But there’s a problem with this.
If you want to change the amount of reverb (i.e. the wet vs. dry signal), it’s difficult. You have to open the plugin and edit it.
This is a real problem when you have multiple vocal tracks with the same reverb effect. You’ll want to change the reverb settings for all of them or for each of them.
Instead of opening the effect on each individual track, you can change the setting on the bus track, which will change the effect on all of the tracks. Or you can quickly adjust the amount of reverb on each track from the bus track.
Using bus tracks will make your life way easier and your mixes so much better.
How To Set Up A Mix Bus
The most common effects to use with a mix bus are compression, reverb, delay, and EQ.
For each of these, here are the steps to create a mix bus:
- Create a new track
- Title it “[effect] bus”
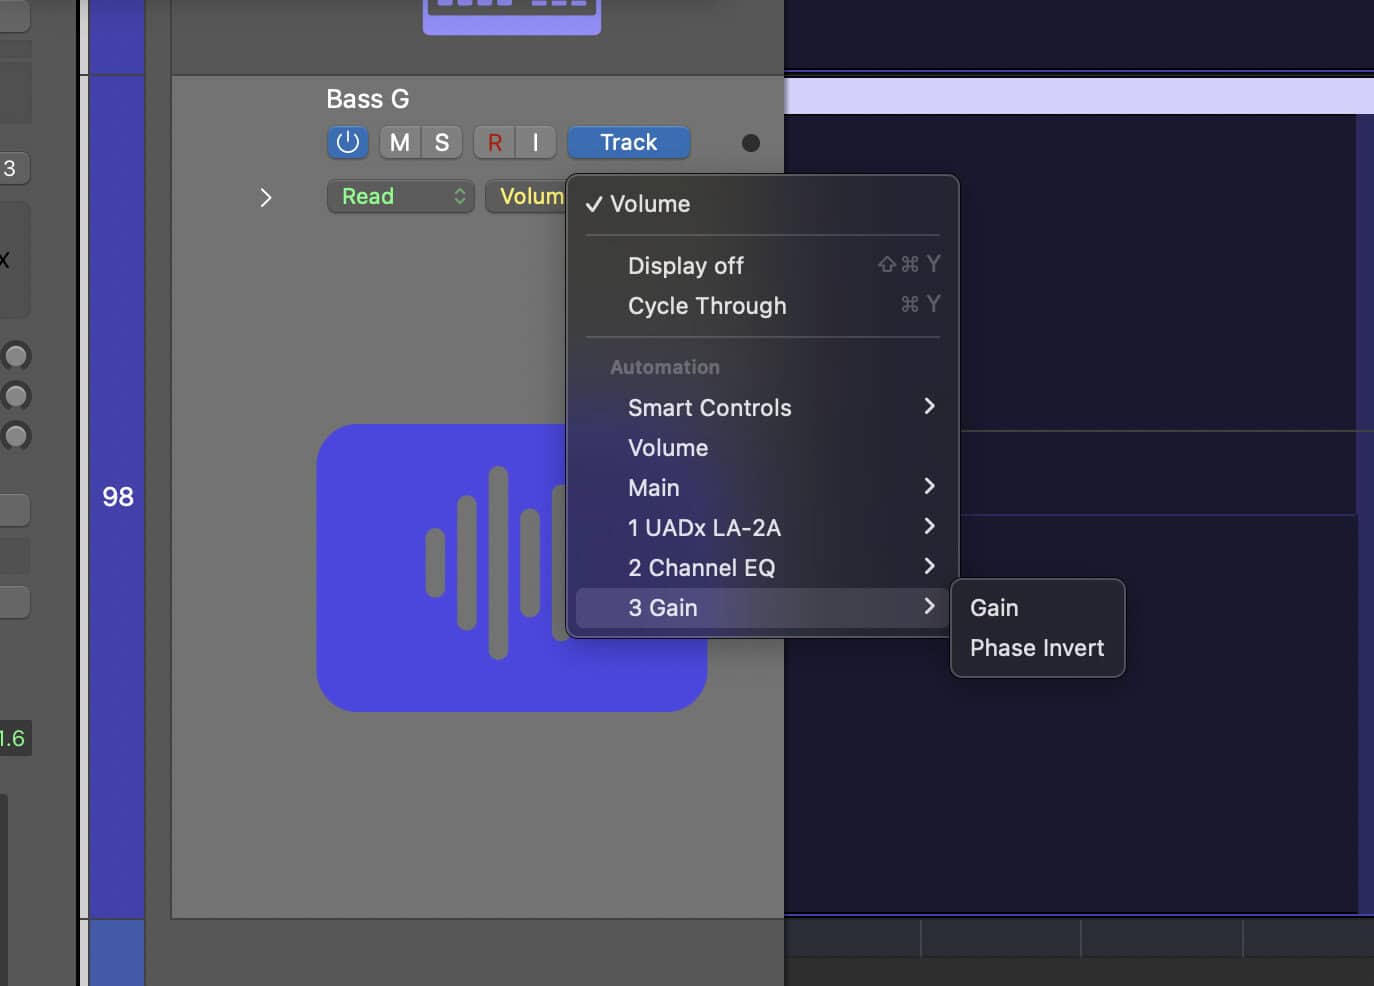
- Route the desired channels to this bus track (choose “send” from each channel or add a “receive” of each channel from the bus track)
- Adjust the settings from the bus track
Now here are some tips for bussing those four effects.
Compression
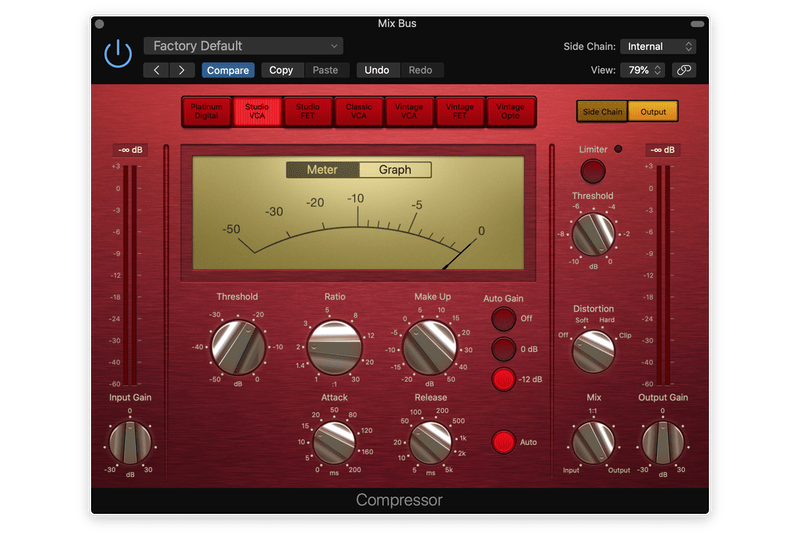
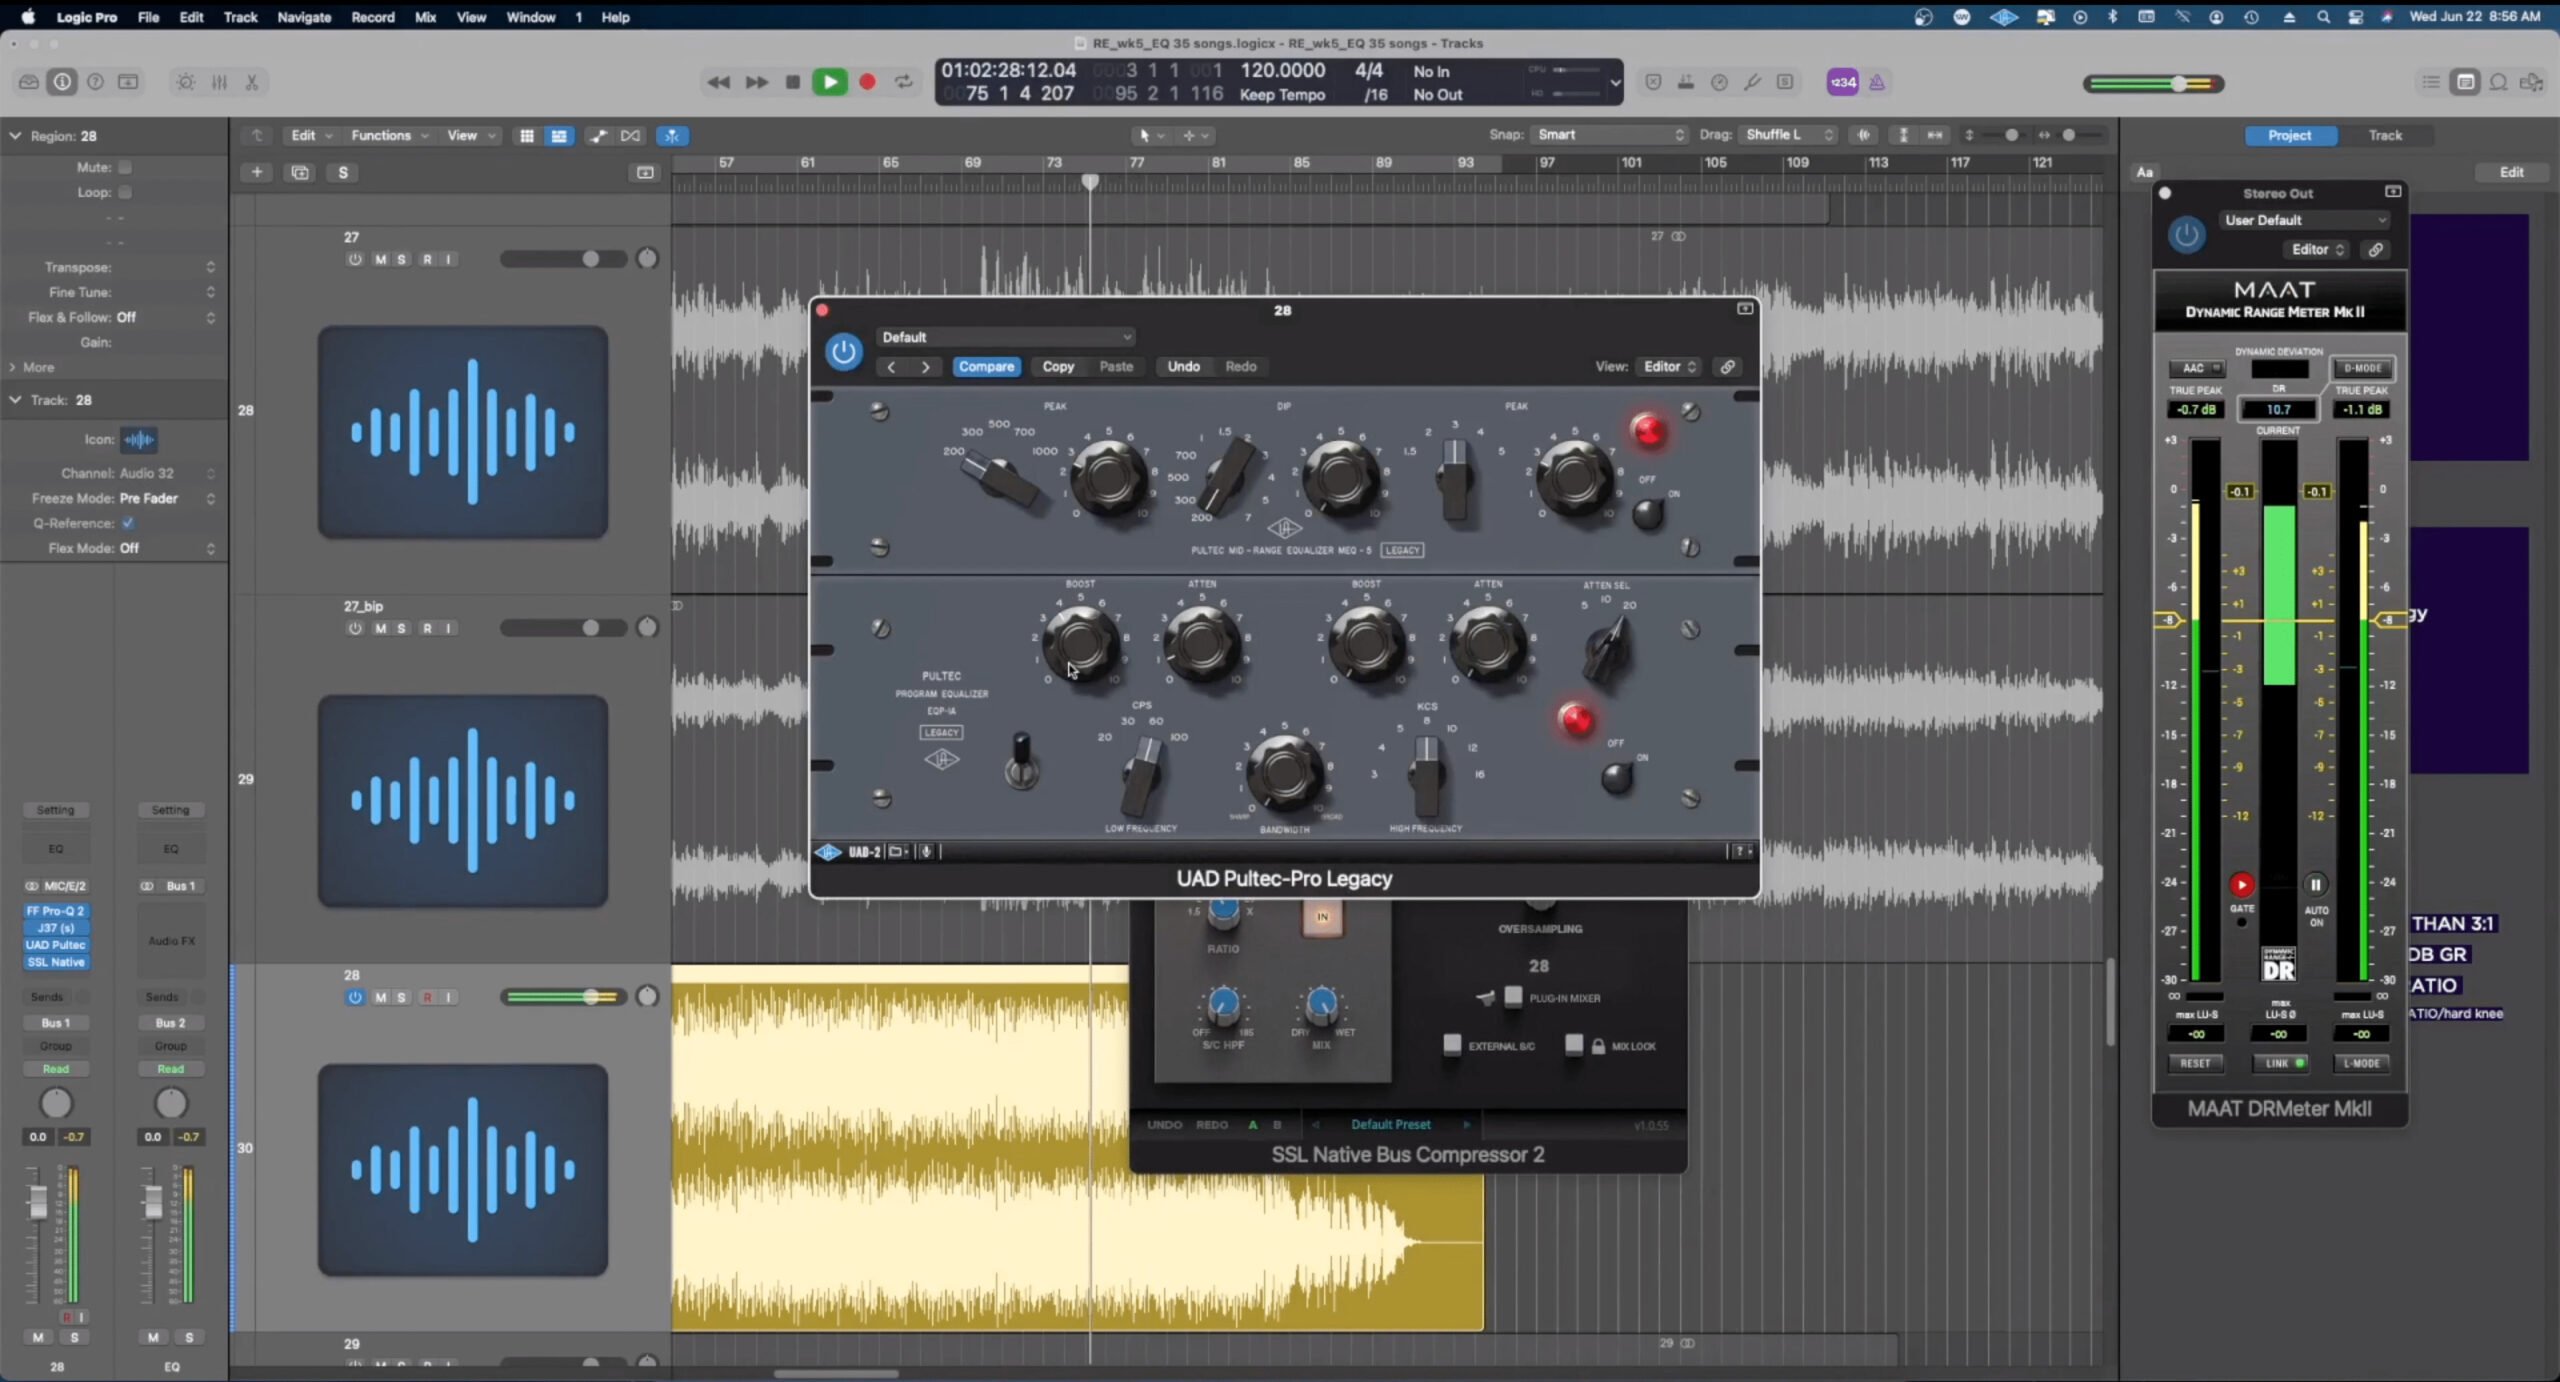
Mix bus compression helps your tracks feel more together. It keeps the levels consistent the whole way through and it makes things sound more exciting.
Just as everything in mixing, mix bus compression works best when it’s subtle. Try these settings:
- Use a ratio around 2:1 to lightly compress the tracks
- Start with a slow attack (try 30 ms) and a fast release (keep it under 50 ms)
- Don’t apply any more than 2 dB of compression
This works best when you apply the bus compressor before you start mixing. If you mix your track and then add a bus compressor, it could completely change the dynamics you worked so hard to get.
Reverb & Delay
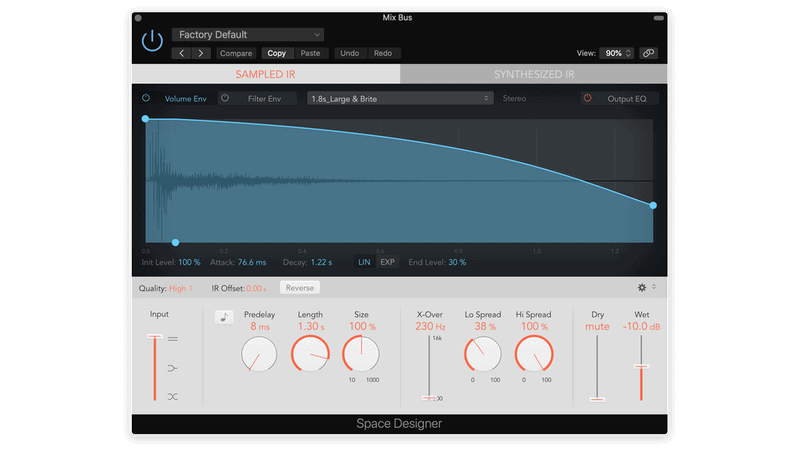
If you want to add a certain reverb or delay to multiple tracks (like your vocals), you can use a bus reverb and/or delay. These effects should be on separate bus tracks. You’ll have more control, and it’s easier to adjust the settings for multiple tracks all at once.
But there’s another method that can add space and width to your mix.
An engineer friend of mine taught me a bussing trick that has totally improved my mixes.
Here’s what you do:
- Create two new tracks: a “Reverb Bus” and a “Delay Bus”
- Apply your favorite reverb effect to the reverb bus and your favorite delay effect to the delay bus
- Route every single track in your DAW except for the bass, drums, and percussion to each of these bus tracks
- Pull down the gain levels of the bus tracks to the point where you almost can’t hear the effects working
This can add depth and spaciousness to your entire track. But remember, be subtle with it.
EQ
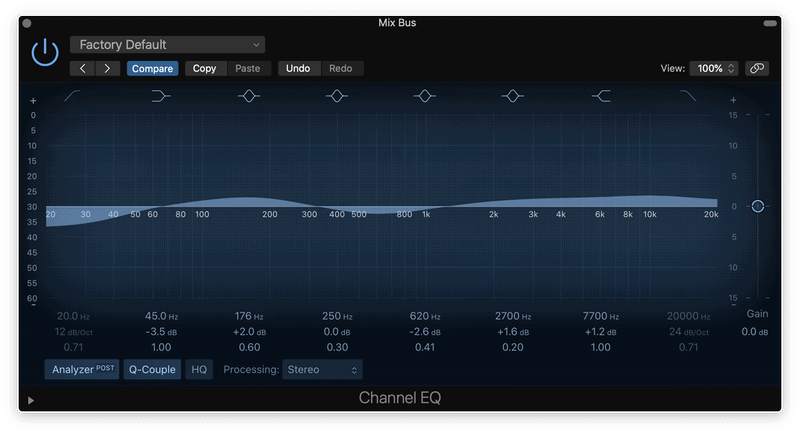
To be clear, you need to do the main EQing on each individual track. Each instrument can have different frequencies you need to cut or boost.
Mix bus EQing is helpful for making small tweaks to a group of tracks as a whole.
If a group of vocal tracks together create an overpowering feel, you can bus them to an EQ track and cut or boost. Or if your cymbals need a bit of shimmer, use a mix bus EQ.
Like every other part of mixing, stick with small movements, especially on a mix bus. One little change in the frequency spectrum can have a big effect.
So use wider bands and smaller cuts (no more than 2 or 3 dB). This is to shape the tone, not to do surgery. Do surgery on the individual tracks if needed.
Common Mistakes When Using A Mix Bus
Mixing is a subtle art, and that’s especially true when using bus tracks. So it’s easy to make mistakes. That’s why I want to cover the most common mistakes people make when using a mix bus.
Mistake #1: Wasting Money On Plugins
You don’t need to spend any money on plugins to use a mix bus. You can use stock plugins and mix a track to industry standards.
I’m not saying you should never upgrade, but the more important focus is learning the technique of a mix bus.
And for now, you can use a stock plugin.
Mistake #2: Making Big Adjustments
I’ll say it again: mixing is all about little adjustments.
And when you’re making adjustments to many tracks at once, you’ll hear the change even more.
Here are some tips for making small movements:
- Compression: use a 2:1 ratio
- Compression: shoot for 1-2 dB of gain reduction
- Compression: use a slow attack time (start between 30-50 ms)
- Compression: use a fast-but-not-too-fast release time (keep it under 50 ms)
- EQ: use wide bands
- EQ: make small cuts and boosts (no more than 2-3 dB)
- Reverb & Delay: keep the levels lower than you think they should be so they don’t overpower the mix
When in doubt, play it conservatively.
Mistake #3: Adding A Compressor At The End
I briefly mentioned this, but using a mix bus compressor only works if you’re mixing with the compressor already applied.
Compression can change the dynamics and tone of a track, so adding it after you’ve already mixed the song can ruin your mix.
Before you start mixing, add a mix bus compressor
Conclusion
I hope you see how helpful a mix bus can be. It makes things more convenient, and it can make your mixes sound more professional.
Just remember, small movements can make a big difference.


