#1 – Automation
You need the vocals front and center with every lyric intelligible.
Compression and limiting will help…
But nothing beats manual gain or volume automation.
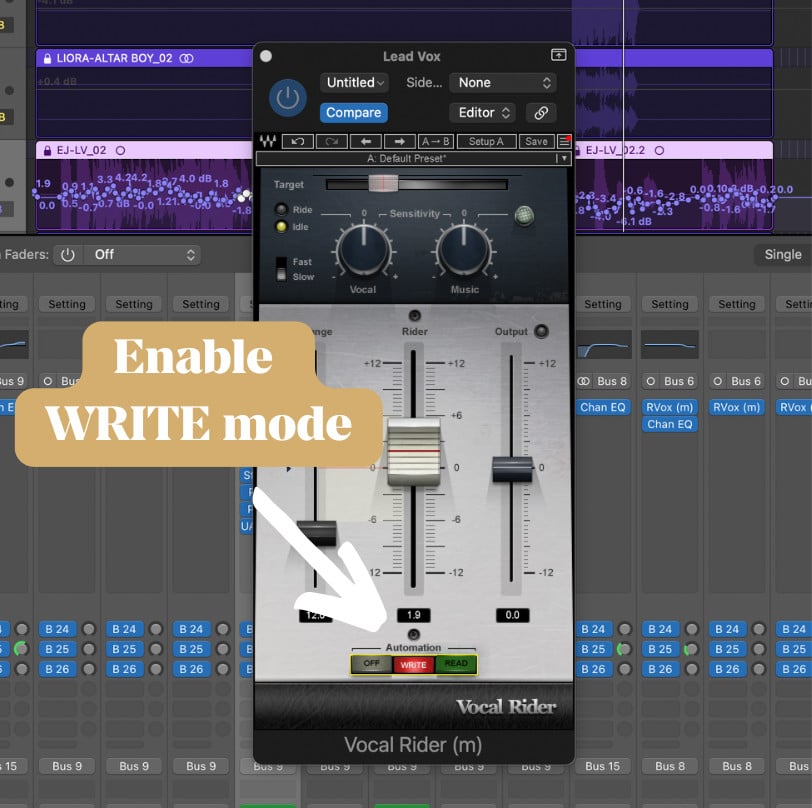
The fastest way to do this is with Waves Vocal Rider.
This plugin automatically rides the level of your vocal, and you can print the automation to fine tune it manually. This is a lot faster than manually automating the entire vocal. The way I think of it, Vocal Rider does 805 o th work for me, then I add 205 more to take it to perfection.
1. First you set the plugin to “Write” mode
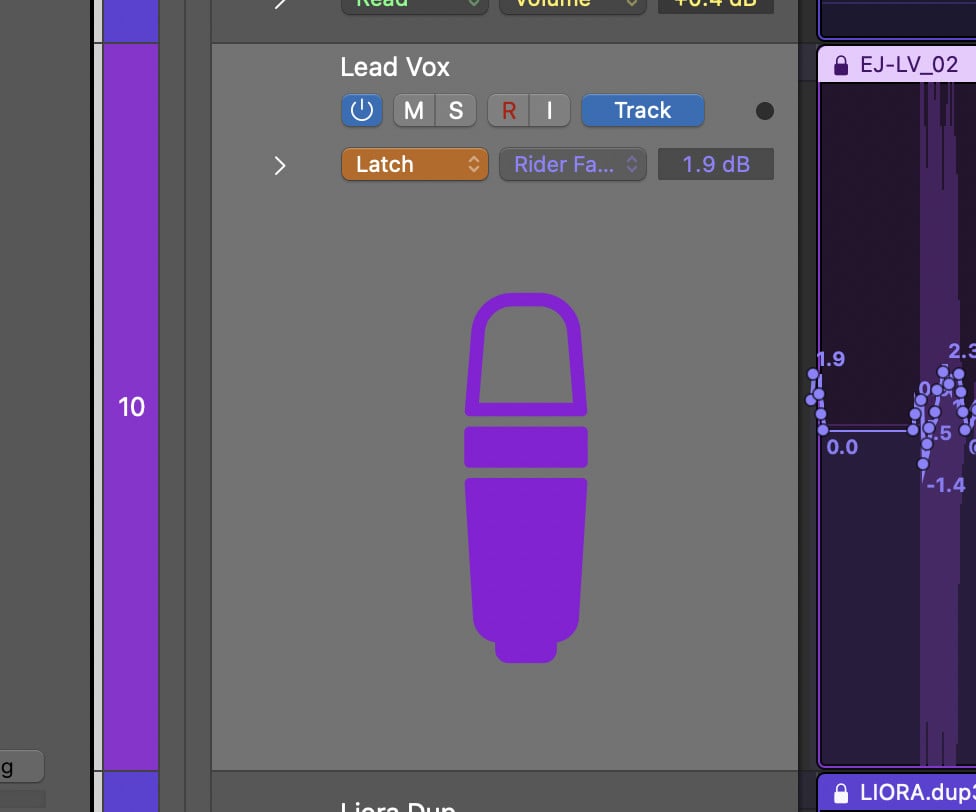
2. Set your channel to “Touch” or “Latch”
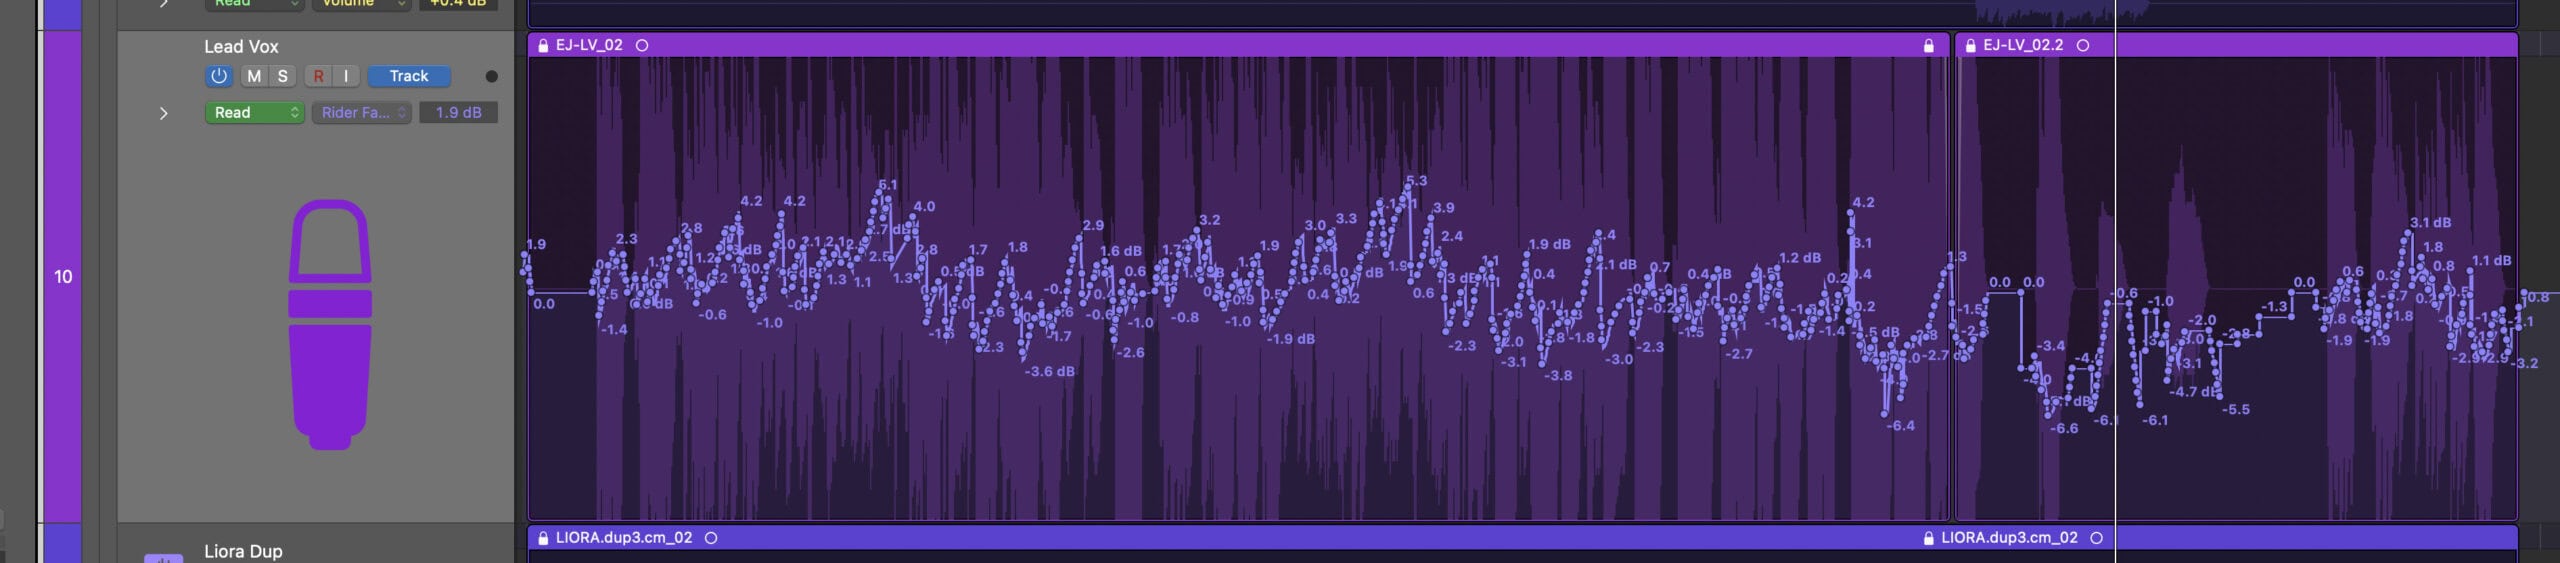
3. Hit play and watch as Vocal Rider does your work for you. Sip your tea and ponder if you will ever be fully replaced by a robot.
4. Set the plugin and channel to “Read” mode. Now you can manually edit the automation as needed.
#2 – Top End
Adding top end is usually required — unless you recorded through a bright or expensive microphone.
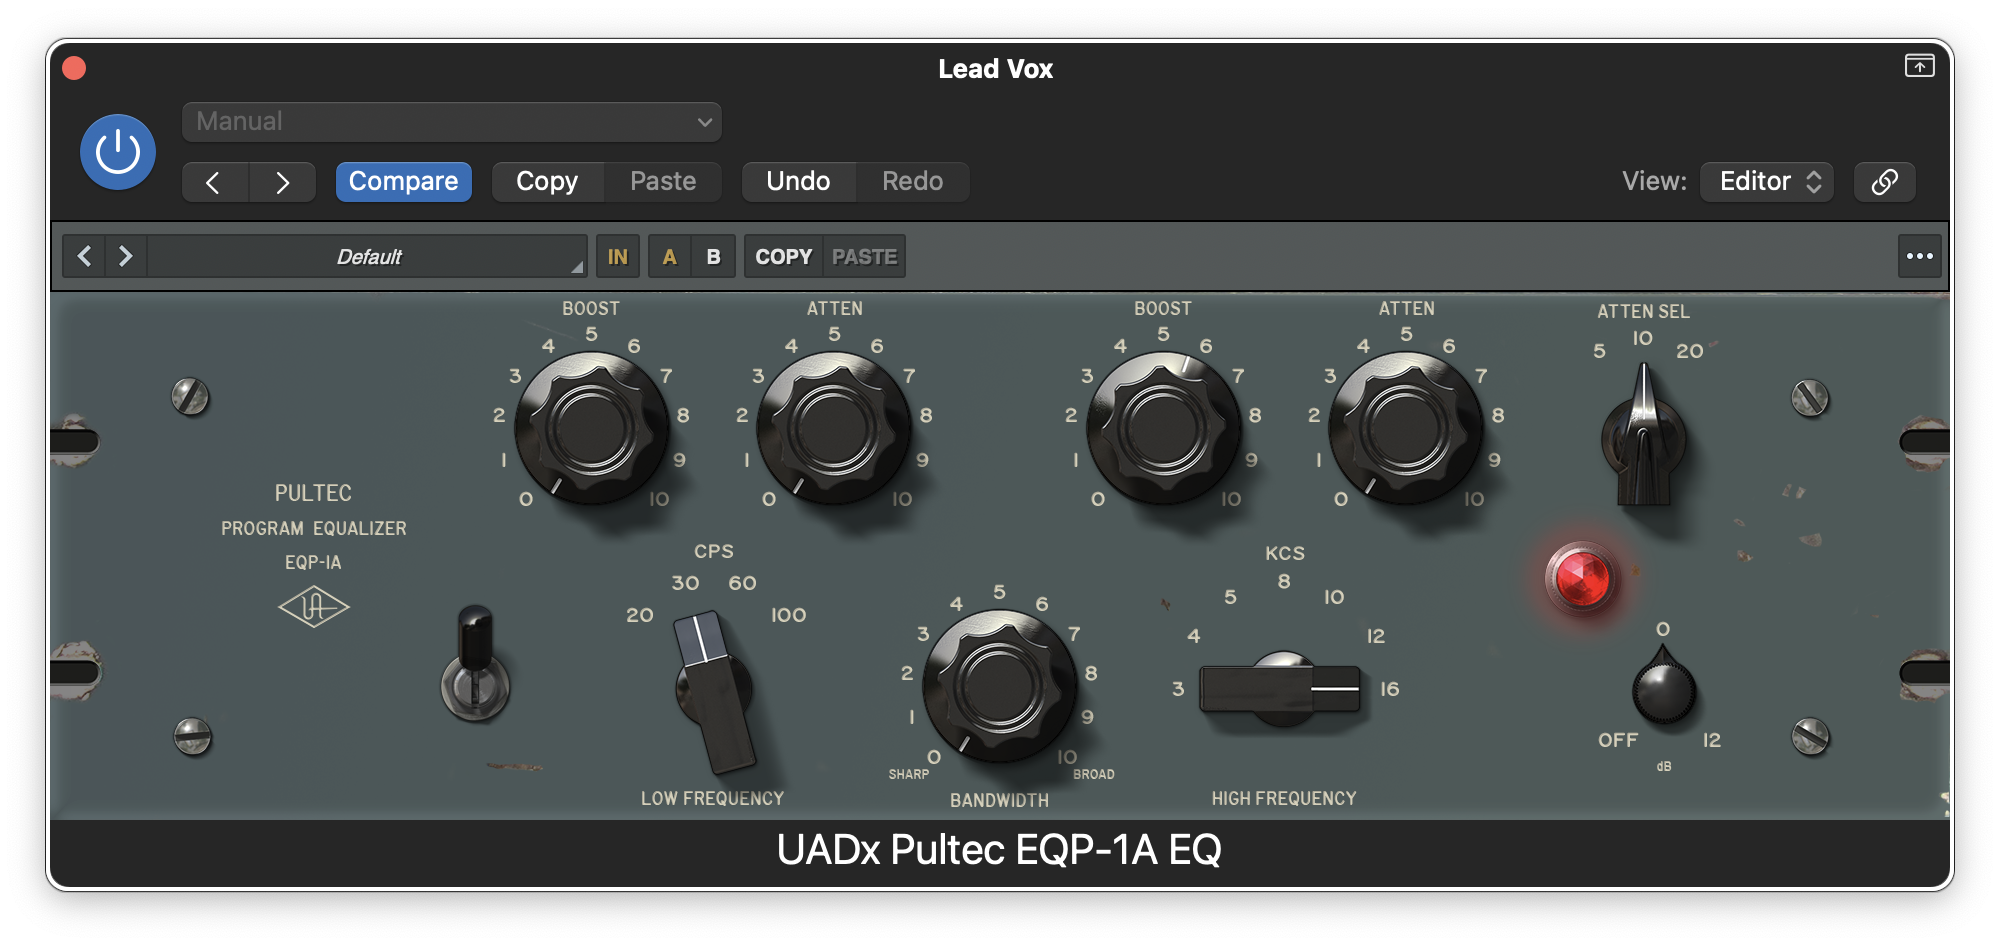
My favorite tools for this are a Pultec EQ or Clariphonic.
Here’s a recent example from a mix – I’m using the Silk band on Clariphonic to add a bunch of top end air.
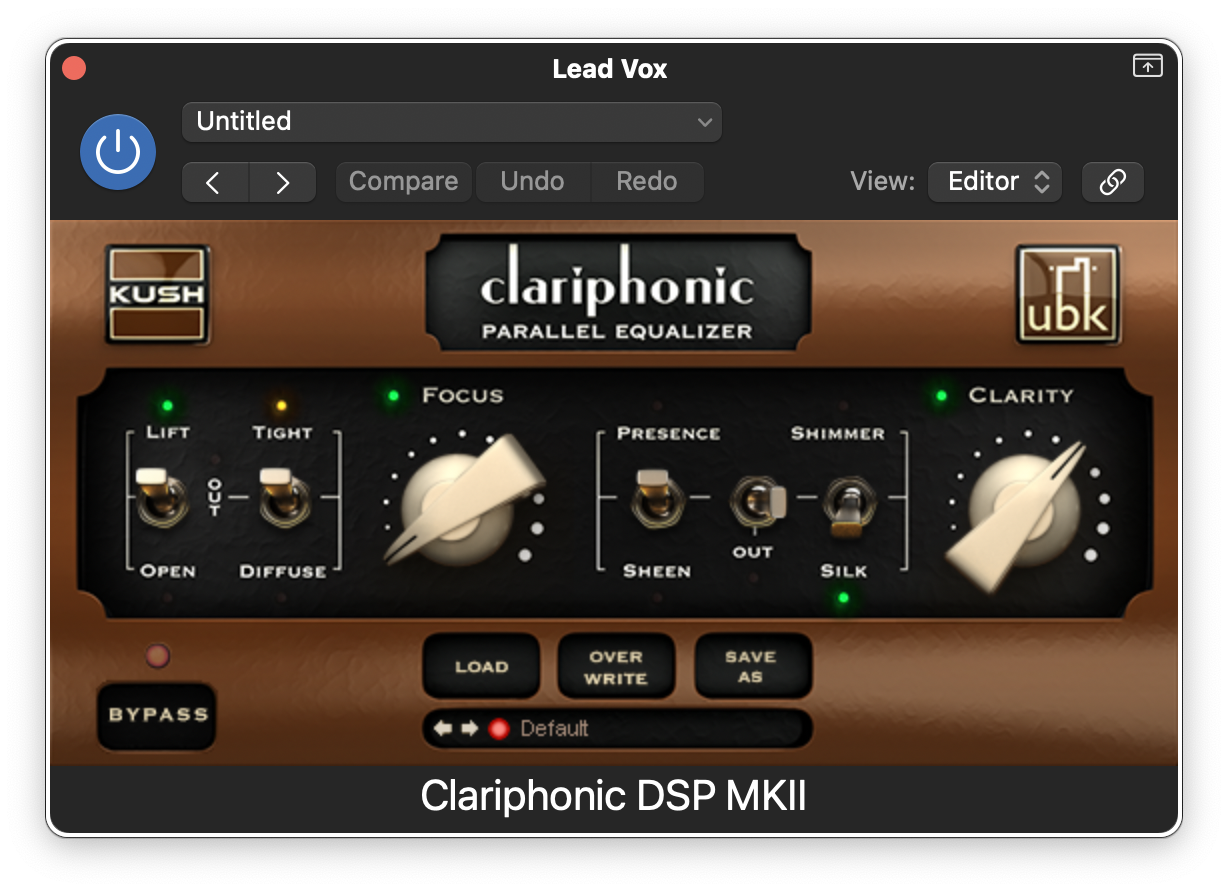
Here’s what the manual says about this Silk band…
“Silk, to my ears, is rarefied air and it is as seductive as it is exotic. It is supremely soft and gentle, and extraordinarily high; I have heard nothing else like it on the planet”
Quite a floral description, but I agree. Technically, this is parallel EQ with a gradual ramp going all the way up to 34kHz (whereby we can only hear the very bottom of that ramp under 20khz).
If you don’t have Clariphonic, adding some top end with a Pultec will achieve a similar outcome, as seen below from another mix.
#3 – Space
This is hard to get right, but will make or break your vocal.
The trick is finding the right combination of plate reverb, room reverb, hall reverb, stereo slapback delays, and timed delays.
It’s totally contextual depending on the track, and this is a skill I’m forever learning.
I have each of these set up as an aux channel in my template, then i use sends to add the desired level of effect.
Here are my settings for each…
Stereo Slapback – anywhere from 30ms to 200ms with slightly different times on the left and right. Feedback set to 0 or minimum.

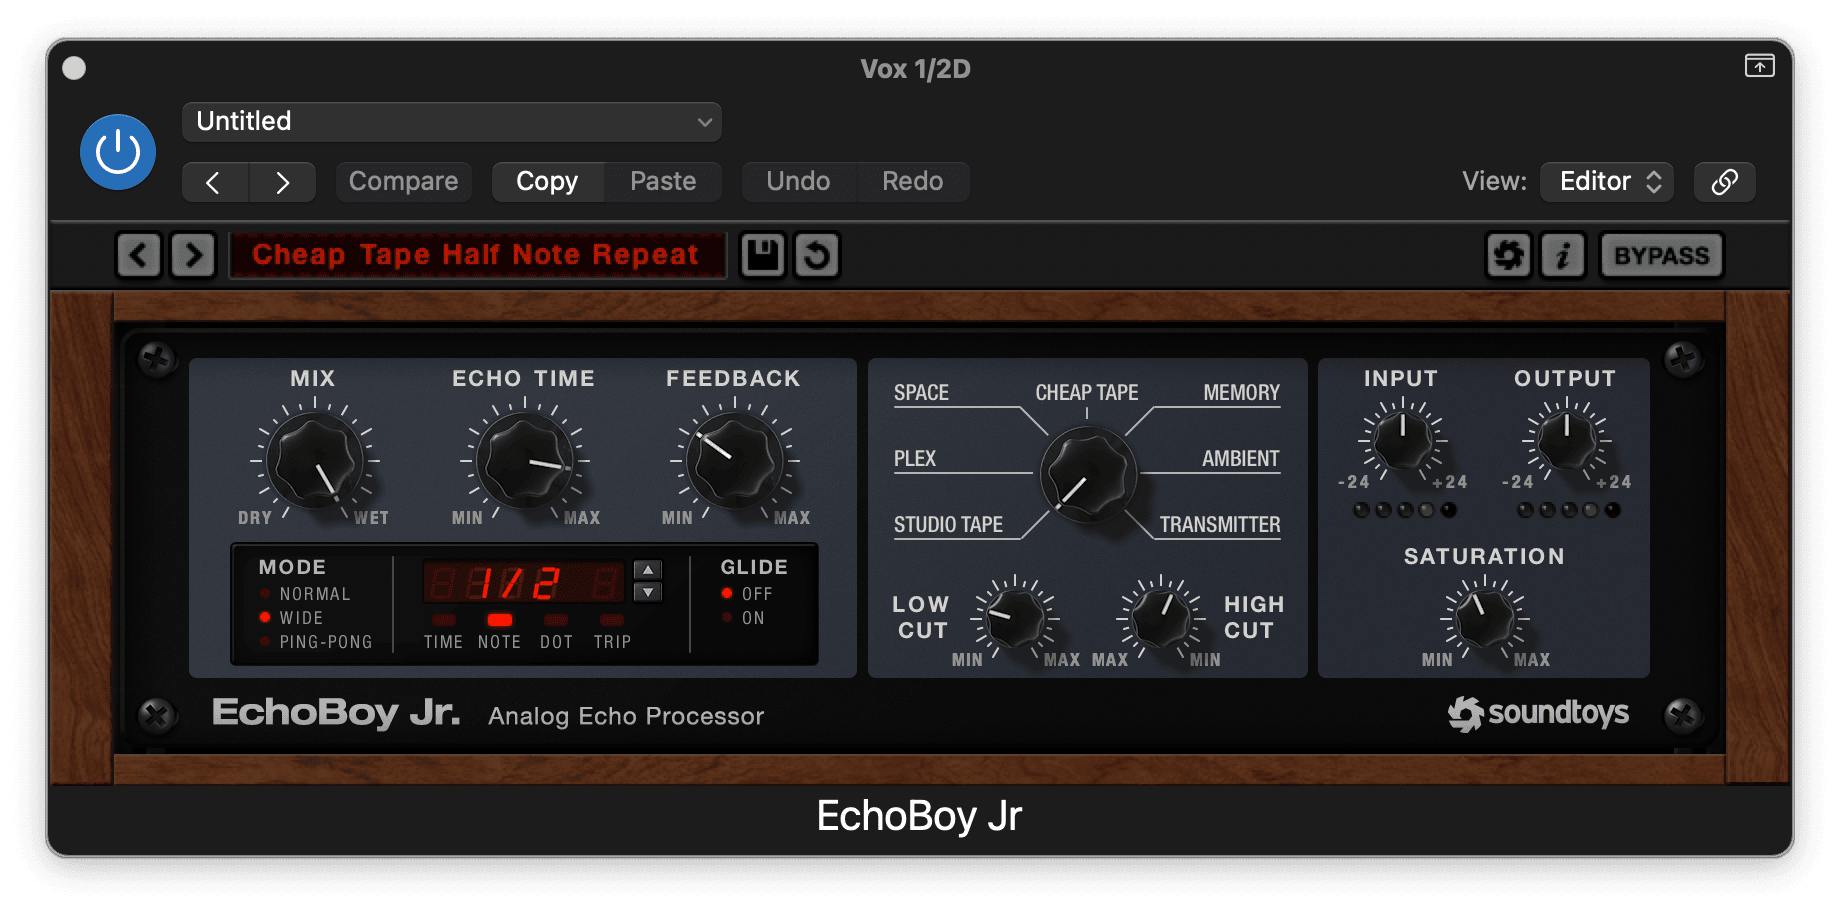
½ Note Time Delay – some feedback (you can also add reverb, flanging, chorusing, saturation, and whatever the hell you want after on the aux to make it more vibey)
¼ Note Time Delay – same again but with a shorter delay
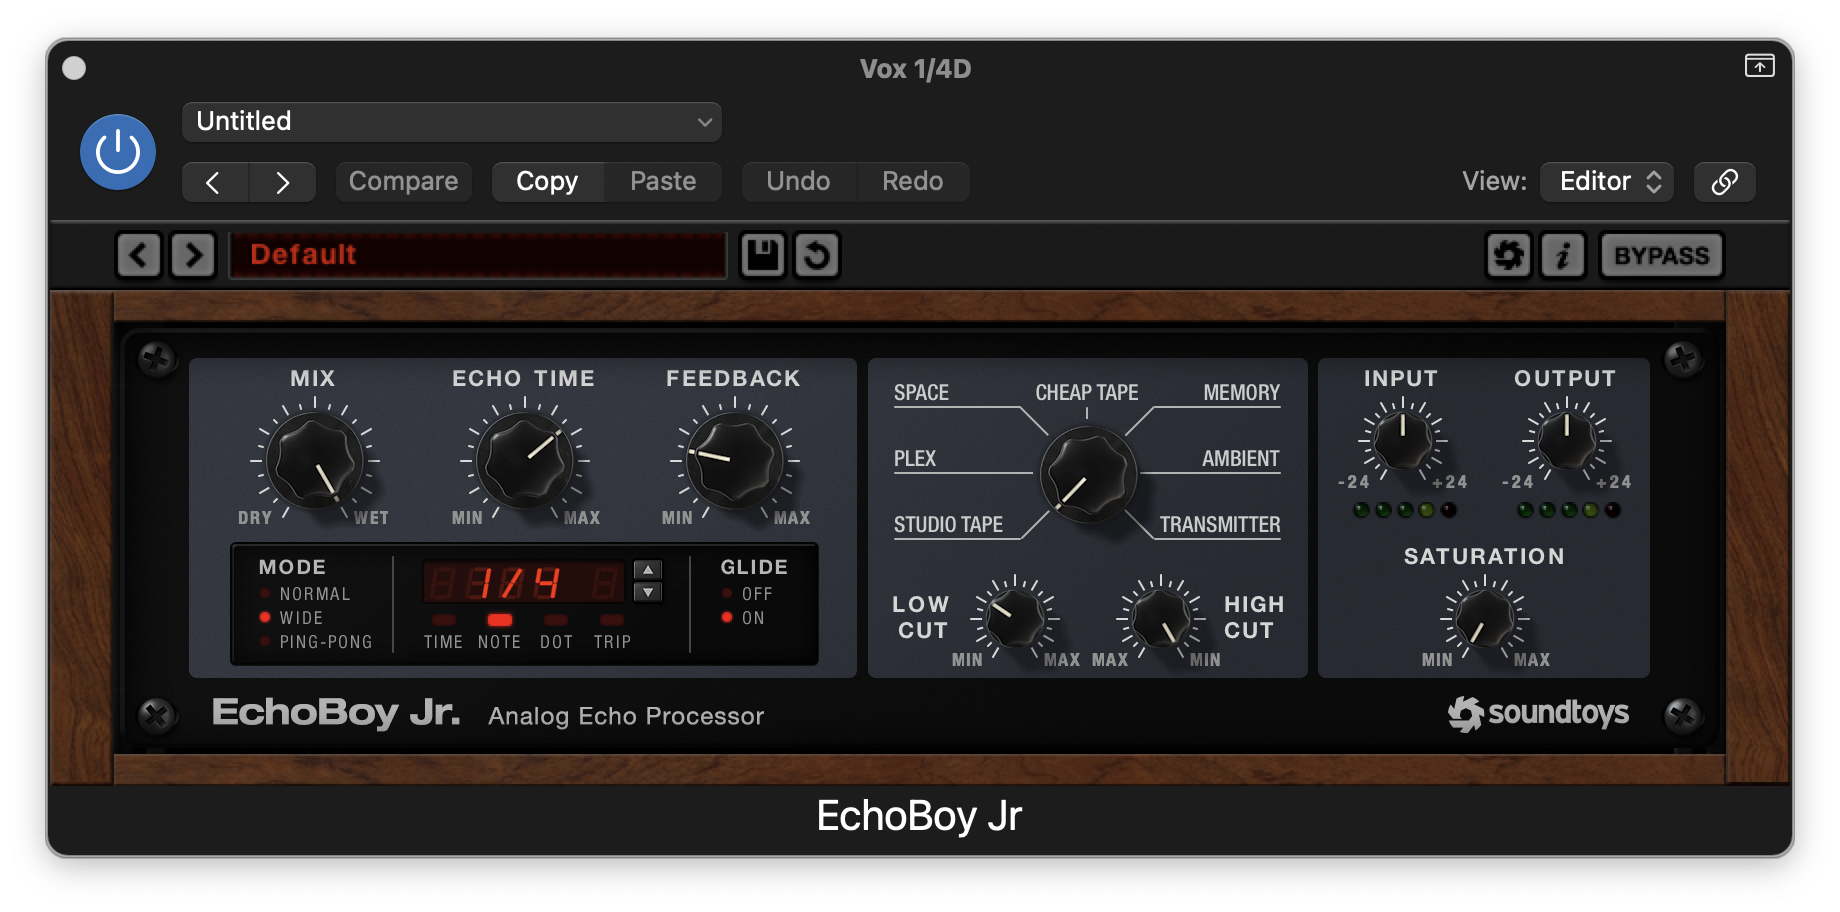
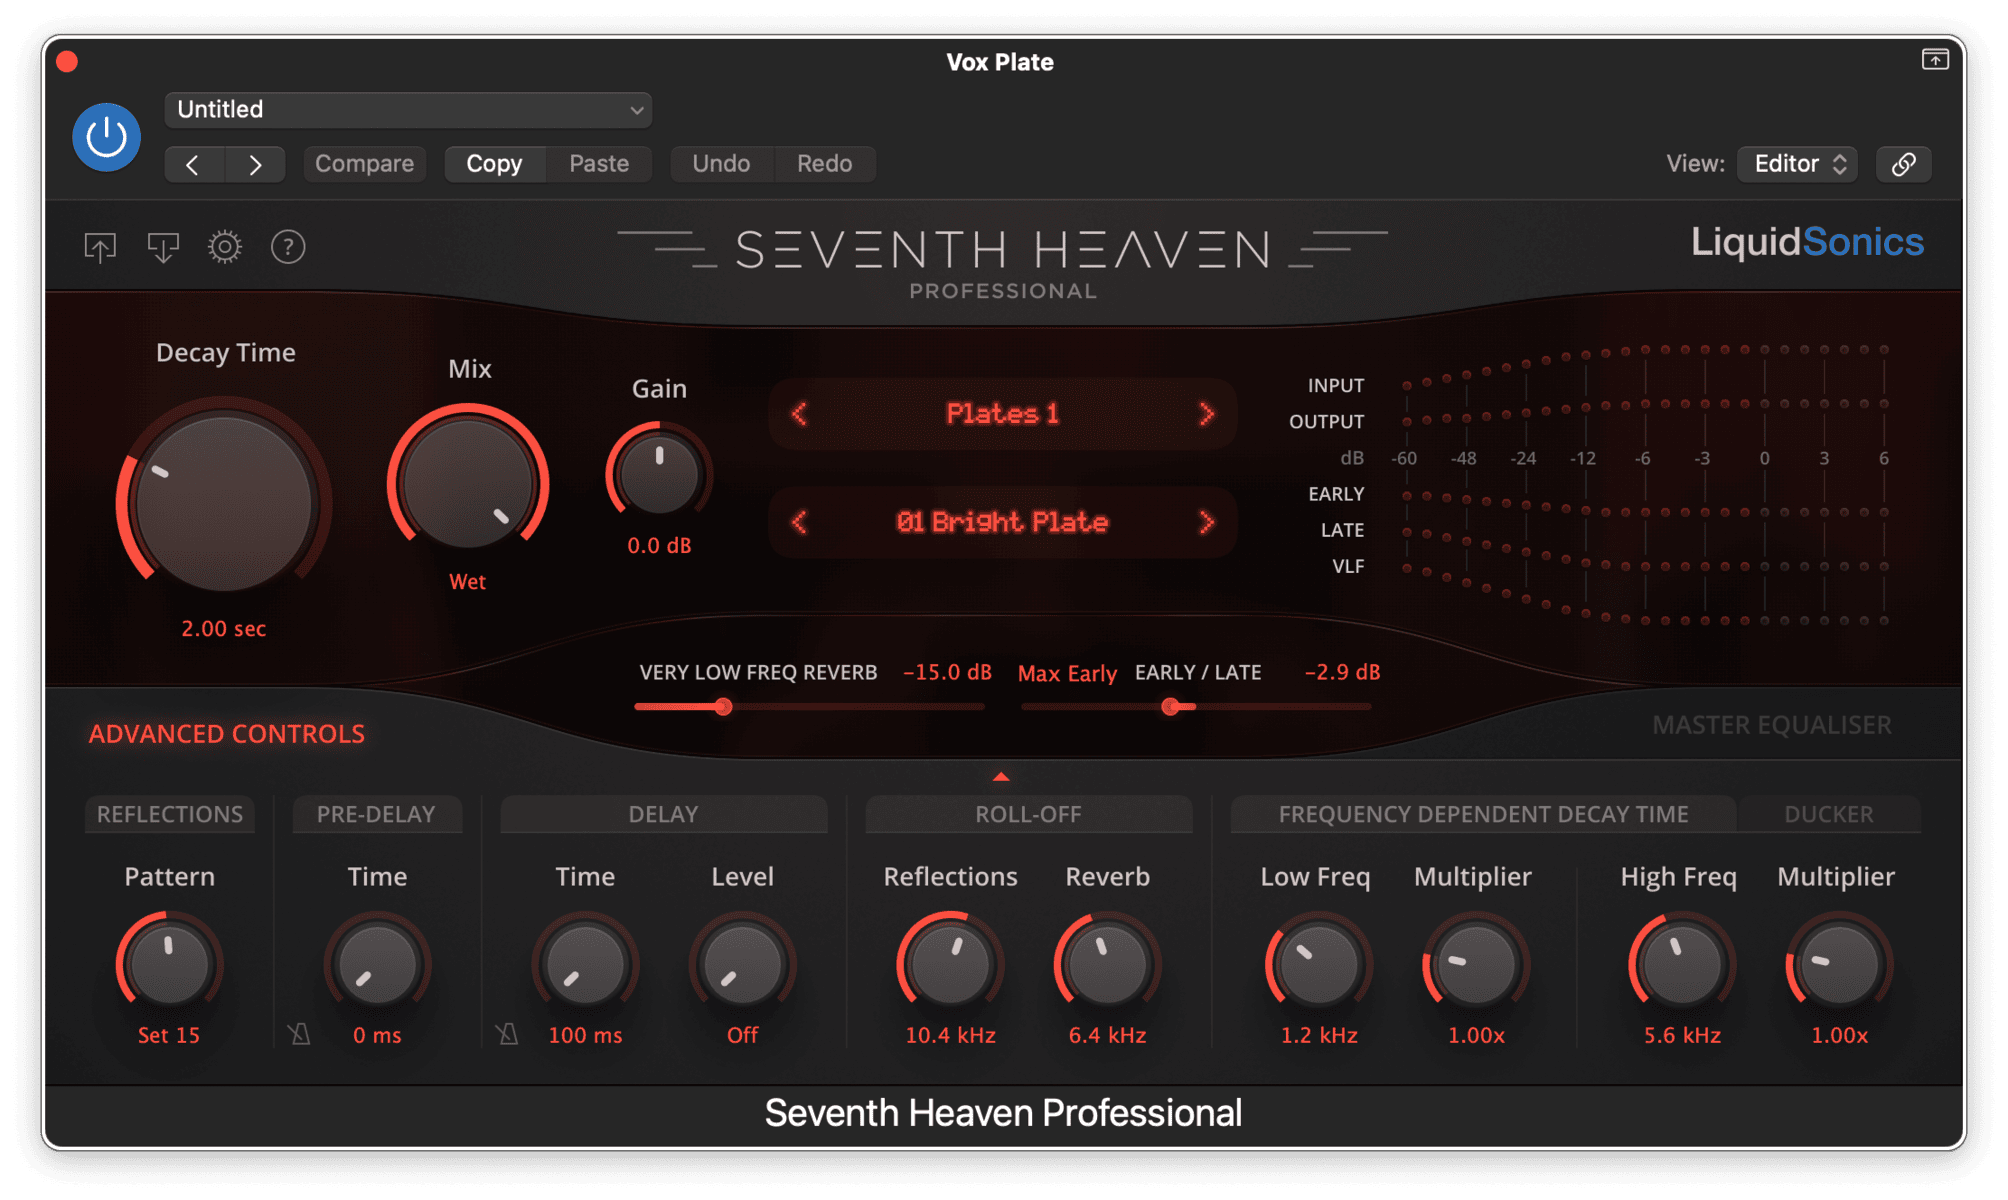
Plate Reverb – I normally reserve plates for vocals and it’s an easy way to give the vocal a different reverberant space to the rest of the mix (which is usually a room reverb) which helps it stand out.
Room Reverb – this is usually the same aux channel that I’m using for the rest of the mix, I usually end up around 1-2s.
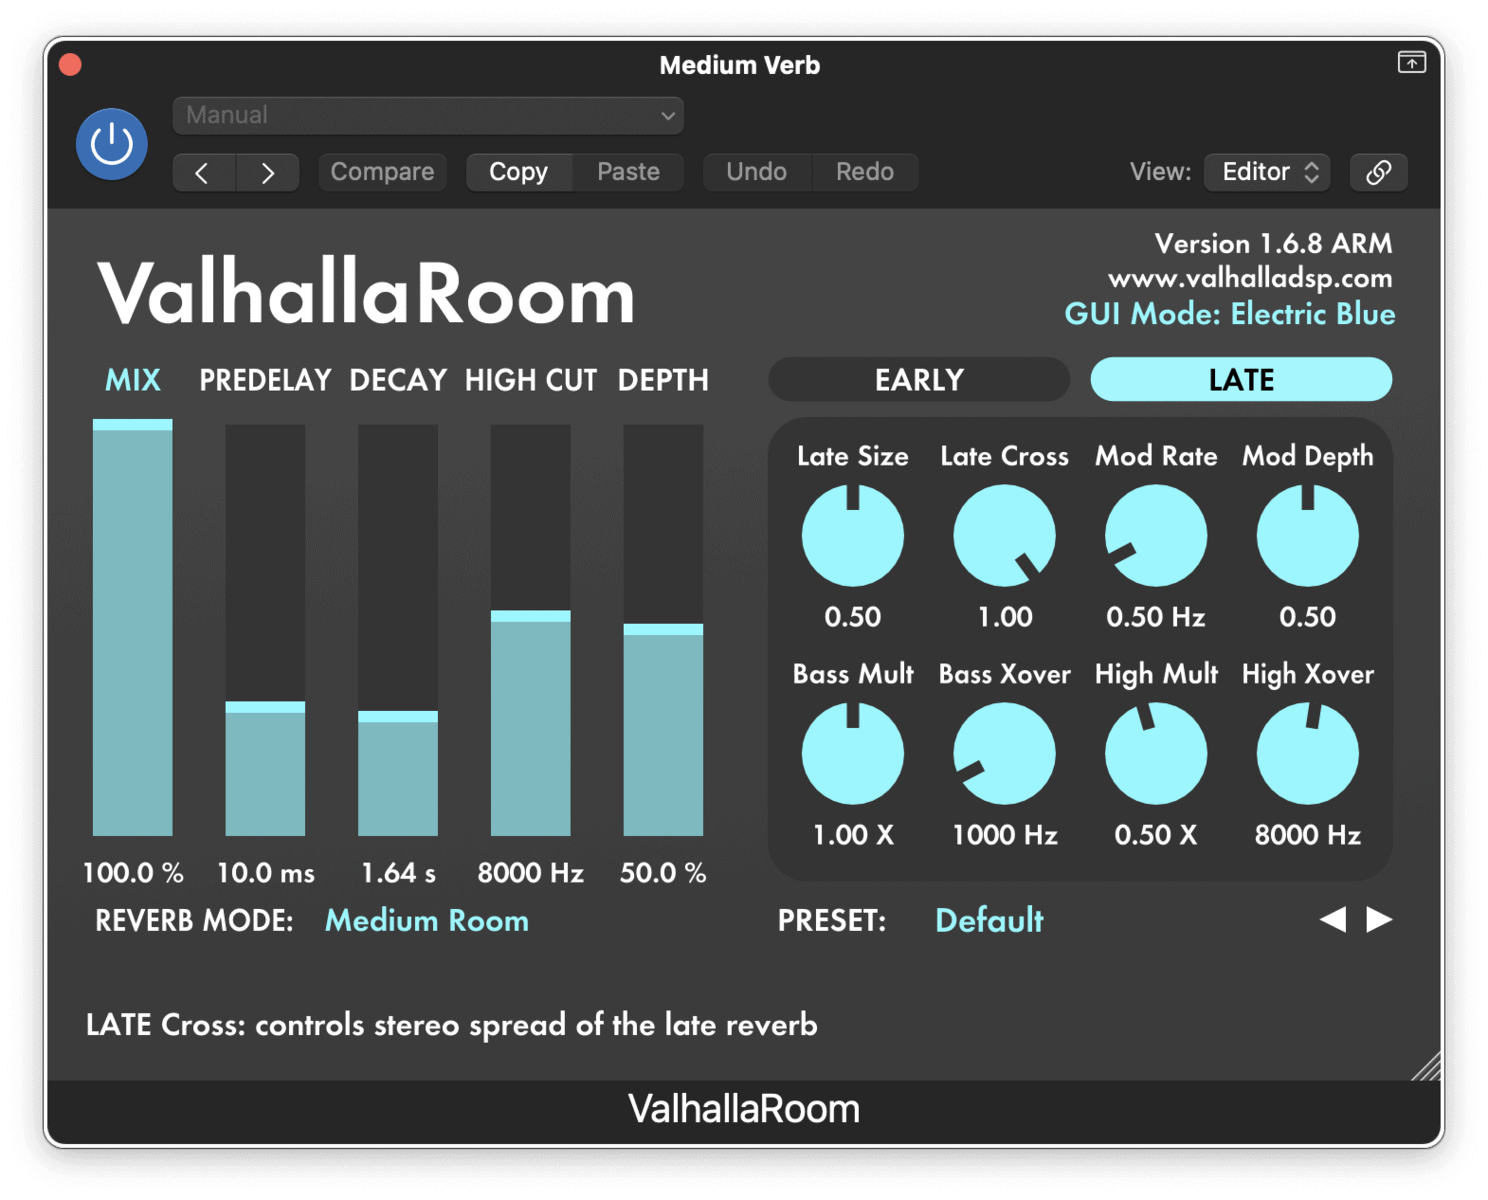
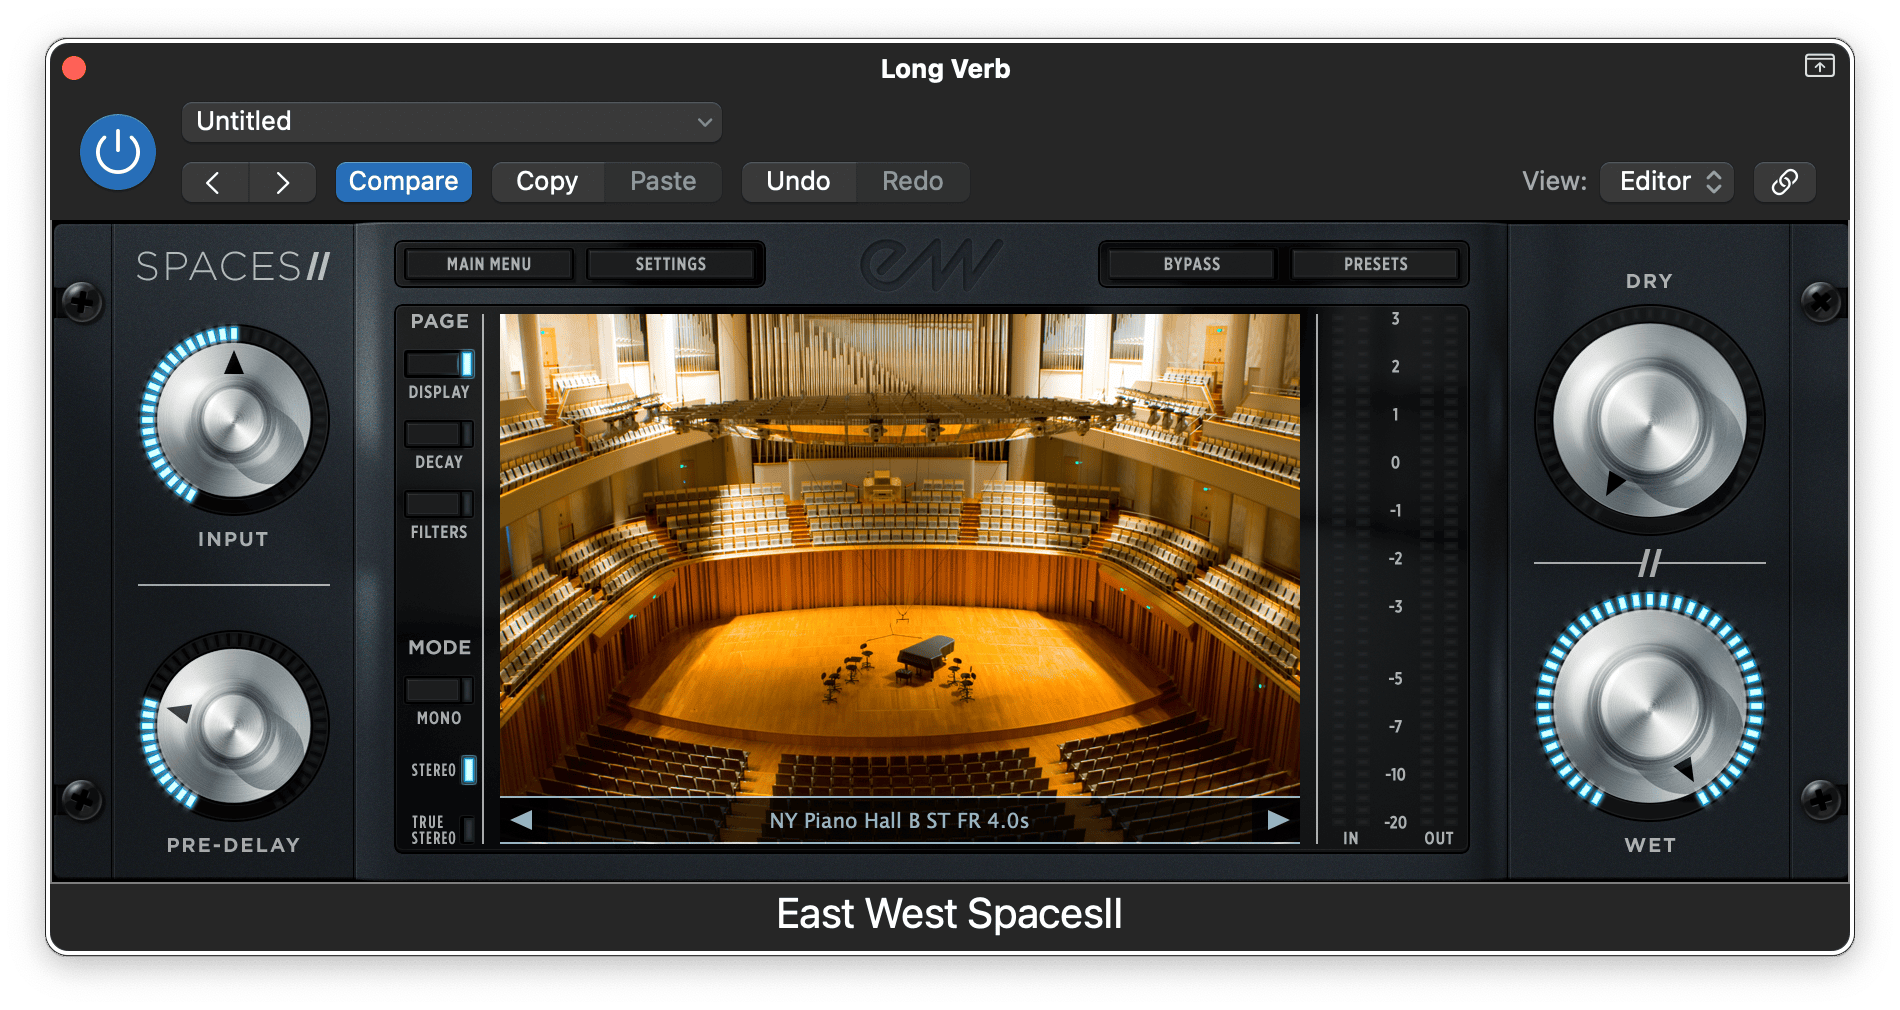
Hall Reverb – this is a longer reverb for lush tails, I like to use a convolution reverb around 4s.
Every time I mix, I’ll experiment with each of these to find the right balance.
For a more natural sound, I learn more on the plate and room reverb. For audible reverb tails I use the hall reverb. For an “in your face” sound I lean more on stereo slapback delays. Then for timed delays I either tuck them super low in the mix to add a sense of space while hardly being audible, or I use more as a noticeable “echo” effect and will automate the send to add more “echo” to specific words or sections.
Regardless of which effect you’re using, adding a compressor with a sidechain to the vocal can help get the effects out of the way and keep the vocal front and center.